
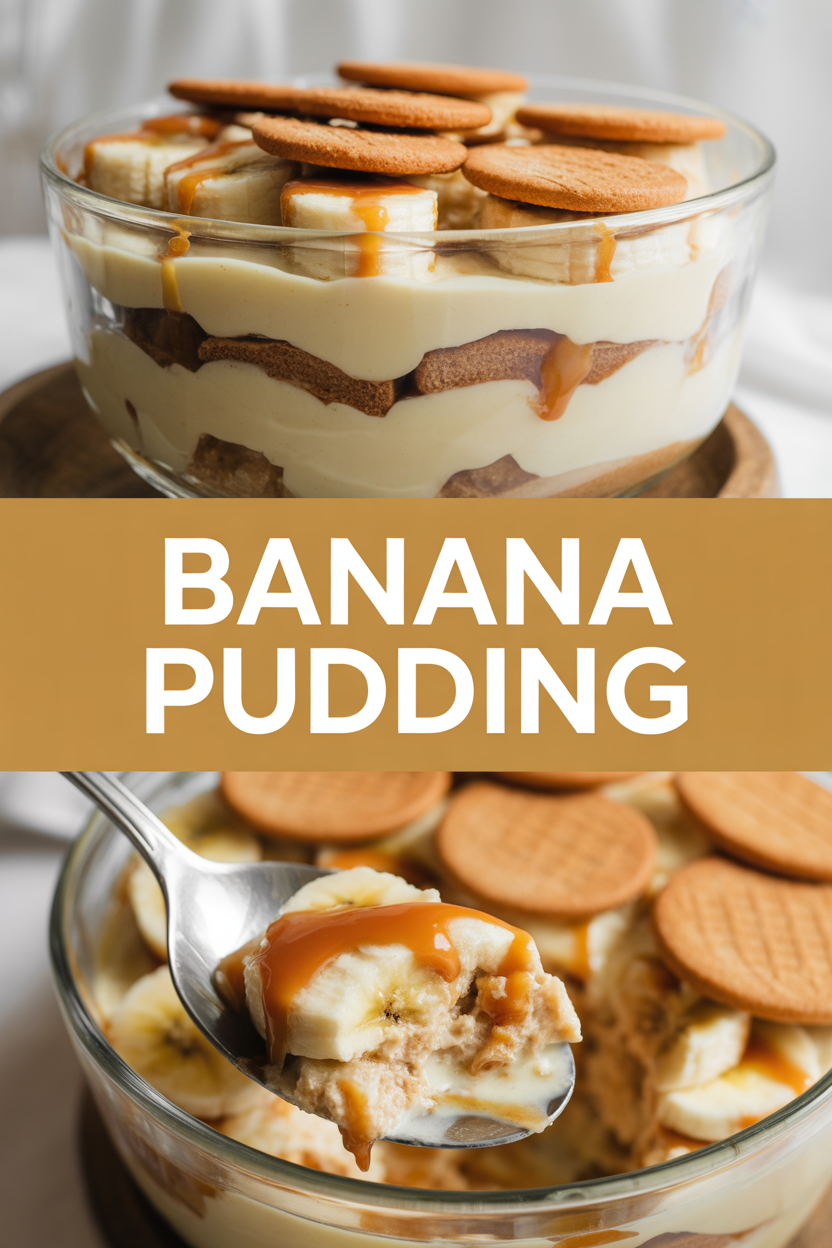
My grandmother kept a dented, floral Pyrex in her fridge that always held the real comfort of summer: banana pudding. I remember sneaking a spoonful and getting powdered-sugar fingers while she hummed in the kitchen; the smell of warm vanilla pudding and ripe bananas still takes me right back. That memory taught me two things: never rush a pudding and always use ripe but not mushy bananas. Today I make that same layered banana pudding for friends and for lazy weeknights — it’s creamy, nostalgic, and wildly forgiving. If you want a dessert that tastes like home and makes people sigh audibly, this is your ticket.
Quick Facts
- Yield: Serves 8
- Prep Time: 20 minutes
- Cook Time: 10 minutes (stovetop pudding)
- Total Time: 2 hours 30 minutes (includes chilling)
Why This Recipe is Awesome
This banana pudding hits every nostalgic note: silky custard, soft yet slightly toothsome banana slices, and that nostalgic crunch of vanilla wafers that slowly surrenders to creaminess. It feels fancy but stays embarrassingly easy — like wearing sweatpants to a party and looking fabulous. It’s the kind of dessert you make when you want comfort without a lot of fuss, and it keeps well so you can sneak bites out of the fridge for days. Who doesn’t love layers of pale gold pudding and banana slices shining like little moons?
Ingredients
For the Main Dish:
- 2 1/2 cups whole milk
- 3/4 cup granulated sugar
- 3 tbsp cornstarch
- Pinch of salt
- 3 large egg yolks
- 2 tbsp unsalted butter
- 1 1/2 tsp pure vanilla extract
- 3–4 ripe bananas (firm but fragrant; about 1 1/2 lbs)
- 12 oz vanilla wafers (about 2 cups; Nilla-style)
- 1 1/2 cups heavy cream
- 2 tbsp powdered sugar
- 1/2 tsp vanilla extract (for whipped cream)
For the Sauce / Garnish (optional):
- 1/2 cup caramel sauce (store-bought or homemade, for drizzling)
- Additional crushed wafers or toasted chopped pecans for texture
How I Make It
Step 1:
I start by making the pudding because it needs to cool. In a medium saucepan, whisk together 3/4 cup sugar, 3 tbsp cornstarch, and a pinch of salt. Whisk in 2 1/2 cups milk until smooth. Warm the milk mixture over medium heat, stirring constantly until it thickens and starts to shimmer and bubble — you’ll hear a gentle simmer and smell warm vanilla. In a small bowl, whisk the 3 egg yolks with a few tablespoons of the hot milk (tempering prevents scrambled yolks), then whisk the yolk mixture back into the pot. Cook for 1–2 minutes more until thick and glossy.
Step 2:
Remove the pan from heat and whisk in 2 tbsp butter and 1 1/2 tsp vanilla. The butter melts into the pudding and gives that rich, silky mouthfeel. Pour the pudding into a shallow bowl and press a piece of plastic wrap directly onto the surface to stop a skin from forming. Let it cool to room temperature — about 20–30 minutes — or speed it up in the fridge for 10–15 minutes. Meanwhile, slice 3–4 bananas into 1/4-inch rounds; aim for even slices so the layers look tidy.
Step 3:
Whip the cream next. In a chilled bowl, beat 1 1/2 cups heavy cream with 2 tbsp powdered sugar and 1/2 tsp vanilla until soft peaks form. Be careful not to overwhip — stop when the cream holds shape but still looks pillowy. Fold about a cup of the whipped cream into the cooled pudding to lighten it; reserve the rest for topping. This step keeps the pudding airy and prevents it from feeling heavy on the tongue.
Step 4:
Time to layer. In a 9×13 dish or individual parfait glasses, spread a thin layer of pudding, then a single layer of vanilla wafers, then banana slices. Repeat until you use all the pudding, finishing with a layer of pudding. Press gently so the layers settle but don’t squash the bananas. Cover and chill for at least 2 hours — chilling lets wafers soften slightly and flavors marry. You’ll see the top turn satiny and pale; the pudding sets, and the whole dish relaxes into itself.
Step 5:
Before serving, dollop or pipe the remaining whipped cream on top, sprinkle with crushed wafers or toasted pecans, and drizzle with warm caramel if you like a sweet-salty edge. The first scoop should give you creamy custard, tender banana, and that buttery wafer texture. Serve cold and let everyone gossip over the second helping.
Pro Tips
- Use firm, ripe bananas. Too ripe means mush; too green means bland. Aim for speckled yellow skins.
- If pudding gets lumpy, whisk vigorously and pass it through a fine-mesh sieve — that little trick saves many desserts.
- Chill at least 2 hours. The texture improves dramatically as the wafers soften slightly and flavors meld.
- Make ahead up to 24 hours; add the whipped cream and crushed wafers right before serving for the best contrast of textures.
Common Mistakes to Avoid
- Skipping preheating: Classic rookie move. It changes texture and bake time.
- Overmixing: Leads to dense or chewy results. Mix until just combined.
- Guessing cook time: Always use visual cues or a timer, not just vibes.
- Overcrowding pans: Give your food some breathing room to crisp properly.
Alternatives & Substitutions
- Swap whole milk for 2% milk for a lighter pudding; it will still be creamy but slightly less rich.
- Use coconut milk (full-fat) and coconut whipped cream for a dairy-free version; the flavor turns tropical and richer.
- Substitute gluten-free vanilla wafers to keep it gluten-free — texture changes a bit but still delicious.
- Replace heavy cream with Greek yogurt (1:1) in the fold for tang and fewer calories; expect a less airy finish.
Variations & Tips
- Chocolate Banana Pudding: Layer thin chocolate pudding or drizzle melted chocolate between layers for a grown-up twist.
- Peanut Butter Swirl: Fold 1/4 cup creamy peanut butter into the pudding for a nutty depth — kids love this.
- Tropical: Add sliced strawberries and toasted coconut on top for color and crunch.
- Boozy Boost: Stir 1–2 tbsp of dark rum or bourbon into the pudding for an adult-only dessert.
- Mini Parfaits: Build in small glasses for elegant single-serve portions; great for dinner parties.
- Toasted Meringue Top: If you crave a toasty finish, pipe meringue on top and briefly brown under a hot broiler (watch closely).
FAQ (Frequently Asked Questions)
- Can I make this ahead of time?
- Yes! Assemble up to 24 hours in advance and keep covered in the fridge. For best texture, add whipped cream and crushed wafers right before serving so the top stays fresh and the contrast remains.
- Can I double the recipe?
- Sure thing. Use a larger pan or two dishes; timing stays about the same for pudding, but chilling may take a bit longer. Make extra whipped cream because people will want more.
- Can I substitute butter with oil?
- Technically yes, but you’ll miss that buttery magic. Use ¾ the amount of oil if you must; the pudding will lose some silkiness.
- How do I know it’s done?
- Look for a thick, glossy pudding that coats the back of a spoon and holds a line when you drag your finger through it. After chilling, the dish should slice cleanly with distinct layers.
- What if I don’t have ingredient X?
- No vanilla extract? Use a little bit of almond extract (start with 1/4 tsp) — it changes the flavor but still tastes wonderful. No cornstarch? Use 1/4 cup flour, but cook a bit longer and expect a slightly different texture.
How I Like to Serve It
I serve banana pudding straight from the fridge with a big spoon and nothing else — it begs to be eaten willy-nilly. Pair it with strong coffee for brunch, or bring it to potlucks because it travels well and always disappears. In summer, it feels light and cooling; in winter, it gives you that warm nostalgia without any oven time.
Notes
- Store covered in the refrigerator for up to 3 days. The flavor deepens, but wafers will continue to soften.
- No meat here, but if you serve alongside poultry, remember safe temps: cook chicken to 165°F.
Final Thoughts
Closing: Make this for someone you love — or for yourself on a Tuesday night. Either way, enjoy that first spoonful and the memories it brings. Now go impress someone — or just yourself — with your homemade masterpiece!