
Okay, confession time: I once tried to sneak a whole jar of strawberry jam into a cookie dough bowl and called it “research.” These Strawberry Kiss Cookies won’t judge your jam enthusiasm — they’ll reward it. They marry buttery, melt-in-your-mouth cookie dough with a glossy dollop of bright **strawberry jam** and a little chocolate hug on top. I make them for bake sales, kids’ lunchboxes, and Friday nights when I want dessert that smells like sunshine and tastes like nostalgia. If you like buttery edges that whisper crispness and centers that give slightly under your teeth, you’ll love these. Bonus: they look fancy but forgive a few sloppy thumbprints. Who doesn’t love a cookie that behaves like a hug?
Quick Facts
- Yield: Serves 24 cookies
- Prep Time: 20 minutes (plus optional chill)
- Cook Time: 10–12 minutes
- Total Time: ~50 minutes (including cooling; add 30 minutes if you chill the dough)
Why This Recipe is Awesome
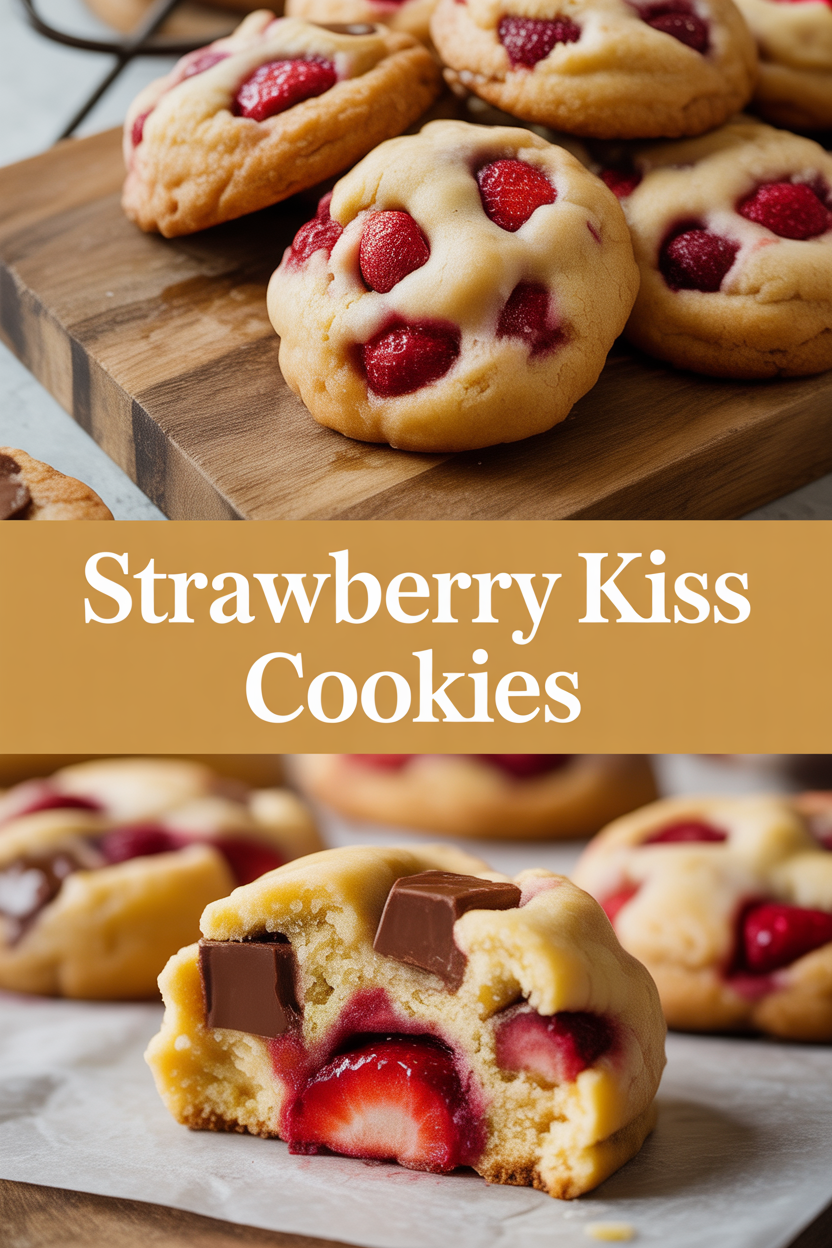
This recipe gives you buttery, tender cookies with a bright pop of **strawberry jam** and a shiny chocolate kiss on top — sweet, tangy, and a little decadent. They stay soft in the center with crisp edges, smell like warm sugar and strawberries as they bake, and look adorable on a plate. Plus, they behave: they don’t spread into weird shapes, and the jam won’t eat the baking sheet. It’s so easy even your oven can’t mess it up.
Ingredients
For the Main Dish:
- 1 cup (2 sticks) **unsalted butter**, softened
- 3/4 cup **granulated sugar**
- 1 large **egg yolk** (or 1 whole egg if you don’t mind slightly firmer cookies)
- 1 tsp **vanilla extract**
- 2 cups **all-purpose flour
- 2 tbsp **cornstarch** (for tenderness)
- 1/4 tsp **salt**
- 1/2 cup **strawberry jam** (seedless or your favorite chunky style)
- 24 **chocolate kisses** or small chocolate discs (milk or dark chocolate)
For the Sauce / Garnish (if applicable):
- Optional: dust with powdered sugar before serving
How I Make It
Step 1:
Preheat your oven to 350°F. In a large bowl, beat 1 cup softened butter with 3/4 cup sugar until light and creamy — you’ll see the mixture go pale and fluffy and smell sweet and buttery. Add the egg yolk and 1 tsp vanilla, and beat until smooth. Use a hand mixer or stand mixer; your arm will thank you if you don’t whisk by hand.
Step 2:
Whisk together 2 cups all-purpose flour, 2 tbsp cornstarch, and 1/4 tsp salt in a medium bowl. Add the dry mix to the butter mixture and stir until it comes together — stop as soon as you see no streaks of flour. Overmixing makes these cookies tougher, and we want them tender and soft.
Step 3:
Scoop the dough into 1-inch balls (I use a small cookie scoop). Place them about 2 inches apart on an unlined baking sheet or a sheet lined with parchment. If your dough feels warm and sticky, chill it for 20–30 minutes — chilled dough keeps its shape and gives you prettier cookies.
Step 4:
Bake at 350°F for 10–12 minutes, until edges look set and just lightly golden — the centers will still look soft. When the cookies come out of the oven, press a shallow thumbprint into each center (use a spoon if your thumb’s hot). Add about 1/2 tsp of **strawberry jam** into each well. Immediately press a **chocolate kiss** into the jam; the warm cookie will slightly soften the chocolate and the three elements will marry together beautifully. If the kisses don’t soften, pop the cookies into the warm oven for 20–30 seconds.
Step 5:
Let the cookies cool on the baking sheet for 5 minutes, then transfer them to a wire rack to finish cooling. The jam will set but stay tender; the chocolate will keep a glossy finish. If you like, dust lightly with powdered sugar before serving for a pretty, snowy look.
Pro Tips
- Chill the dough if your kitchen feels warm — it keeps the cookies from flattening and gives a prettier thumbprint.
- Use cornstarch for a melt-in-your-mouth texture; don’t skip it even if it feels fussy.
- If your jam is very runny, cook it down a bit on the stove to thicken or use a thicker fruit preserve to prevent soggy centers.
- For neater kisses, unwrap them before baking and keep them at room temp so they soften faster when pressed into warm cookies.
Common Mistakes to Avoid
- Skipping preheating: Classic rookie move. It changes texture and bake time.
- Overmixing: Leads to dense or chewy results. Mix until just combined.
- Guessing cook time: Always use visual cues or a timer, not just vibes.
- Overcrowding pans: Give your food some breathing room to crisp properly.
Alternatives & Substitutions
- Swap unsalted butter for salted butter — reduce added salt to 1/8 tsp.
- Use almond extract (1/4 tsp) alongside vanilla for a nutty twist — it pairs nicely with strawberry.
- Dairy-free option: use vegan butter stick 1:1; textures stay close but the flavor will shift slightly.
- Gluten-free option: replace flour with a 1:1 gluten-free flour blend that contains xanthan gum for best results.
Variations & Tips
- Make them lemony: add 1 tsp lemon zest to the dough and use raspberry jam for a bright combo.
- Nutty twist: roll dough balls in finely chopped pistachios before baking for color and crunch.
- Chocolate-strawberry swirl: use a dark chocolate kiss and sprinkle sea salt on top for a grown-up version.
- Mini version: make smaller 3/4-inch balls, bake 8 minutes, and use mini kisses for bite-sized treats.
- Cookie sandwich: skip the kiss and sandwich two cookies with jam for a thumbprint sandwich cookie.
FAQ (Frequently Asked Questions)
- Can I make this ahead of time?
- Yes! Form the dough into balls and freeze them on a sheet, then transfer to a freezer bag for up to 3 months. Bake straight from frozen, adding 2–3 minutes to the bake time, then add jam and chocolate as usual.
- Can I double the recipe?
- Sure thing. Use two baking sheets and rotate them halfway through baking to keep even color. Dough chill time stays the same.
- Can I substitute butter with oil?
- Technically yes, but you’ll miss that buttery magic. Use 3/4 the amount of oil and expect a slightly different texture — more cake-like and less tender-crisp.
- How do I know it’s done?
- Look for lightly golden edges and centers that still look a touch soft — the cookies firm up as they cool. If edges brown, they’re overbaked.
- What if I don’t have ingredient X?
- No panic. No cornstarch? Use 1–2 tbsp extra flour, but expect a slightly different crumb. No jam? Use a spoonful of lemon curd or Nutella for a fun swap.
How I Like to Serve It
I serve these warm on a simple white plate with a steaming mug of tea or a cold glass of milk — total comfort food vibes. They make a cheerful addition to holiday cookie plates, picnic baskets, or a coffee morning with friends. In summer, the bright jam feels seasonal; in winter, the chocolate kiss feels like a cozy encore.
Notes
- Store cookies in an airtight container at room temperature for up to 4 days, or freeze baked cookies for up to a month. Thaw at room temp.
- If you bake from frozen, add a couple minutes to the bake time and watch for golden edges.
Final Thoughts
Closing: Now go make a batch, lick the spoon, and leave a trail of crumbs that says, “I made something delicious.” You’ve got this — and someone out there is waiting for a cookie and a smile.