
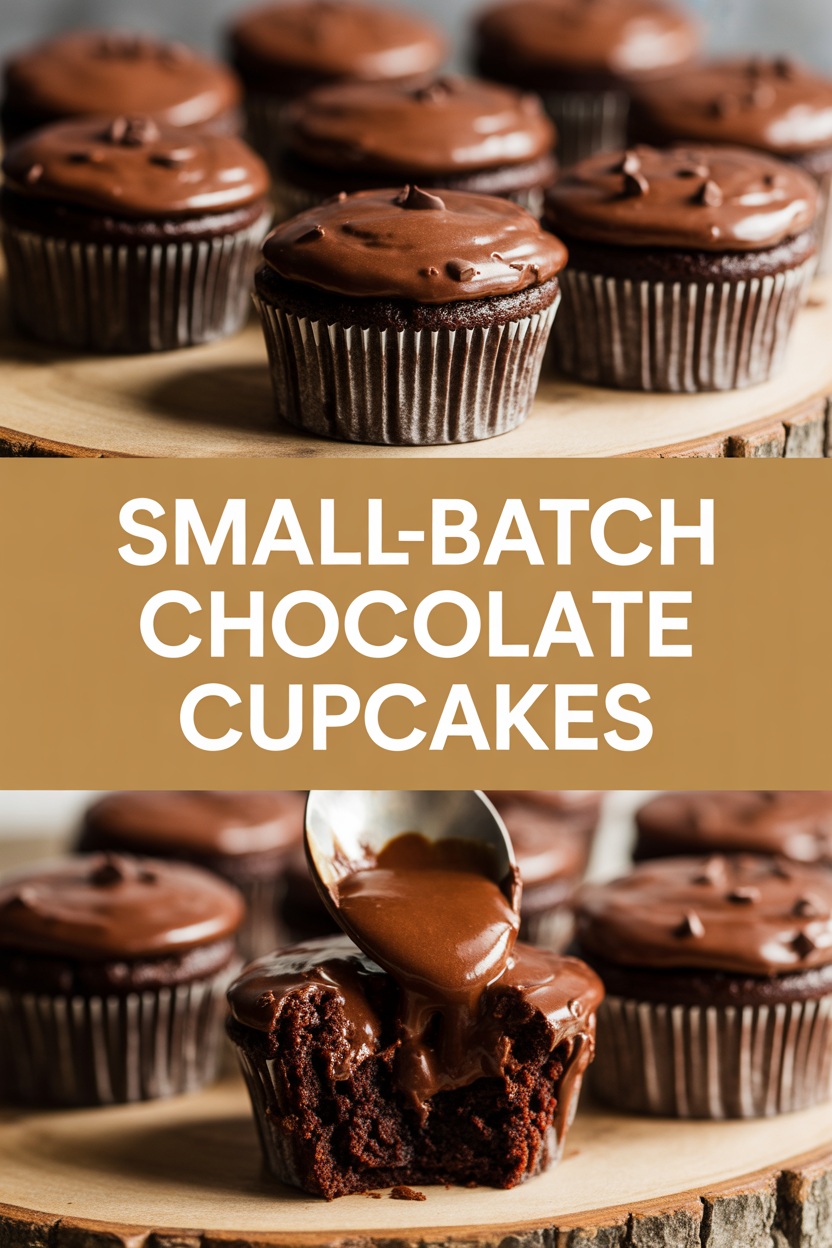
I promise I didn’t plan to make cupcakes at 10 p.m., but my midnight chocolate cravings staged a very convincing protest. I whipped up this small-batch chocolate cupcake recipe because sometimes you only need six perfect little cakes, not a dozen (or a crowd). These bake up with a crackly top, a tender crumb, and that warm cocoa smell that makes you consider taking the whole tray to bed. They come together fast, use pantry staples, and won’t leave you washing a mountain of bowls. If you love rich chocolate without fuss, this cozy little batch will become your go-to “treat-now” recipe. Also, yes, I taste-tested three. For science.
Quick Facts
- Yield: Serves 6
- Prep Time: 15 minutes
- Cook Time: 18–20 minutes
- Total Time: 40 minutes
Why This Recipe is Awesome
These cupcakes give you deep chocolate flavor without the fuss of a big batch. The crumb stays tender and slightly springy, the tops get a pretty crackle, and the aroma fills your kitchen with warm cocoa and butter notes. They taste rich but not heavy — the little splash of hot water (or coffee) bloomed into the batter intensifies the chocolate without adding weight. It’s so easy even your oven can’t mess it up. Bonus: you’ll get homemade frosting with minimal effort and maximum smugness.
Ingredients
For the Main Dish:
- 3/4 cup all-purpose flour
- 3/4 cup granulated sugar (that’s 1/2 cup + 2 tbsp)
- 1/3 cup unsweetened cocoa powder
- 3/4 tsp baking powder
- 1/4 tsp baking soda
- 1/4 tsp salt
- 1/4 cup (4 tbsp) unsalted butter, melted and slightly cooled
- 1 large egg, room temperature
- 1/3 cup whole milk, room temperature
- 1 tsp vanilla extract
- 1/4 cup hot water or hot brewed coffee
For the Sauce / Garnish (optional):
- 3 tbsp unsalted butter, softened
- 1 cup powdered sugar, sifted
- 2 tbsp unsweetened cocoa powder
- 1–2 tbsp milk (more if needed for spreading)
- Pinch of salt and 1/2 tsp vanilla extract
- Optional: sea salt flakes, chocolate shavings, or sprinkles
How I Make It
Step 1:
I preheat the oven to 350°F and line a 6-cup muffin tin with liners or lightly grease the cups. In a medium bowl I whisk together the dry ingredients: flour, cocoa, sugar, baking powder, baking soda, and salt until everything looks evenly cocoa-smeared and pretty. The dry mixture smells slightly chocolatey and promises good things.
Step 2:
In another bowl I combine the wet ingredients: the melted unsalted butter, egg, milk, and vanilla. I give them a quick whisk until the mixture looks silky. Then I pour the wet into the dry and stir gently with a spatula until the batter looks mostly smooth — patchy streaks are okay, don’t overmix. Overmixing fights you; mix until just combined.
Step 3:
Now the trick: I stir in the hot water or hot coffee a little at a time. The batter thins and deepens in color like rich espresso paint. That hot liquid unlocks the cocoa so the cupcakes taste more chocolate-forward. Scoop the batter evenly into the prepared tin, filling each cup about two-thirds full. You’ll hear a soft splash as the batter settles — that’s the good part.
Step 4:
Bake at 350°F for 18–20 minutes. Watch for edges that slightly pull away, the tops to feel springy, and a toothpick inserted near the center to come out with a few moist crumbs, not batter. The kitchen fills with a warm chocolate smell — I swear it makes people appear. Let the cupcakes rest in the tin for about 5–10 minutes, then move them to a wire rack to cool. Hot cupcakes accept frosting poorly; give them time to chill or the frosting will melt into the cake.
Step 5:
To make the simple frosting, beat the softened butter with powdered sugar and cocoa, then add milk a little at a time until you reach a spreadable consistency. Add the 1/2 tsp vanilla and a pinch of salt to balance the sweetness. Spread or pipe the frosting once the cupcakes reach room temperature and finish with a sprinkle of sea salt or chocolate shavings. Snap a photo — the glossy chocolate will look irresistible — then dive in.
Pro Tips
- Bring your egg and milk to room temperature; they blend more easily and give a silkier batter.
- If you want deeper chocolate, swap the hot water for hot brewed coffee — it boosts chocolate without tasting like coffee.
- For consistent cupcakes, weigh batter into each cup with a small scoop — about 3 tablespoons per cup usually works for a 6-cup tin.
- Chill your frosting briefly if it becomes too soft from warm butter; stiff frosting pipes nicer and holds shape.
Common Mistakes to Avoid
- Skipping preheating: Classic rookie move. It changes texture and bake time.
- Overmixing: Leads to dense or chewy results. Mix until just combined.
- Guessing cook time: Always use visual cues or a timer, not just vibes.
- Overcrowding pans: Give your food some breathing room to crisp properly.
Alternatives & Substitutions
- Swap milk for almond milk or oat milk for a dairy-free version; texture stays tender but flavor shifts slightly.
- Use coconut oil or neutral oil instead of butter (see FAQ about proportions); you’ll lose a touch of that buttery flavor but gain moistness.
- For gluten-free, replace the flour with a 1:1 gluten-free baking flour blend and add 1/8 tsp xanthan gum if your blend lacks it; results stay cupcake-like though the crumb may feel a touch different.
Variations & Tips
- Mole-inspired: add a pinch of cinnamon and a tiny pinch of cayenne for a warm, surprising kick.
- Peanut butter swirl: drop a teaspoon of peanut butter on top of each cupcake before baking and swirl into the batter.
- Mint chocolate: replace the vanilla with peppermint extract (start with 1/4 tsp) and top with chopped Andes candies.
- Espresso boost: use strong coffee instead of water and add 1/2 tsp instant espresso powder to the dry mix for punchy depth.
- Orange twist: fold in 1 tsp orange zest for a bright citrus lift that pairs beautifully with cocoa.
FAQ (Frequently Asked Questions)
- Can I make this ahead of time?
- Yes! Bake the cupcakes and store them unfrosted in an airtight container at room temperature for up to 2 days, or refrigerate for up to 4 days. Freeze cooled, unfrosted cupcakes for up to 2 months; thaw overnight in the fridge and bring to room temperature before frosting.
- Can I double the recipe?
- Sure thing. Bake in two tins and rotate them halfway through if your oven has hot spots. If you double, check for doneness a few minutes earlier or later — ovens differ.
- Can I substitute butter with oil?
- Technically yes, but you’ll miss that buttery magic. Use ¾ the amount of oil.
- How do I know it’s done?
- Look for slightly domed tops with a subtle crackle, edges that pull away, and a toothpick that comes out with moist crumbs, not raw batter. The tops should spring back gently when pressed.
- What if I don’t have ingredient X?
- If you lack cocoa, you can use melted chocolate (about 2 oz) and reduce butter by 1 tbsp. If you’re out of vanilla, a splash of almond extract works in a pinch (use less — about 1/4 tsp).
How I Like to Serve It
I love these warm with a scoop of vanilla ice cream for an after-dinner treat, or paired with morning coffee for an indulgent weekend breakfast. They travel well to potlucks (stack them carefully) and make a cozy dessert for a movie night. In summer, I go lighter with whipped cream; in winter, I embrace thick chocolate frosting and a dusting of cocoa.
Notes
- Store frosted cupcakes in an airtight container at room temperature for up to 2 days or refrigerate for up to 4 days. Bring to room temperature before serving for best flavor.
- If using meat in any recipe: cook poultry to 165°F, pork to at least 145°F plus rest time — not directly relevant here, but good kitchen safety to remember.
Final Thoughts
Closing: Now go impress someone — or just yourself — with your homemade masterpiece!