
I keep this one in my back pocket for dinner guests, last-minute celebrations, or when my sofa and I need a chocolate hug. Let me spill a kitchen secret: jarred mixes make you look like you planned ahead without actually planning. I layer the dry ingredients in a pretty jar — deep cocoa, glossy sugar, and a pocket of chocolate chips — then hand it over with a little tag that says “bake me.” When I make it at home, the kitchen fills with a warm cocoa aroma, the skillet sings a satisfying sizzle, and that molten center pulls apart like velvet. Trust me, no one guesses how little effort it took.
Quick Facts
- Yield: Serves 6
- Prep Time: 10 minutes (plus time to layer jar, if gifting)
- Cook Time: 22–25 minutes
- Total Time: About 35 minutes
Why This Recipe is Awesome
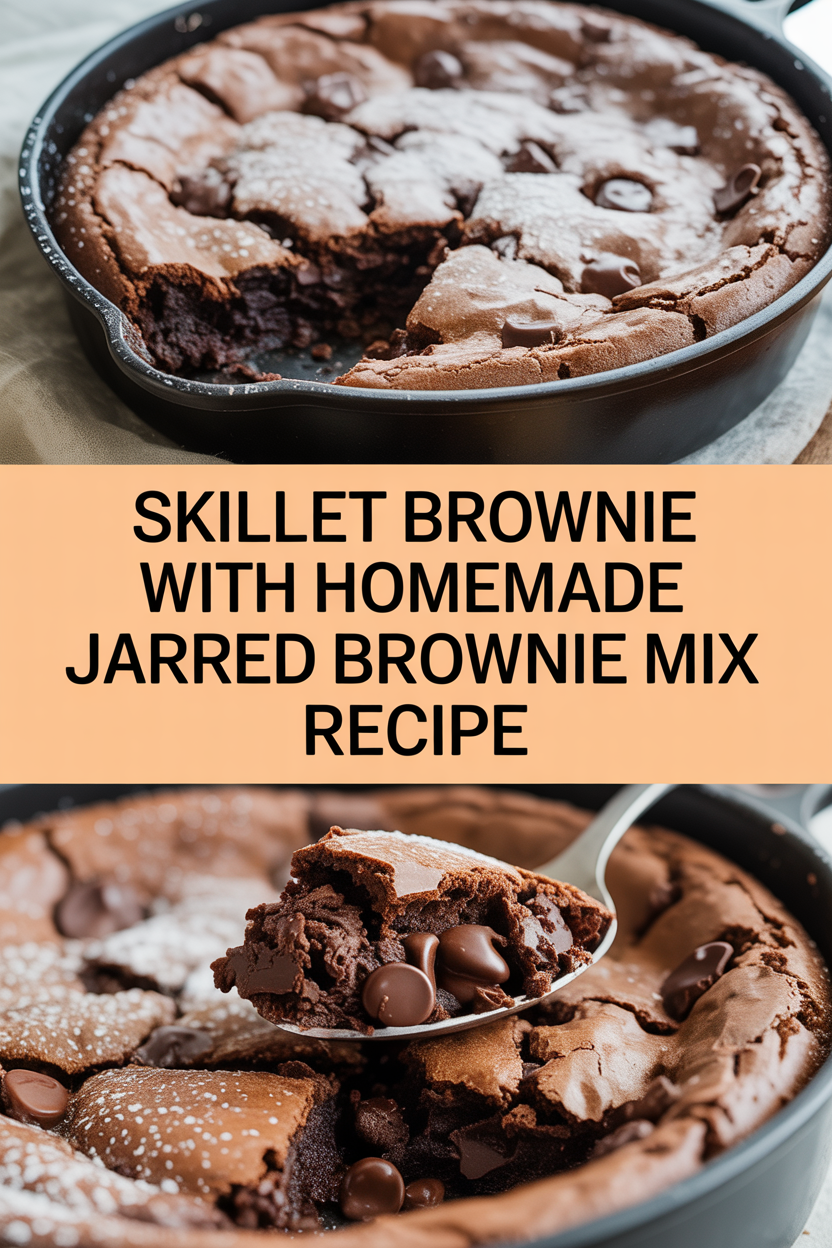
This skillet brownie gives you molten, fudgy center and crisp, crackly edges all in one pan — yes, one pan. It feels fancy but behaves like comfort food: warm, gooey, chocolate-forward. The jarred brownie mix makes a perfect gift or a pantry hack, and the skillet finish gives you those beloved crispy edges. It’s so easy even your oven can’t mess it up — and the smell? Pure, immediate cozy.
Ingredients
For the Main Dish:
- Jarred dry mix (makes one 10-inch skillet):
- 1 cup all-purpose flour
- 1 cup granulated sugar
- ½ cup packed light brown sugar
- ½ cup unsweetened cocoa powder
- 1 tsp baking powder
- ½ tsp kosher salt
- 1 cup semi-sweet chocolate chips
- To make the skillet brownie:
- 6 tbsp unsalted butter, melted
- 2 large eggs, room temperature
- 1 tsp pure vanilla extract
- 2 tbsp milk (any kind)
- Flaky sea salt for finishing (optional)
For the Sauce / Garnish (if applicable):
- Vanilla ice cream or whipped cream for serving (optional)
- Salted caramel sauce or extra melted chocolate (optional)
- Chopped toasted pecans or walnuts (optional)
How I Make It
Step 1:
I start by preheating my oven to 350°F so the skillet gets nice and even heat. If I’m gifting the mix, I layer the dry jar — flour, then sugar, then brown sugar, cocoa, baking powder, salt, and finally the chocolate chips. I slap a pretty ribbon and baking directions on it. If I bake right away, I whisk the jar contents in a bowl to break up any clumps.
Step 2:
I melt the 6 tbsp butter on the stove or in the microwave until it shimmers. I crack the eggs into a small bowl, whisk them with the vanilla and milk, then pour into the dry mix. I add the melted butter and stir with a spatula until the batter looks glossy and just combined — a few streaks are okay. Don’t overmix; you want fudgy texture, not a brick.
Step 3:
I grease a 10-inch cast-iron skillet with a little butter or oil and scrape the batter in. It spreads easily and looks rich and dark, like polished chocolate. If I want extra goo, I drop a few extra chocolate chips on top. You’ll smell cocoa and butter marrying — warm, irresistible, like a bakery at 8 a.m.
Step 4:
I bake at 350°F for 22–25 minutes. Watch the edges — they should pull slightly away from the skillet and look matte and set while the center keeps a gentle jiggle. I resist the urge to overbake; a few minutes make the difference between molten and dry.
Step 5:
I let the skillet rest for about 10 minutes so the center firms just enough to scoop. Then I sprinkle flaky salt and plop a big scoop of vanilla ice cream on top. The ice cream melts into glossy rivers and the edges crackle when I slice — that sound always makes me smile.
Pro Tips
- Use room-temperature eggs for even rise and a glossy batter.
- For deeper chocolate flavor, stir ½ tsp instant espresso powder into the batter — you won’t taste coffee, only richer cocoa.
- If you don’t have a cast-iron skillet, use a 9×9 square pan; bake time may drop by 2–4 minutes.
- Want crispier edges? Let the skillet cool 5 minutes, then broil for 30–45 seconds while watching closely.
Common Mistakes to Avoid
- Skipping preheating: Classic rookie move. It changes texture and bake time.
- Overmixing: Leads to dense or chewy results. Mix until just combined.
- Guessing cook time: Always use visual cues or a timer, not just vibes.
- Overcrowding pans: Give your food some breathing room to crisp properly.
Alternatives & Substitutions
- Swap butter for coconut oil for a dairy-free option — expect a slightly tropical aroma but still fudgy results.
- Use a 1:1 gluten-free flour blend in place of all-purpose flour for gluten-free brownies; the texture may become a touch crumblier.
- Replace milk with almond milk or oat milk without changing texture significantly.
- For vegan brownies, use melted vegan butter and two flax eggs (2 tbsp ground flax + 6 tbsp water, chilled) — they firm up well but taste less “buttery.”
Variations & Tips
- Stir in ½ cup chopped toasted pecans or walnuts for nutty crunch.
- Swirl ¼ cup peanut butter into the top before baking for a peanut-butter ripple.
- Add 1 tsp orange zest to the batter for a bright citrus-chocolate twist.
- Fold in mini marshmallows for a s’mores-style skillet; add graham cracker crumbs on top before serving.
- Make individual servings by dividing batter into greased ramekins; reduce bake time to 12–15 minutes.
FAQ (Frequently Asked Questions)
- Can I make this ahead of time?
- Yes! Mix the dry ingredients and store them in an airtight jar for up to 3 months. When ready, add the wet ingredients and bake. You can also fully bake, cool, wrap tightly, and refrigerate up to 3 days; reheat at 300°F for 8–10 minutes to revive the goo.
- Can I double the recipe?
- Sure thing. Use two skillets or a 9×13 pan; expect the bake time to increase to 28–35 minutes for a thicker slab. Check the center for a gentle jiggle.
- Can I substitute butter with oil?
- Technically yes, but you’ll miss that buttery magic. Use ¾ the amount of oil (about 4½ tbsp) and expect a slightly different mouthfeel — still tasty, just less rich.
- How do I know it’s done?
- Look for set, matte edges that pull slightly from the skillet and a center that still jiggles a little when you gently nudge the pan. The top won’t crack all the way like a cake; you want fudgy, not dry.
- What if I don’t have ingredient X?
- If you lack cocoa powder, use 4 oz melted dark chocolate in place of ½ cup cocoa and reduce butter by 1 tbsp. If you lack brown sugar, use the same amount of granulated sugar plus 1 tbsp molasses.
How I Like to Serve It
I love serving this right from the skillet on a trivet with a big scoop of vanilla ice cream and a drizzle of salted caramel for contrast. At casual dinners, I slice and set it family-style so everyone digs in. For gifting, I hand over the jarred mix and a little note with the baking directions — people always call me afterward asking for seconds.
Notes
- Store leftovers covered at room temperature for up to 2 days or refrigerated up to 5 days. Reheat gently in a 300°F oven for 8–10 minutes.
- No meat in this recipe, so no safe cooking temperature applies here. If you pair it with meat dishes, follow the USDA guideline of 165°F for cooked poultry.
Final Thoughts
Closing: Now go impress someone — or just yourself — with your homemade masterpiece!