
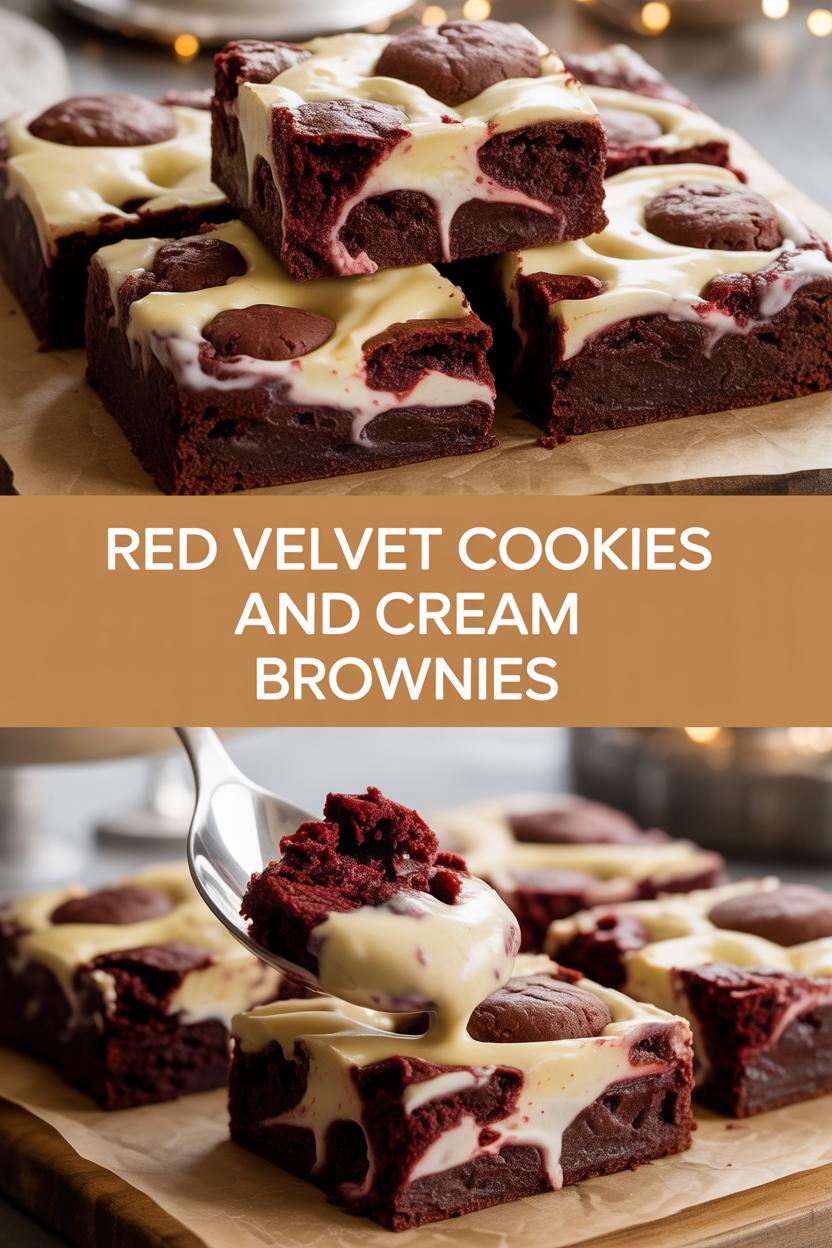
If cookies and brownies got together at a party and refused to stop dancing, you’d end up with these Red Velvet Cookies and Cream Brownies — loud, lovable, and a tiny bit messy. I made these on a weeknight because I couldn’t decide between baking cookies or brownies, and honestly, why choose? Picture a fudgy chocolate brownie base studded with crunchy, milky **crushed Oreo cookies**, plus little pockets of soft, tangy **red velvet cookie dough** that turn every bite into a surprise. The kitchen smells like chocolate and butter, and the bright red flecks peek through like confetti. Trust me: this hybrid will make you glad you abandoned restraint for dessert.
Quick Facts
- Yield: Serves 9
- Prep Time: 20 minutes
- Cook Time: 30 minutes
- Total Time: 50 minutes
Why This Recipe is Awesome
It delivers fudgy, brownie-y depth with the cakey, tangy charm of red velvet cookie dough and the nostalgic crunch of **cookies and cream**. You get chewy edges, a gooey center, and crunchy cookie bits — texture heaven. Plus, it looks fancy enough for guests but comes together with humble pantry staples. It’s so fun even your oven will brag about it.
Ingredients
For the Main Dish:
- 1 cup (8 tbsp) unsalted butter, melted
- 1 1/4 cups granulated sugar
- 2 large eggs, room temperature
- 1 tsp vanilla extract
- 3/4 cup all-purpose flour
- 1/2 cup unsweetened cocoa powder
- 1/4 tsp salt
- 1/2 tsp baking powder
- 1 cup crushed Oreo cookies (about 10–12 cookies)
- Red Velvet Cookie Dough: 6 tbsp (3/4 stick) unsalted butter, softened
- 1/3 cup granulated sugar
- 1/3 cup packed brown sugar
- 1 large egg yolk
- 1/2 tsp vanilla extract
- 1 tbsp cocoa powder
- 1/2 tsp white vinegar
- 2 tsp milk
- 1 cup all-purpose flour (for cookie dough)
- 1/4 tsp baking soda
- 1/4 tsp salt
- 1–2 tsp red food coloring (adjust for intensity)
For the Sauce / Garnish (if applicable):
- Optional cream cheese drizzle: 4 oz cream cheese, softened; 1/2 cup powdered sugar; 1 tsp vanilla; 1–2 tbsp milk to thin.
How I Make It
Step 1:
Preheat your oven to 350°F and line an 8×8-inch pan with foil or parchment, leaving an overhang to lift the brownies out later. In a large bowl, whisk the melted butter and granulated sugar until glossy. Add the eggs one at a time, then stir in vanilla. The mixture should smell rich and buttery — that’s your cue to keep going.
Step 2:
Sift together the all-purpose flour, cocoa powder, salt, and baking powder. Fold the dry ingredients into the wet just until you don’t see streaks of flour. Gently fold in the crushed Oreo cookies, leaving some chunks for contrast. Overmixing kills that tender crumb, so stop when the batter looks marbled and shiny.
Step 3:
Quickly make the red velvet cookie dough: cream the softened butter with both sugars until light. Beat in the egg yolk, vanilla, cocoa, vinegar, and milk. Add the flour, baking soda, and salt and mix to form a soft dough. Stir in the red food coloring until you love the color. Scoop tiny tablespoon-sized balls — about 20 small dollops — so they don’t dominate the brownie. I like using a small cookie scoop for even bites.
Step 4:
Pour the brownie batter into your prepared pan and smooth it with a spatula. Dot the top with the red velvet cookie dough balls, gently pressing each one into the batter so they nestle without disappearing. You’ll hear a hush from the oven when the smell of chocolate and toasted cookie hits — that’s the best part. Bake for 28–32 minutes, rotating the pan halfway through. Look for set edges with a slightly soft, jiggle-y center; a toothpick should come out with a few moist crumbs, not raw batter.
Step 5:
Let the brownies cool completely in the pan on a wire rack — at least 1 hour — so the cookie dough pockets firm up and slicing stays neat. If you want the fancy finish, whisk the optional cream cheese, powdered sugar, and vanilla until smooth, thin with milk, and drizzle over cooled squares. Lift with the foil sling, slice into 9 squares, and serve. Expect a chorus of “Oh wow” from anyone nearby.
Pro Tips
- Use room-temperature eggs for better emulsion and a glossy brownie top.
- If you want extra fudgy brownies, reduce the bake time to the lower end and watch the center — it continues to set as it cools.
- For prettier cookie pockets, chill the cookie dough 10 minutes before dropping it into the batter so the balls keep their shape.
- Swap crushed Oreos for chocolate chip cookies if you prefer a less sweet crunch; expect a chewier bite.
Common Mistakes to Avoid
- Skipping preheating: Classic rookie move. It changes texture and bake time.
- Overmixing: Leads to dense or chewy results. Mix until just combined.
- Guessing cook time: Always use visual cues or a timer, not just vibes.
- Overcrowding pans: Give your food some breathing room to crisp properly.
Alternatives & Substitutions
- Butter ↔ coconut oil: Use ¾ the amount of oil; expect a slight coconut note and a softer edge.
- All-purpose flour ↔ gluten-free 1:1 flour: Use the same amount, but add 1 tsp xanthan gum if your blend lacks it for structure.
- Crushed Oreos ↔ chopped chocolate bars: Results get richer and less sweet if you use dark chocolate.
- Dairy-free option: Use vegan butter and dairy-free Oreos; the texture shifts slightly but stays delicious.
Variations & Tips
- Add a handful of chopped pecans for crunch and toasty flavor.
- Swap the red velvet cookie dough for a peanut butter cookie dough to make PB-chocolate magic.
- Turn this into a skillet dessert: bake in a well-greased 9-inch skillet for rustic edges.
- Mini version: Use a mini muffin tin for bite-sized brownie-cookie hybrids — bake about 12–15 minutes.
- Make it boozy: Stir 1 tbsp coffee liqueur into the brownie batter for grown-up depth.
FAQ (Frequently Asked Questions)
- Can I make this ahead of time?
- Yes! Bake, cool, and store in an airtight container at room temperature for up to 3 days, or refrigerate up to 5 days. Warm briefly in the microwave for 8–12 seconds to revive that just-baked feel.
- Can I double the recipe?
- Sure thing. Use a 9×13-inch pan and increase the bake time to about 35–40 minutes; check at the 30-minute mark and follow visual cues.
- Can I substitute butter with oil?
- Technically yes, but you’ll miss that buttery magic. Use ¾ the amount of oil and expect slightly denser edges.
- How do I know it’s done?
- Look for set, glossy edges and a center that still jiggles a bit. A toothpick should come out with moist crumbs, not wet batter. Remember: it continues to set as it cools.
- What if I don’t have ingredient X?
- Out of Oreos? Use any sandwich cookie or chop up chocolate chip cookies. No red food coloring? Add an extra pinch of cocoa and a few drops of beet juice for mild color (flavor stays great).
How I Like to Serve It
I serve these warm with a scoop of vanilla ice cream and a cold glass of milk for maximum nostalgia. They also work great at potlucks — cut into squares and arrange them on a platter with fresh berries. In colder months they comfort like a blanket; in summer, pair with cold brew for a cheeky dessert-after-dinner treat.
Notes
- Store in an airtight container at room temperature up to 3 days, or freeze slices for up to 3 months. Thaw overnight in the fridge.
- No meat here, but if you ever bake with poultry, remember the safe cooking temp: 165°F for chicken.
Final Thoughts
Closing: Now go impress someone — or just yourself — with your homemade masterpiece! These brownies demand good music and zero regrets.