
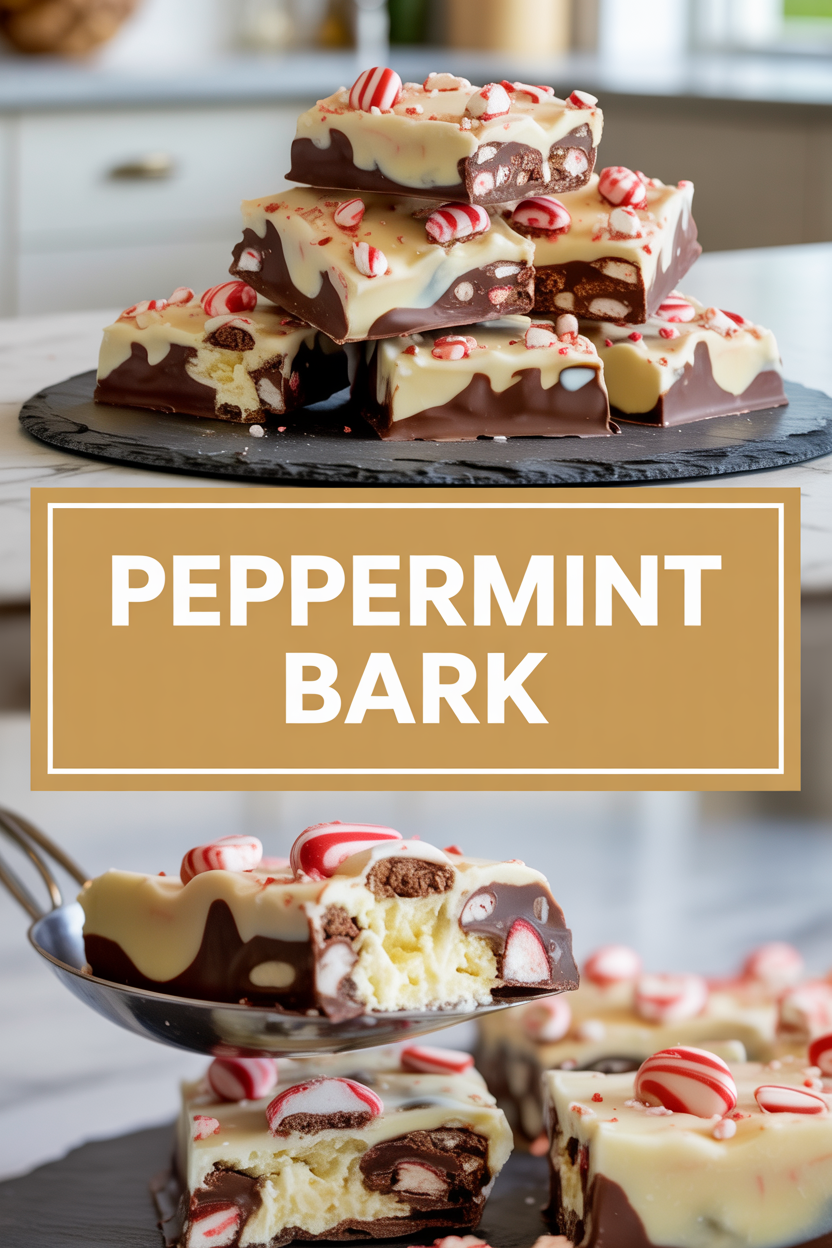
Okay, confession time: I once hid an entire tray of peppermint bark in my freezer and pretended I “didn’t have room” for guests just so I could snack guilt-free later. If you want a recipe that smells like a candy shop and sounds like Christmas (that satisfying snap when you break a piece!), this is it. Peppermint bark makes the holidays taste like childhood — crunchy crushed candy canes, glossy dark chocolate, and a creamy white chocolate top that melts on your tongue. It’s ridiculously simple, impossible to mess up if you follow a few tiny rules, and it doubles as an awesome last-minute gift. Let’s make something festive and crispy-crackly together.
Quick Facts
- Yield: Serves 8–10 (about 24 pieces)
- Prep Time: 15 minutes
- Cook Time: 0 minutes active (melting + chilling)
- Total Time: 45–60 minutes (including chilling)
Why This Recipe is Awesome
This peppermint bark comes together in a snap, and it tastes like a holiday hug. The contrast between rich, slightly bitter **dark chocolate** and sweet, creamy **white chocolate** with crunchy peppermint gives every bite texture and zing. It’s so easy even your oven can’t mess it up — just melt, spread, chill, and snap. Perfect for holiday trays, hostess gifts, or the occasional “I need sugar now” moment.
Ingredients
For the Main Dish:
- 12 oz semisweet or dark chocolate chips (about 1.5 cups)
- 12 oz white chocolate chips or white baking wafers (about 1.5 cups)
- 1 tsp peppermint extract (use less if you prefer subtle mint)
- 1–2 tbsp neutral oil (vegetable or coconut oil, helps with shine)
- 6 candy canes, crushed (about 3/4 cup) — or 1 cup store-bought crushed peppermint
- Pinch of flaky sea salt (optional, brings out chocolate flavor)
For the Sauce / Garnish (if applicable):
- Extra crushed candy canes or peppermint pieces for sprinkling (1/4 cup), optional
How I Make It
Step 1:
Line an 8×8 or 9×9-inch baking pan with parchment paper, leaving an overhang for easy removal. I like using parchment because it peels cleanly and saves me from gnawing at the pan. Place 12 oz dark chocolate in a microwave-safe bowl or a heatproof bowl over a simmering pot for a double boiler. Melt in short bursts: microwave 20–30 seconds, stir, repeat. Add 1 tbsp oil if the chocolate looks thick — it gives a glossy finish.
Step 2:
Pour the melted dark chocolate into the prepared pan and use an offset spatula or the back of a spoon to spread it into an even layer, about 1/8–1/4 inch thick. Tap the pan gently on the counter to eliminate air bubbles. Pop the pan into the fridge while you melt the white chocolate so the base firms quickly (this helps layers stay distinct).
Step 3:
Melt the white chocolate the same way, but go lighter with the heat — white chocolate burns faster. Stir in 1 tsp peppermint extract and a splash more oil if needed to loosen it up. Taste a tiny dab (trust me) and add a few drops more extract only if you want a stronger mint punch.
Step 4:
Pour the white chocolate over the slightly set dark layer and gently spread it. Immediately sprinkle crushed candy canes evenly over the top and press them in lightly with the spatula so they stick. If you like flaky salt, sprinkle a pinch now. Let the pan chill in the fridge until fully set, about 30–45 minutes; you’ll know it’s ready when the top feels firm and the chocolate snaps when you tap it.
Step 5:
Lift the bark out using the parchment overhang and break or cut it into pieces. Use a serrated knife warmed under hot water and dried for cleaner cuts. Store in an airtight container at cool room temperature or in the fridge for up to two weeks — if you hide it, don’t tell anyone (I didn’t tell either).
Pro Tips
- Melt chocolate in short bursts (20–30 seconds) and always stir — chocolate keeps cooking from residual heat, so stir often to prevent burning.
- Keep water away from chocolate. Even a drop will make it seize and grainy. Dry your bowl and tools thoroughly.
- For shinier chocolate and easier slicing, add 1 tbsp neutral oil to each chocolate melt.
- Crush candy canes in a zip-top bag with a rolling pin for uneven, rustic pieces — or blitz briefly in a food processor for a finer sprinkle.
Common Mistakes to Avoid
- Skipping preheating: Classic rookie move. It changes texture and bake time.
- Overmixing: Leads to dense or chewy results. Mix until just combined.
- Guessing cook time: Always use visual cues or a timer, not just vibes.
- Overcrowding pans: Give your food some breathing room to crisp properly.
Alternatives & Substitutions
- Use **milk chocolate** instead of dark for a sweeter base — expect a creamier, less-intense flavor.
- Swap white chocolate for **almond bark** or candy coating for an easy, drip-free top layer (great if you don’t want to temper white chocolate).
- Dairy-free option: use **vegan dark and white chocolate** or dairy-free white coating; peppermint bark stays naturally gluten-free if your candy canes are labeled GF.
- Too strong on peppermint? Swap extract for 1/2 tsp for a milder hint.
Variations & Tips
- Add finely chopped **roasted almonds** or pistachios for a nutty crunch.
- Stir in a teaspoon of **orange zest** to the dark chocolate for a chocolate-orange twist.
- Make a spicy version with a pinch of **cayenne** in the dark chocolate for adults-only bark.
- Top with crushed candy cane AND mini chocolate chips for extra texture and look.
- Layer in thin shards of cookie or brownie pieces between the chocolates for a decadent twist.
- Create colorful bark by swirling in a tiny bit of pink food coloring into the white chocolate before pouring.
FAQ (Frequently Asked Questions)
- Can I make this ahead of time?
- Yes! Make the bark up to two weeks ahead and store in an airtight container in a cool, dry place or the fridge. Keep layers flat so pieces don’t break.
- Can I double the recipe?
- Sure thing. Use a larger pan (half-sheet for double) or make two pans — chilling time stays the same but you might need to chill in batches if your fridge is crowded.
- Can I substitute butter with oil?
- Technically yes, but you’ll miss that buttery magic. Use ¾ the amount of oil.
- How do I know it’s done?
- Look for a firm, glossy surface on both layers and a satisfying snap when you tap or break a piece. The top should not feel tacky to the touch.
- What if I don’t have ingredient X?
- If you don’t have peppermint extract, use vanilla and add crushed candy canes for flavor; if you’re out of white chocolate, use almond bark or white candy coating as a reliable substitute.
How I Like to Serve It
I love stacking peppermint bark on a festive plate next to mugs of steaming hot cocoa or spiked coffee — the contrast of hot and cold makes every bite cozy. Wrap pieces in cellophane with a ribbon and hand them out as tiny edible presents. Crumble some over vanilla ice cream or mix into holiday trail mix for unexpected crunch.
Notes
- Store in an airtight container at cool room temp or in the fridge for up to two weeks; let pieces sit at room temp for a few minutes before serving if chilled.
- No reheating required — just enjoy cold or room temperature. Not applicable for meat temps.
Final Thoughts
Closing: Go make a batch, break it into pieces, and hide one for yourself — you deserve it. Peppermint bark makes everything feel festive, whether you gift it, nibble it, or stack it like a sugary victory.