
Chef’s Secret time: I’ll let you in on how I make peanut butter cups that beat store-bought hands down without any fancy tools. Years ago, I chased perfect texture—velvety, slightly crumbly peanut center with a glossy chocolate shell—and finally landed on this simple combo of creamy peanut butter, powdered sugar, and a thin, snap-worthy chocolate coating. I keep the method unfussy: melt, mix, press, chill. The result gives that hush-your-mouth-and-savor moment when the chocolate gives a tiny snap and the peanut butter melts warm and grainy. Keep a napkin handy; these disappear fast.
Quick Facts
- Yield: Serves 12 peanut butter fudge cups
- Prep Time: 20 minutes
- Cook Time: 5 minutes (active melting time)
- Total Time: 50 minutes (includes 30 minutes chilling)
Why This Recipe is Awesome
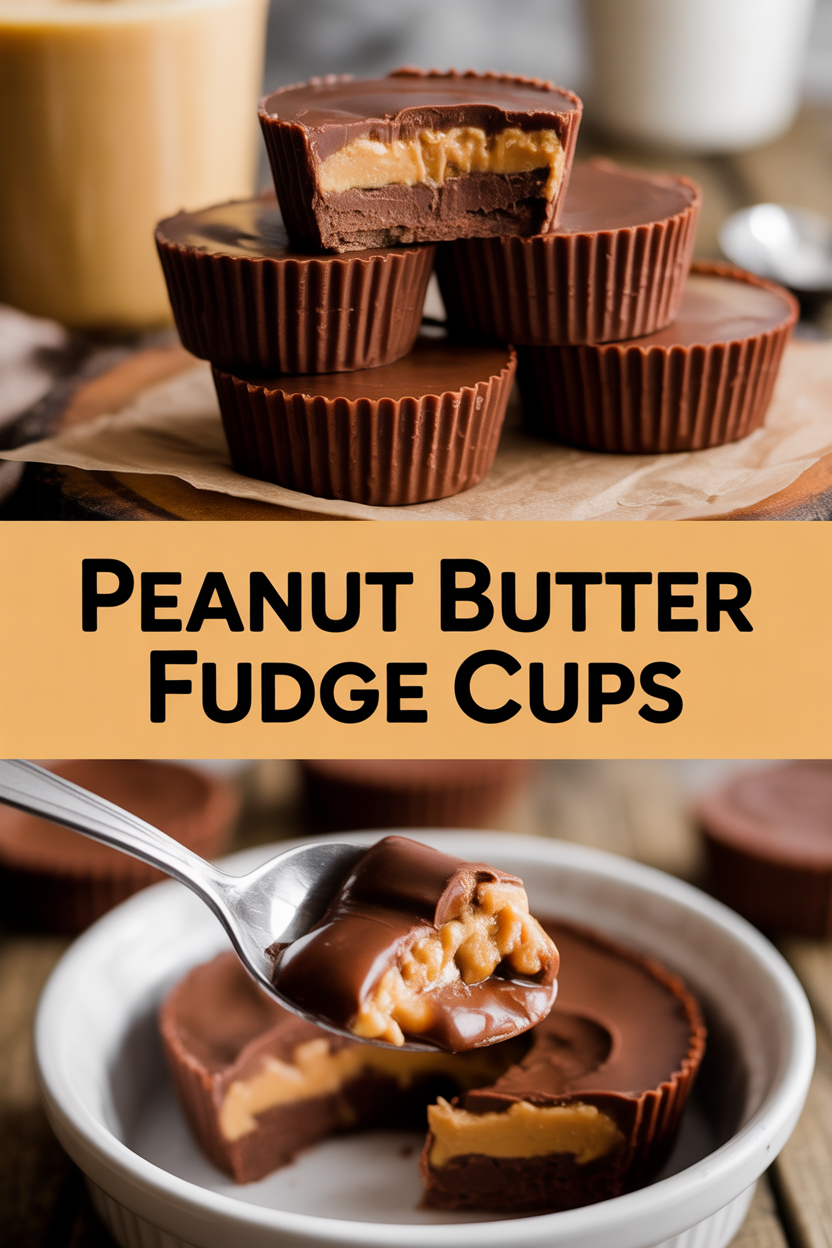
These Peanut Butter Fudge Cups marry creamy, slightly grainy peanut butter filling with a glossy chocolate shell that gives a satisfying snap. They feel indulgent but use simple pantry ingredients. Plus, they’re forgiving: no tempering, no candy thermometer, just melting and chilling. Who doesn’t love a bite that’s sweet, salty, and melts on your tongue? And honestly—my oven can’t mess these up, because you barely use it.
Ingredients
For the Main Dish:
- 1 1/4 cups creamy peanut butter (about 10 oz)
- 1/2 cup unsalted butter (1 stick), softened
- 2 cups powdered sugar, sifted if lumpy
- 1 tsp vanilla extract
- Pinch of fine sea salt (more if using unsalted peanut butter)
- 12 oz (about 2 cups) semisweet chocolate chips or chopped baking chocolate
- 1 tbsp vegetable oil or coconut oil (to thin the chocolate)
- 12 paper cupcake liners or a silicone mini muffin tin
For the Sauce / Garnish (if applicable):
- Optional: flaky sea salt for sprinkling
- Optional: 1–2 tsp powdered sugar or crushed pretzels to dust the tops
How I Make It
Step 1:
Line a muffin tin with 12 paper liners or set out a silicone mold. In a medium bowl, beat together 1/2 cup softened butter and 1 1/4 cups creamy peanut butter until smooth and a little glossy—about 1–2 minutes. You’ll smell that nutty warmth right away. Add 1 tsp vanilla and a pinch of salt, then stir in 2 cups powdered sugar a cup at a time until the mixture looks like a soft, slightly grainy dough that holds shape.
Step 2:
Scoop roughly 1 1/2 tablespoons of the peanut butter mixture into each liner. Press down gently with your fingers or the back of a spoon to form an even flat disk with a slight dimple in the center—this helps the chocolate sit nicely. If the mixture feels sticky, chill it for 5–10 minutes; it firms up and becomes easier to shape.
Step 3:
Set up a double boiler or use the microwave: melt 12 oz chocolate with 1 tbsp oil in 20–30 second bursts, stirring between bursts until glossy and smooth. Watch for steam and don’t let water touch the chocolate—dry steam only. The chocolate should flow like warm syrup; if it looks thick, add another 1/2 tsp oil.
Step 4:
Pour or spoon enough warm chocolate over each peanut disk to fully cover it. You’ll love the sound of tiny drips and the sight of shiny, dark tops. Tap the pan gently on the counter to level the chocolate and pop any air bubbles. If you want a sprinkle of flaky sea salt or crushed pretzels, add them now. Slide the tray into the fridge and chill for 30 minutes until the chocolate snaps when you press it.
Step 5:
Remove the cups from the fridge, let them sit at room temperature for 3–5 minutes so the chocolate loses its extreme chill, then peel the liners away. Serve on a small plate with napkins. Store leftovers in an airtight container in the fridge for up to 2 weeks, or freeze for longer.
Pro Tips
- Use room-temperature butter for the smoothest filling; cold butter won’t combine well.
- Don’t overheat chocolate—heat until mostly melted, then stir off heat to finish melting; that keeps it glossy.
- If your filling feels too soft, add up to 1/2 cup more powdered sugar a little at a time until it holds shape.
- For extra snap, chill the chocolate on a metal baking sheet; metal chills faster than plastic or ceramic.
Common Mistakes to Avoid
- Skipping preheating: Classic rookie move. It changes texture and bake time.
- Overmixing: Leads to dense or chewy results. Mix until just combined.
- Guessing cook time: Always use visual cues or a timer, not just vibes.
- Overcrowding pans: Give your food some breathing room to crisp properly.
Alternatives & Substitutions
- Swap semisweet chocolate for milk chocolate for a sweeter, creamier shell; dark chocolate gives a nice bitter contrast.
- Use natural peanut butter for more pronounced nutty flavor—but add a touch more powdered sugar because natural PB runs looser.
- Dairy-free option: use vegan butter and dairy-free chocolate; texture shifts slightly but still delicious.
- Gluten-free: recipe stays naturally gluten-free if you check your chocolate for cross-contamination.
Variations & Tips
- Spicy twist: stir 1/4 tsp cayenne or smoked paprika into the chocolate before topping for a chili-chocolate kick.
- Salted caramel: add a dab of soft caramel on top of the peanut disk before the chocolate for an oozy center.
- Crunchy: fold 1/2 cup crushed pretzels or cereal into the peanut filling for texture.
- Miniatures: make 24 bite-size cups in a mini muffin tin—perfect for parties and tiny hands.
- Chocolate swirl: drizzle a little white chocolate over tops before chilling and use a toothpick to swirl for a fancy look.
FAQ (Frequently Asked Questions)
- Can I make this ahead of time?
- Yes! Make the cups, chill until firm, and store them in an airtight container in the fridge for up to 2 weeks. Freeze for up to 3 months—defrost in the fridge for a few hours before serving.
- Can I double the recipe?
- Sure thing. Use two bowls and melt chocolate in batches so it stays glossy. If you double, work in shifts to keep fillings and chocolate at the right consistency.
- Can I substitute butter with oil?
- Technically yes, but you’ll miss that buttery magic. Use about ¾ the amount of oil and expect a slightly different mouthfeel—less rich and a touch greasier.
- How do I know it’s done?
- The chocolate will look shiny and firm to the touch and give a small snap when you press it. The filling should hold its shape without oozing—if it squishes out, chill a bit longer.
- What if I don’t have ingredient X?
- No powdered sugar? Pulse granulated sugar in a blender until fine, but expect a slightly grittier texture. No peanut butter? Try almond or cashew butter—flavor and texture change but still delicious.
How I Like to Serve It
I keep a small stack on my coffee table with a steaming mug of black coffee or afternoon tea—those bittersweet contrasts sing. Bring them to potlucks and people will ask for the recipe (I grin and say “chef’s secret”). They work as a little dessert after a summer BBQ, or tucked into lunchboxes for a special treat.
Notes
- Store in an airtight container in the fridge for up to 2 weeks; freeze for up to 3 months. Thaw in the fridge before serving.
- No meat temperatures to worry about here—just chill until firm and enjoy.
Final Thoughts
Closing: Now go impress someone—or just yourself—with these rich, nostalgic Peanut Butter Fudge Cups. They make snack time feel celebratory, and I promise they disappear faster than you expect.