
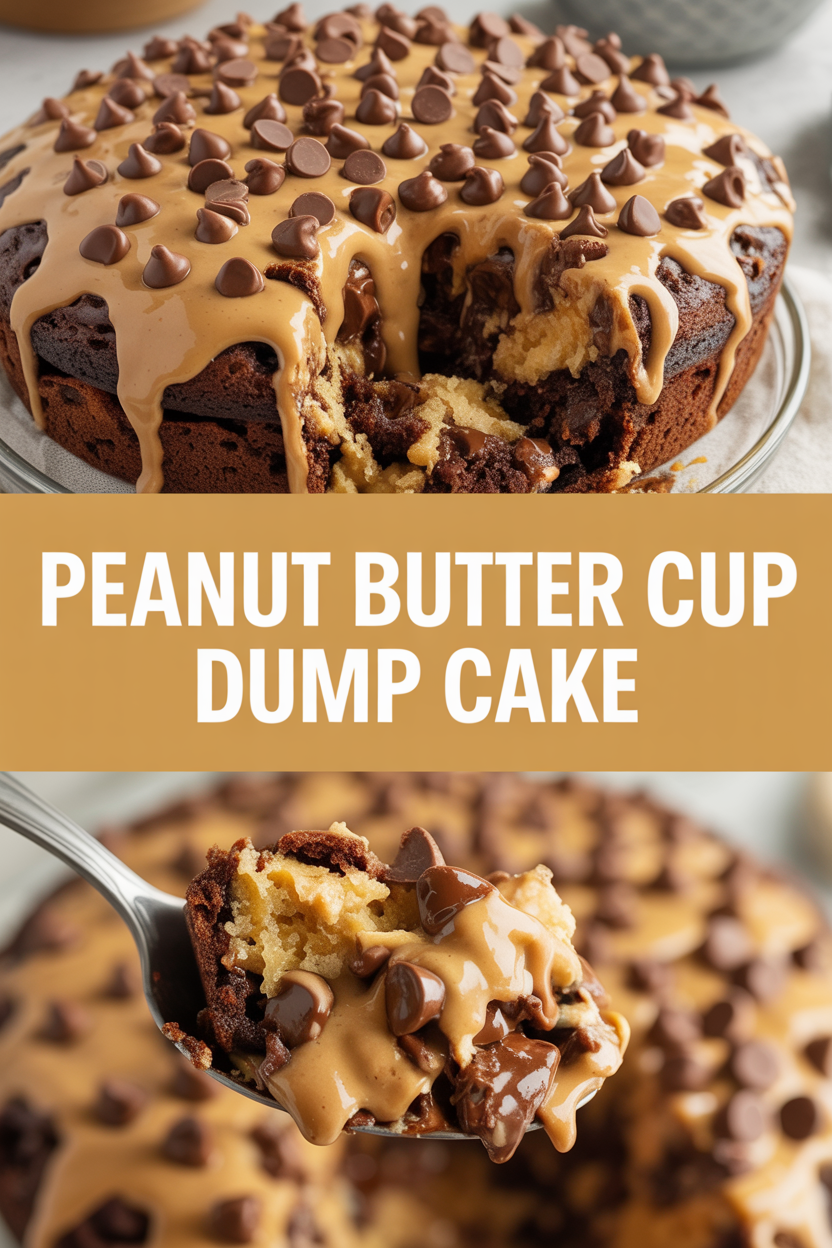
I never planned to become the person who brings dessert to every party, but then I discovered the magic of a dump cake — and now I have zero regrets. Picture this: warm, chocolatey air, the pop of chopped peanut butter cups as you stir, and that first spoonful that makes you audibly sigh. I call this the Peanut Butter Cup Dump Cake because it does most of the heavy lifting for you — no creaming, no beating, just layering and baking. It tastes like a cross between a molten brownie and a peanut-buttery candy bar, and it comes together faster than you can coach someone through opening the oven. Trust me: your kitchen will smell like heaven in 40–45 minutes.
Quick Facts
- Yield: Serves 8
- Prep Time: 10 minutes
- Cook Time: 40–45 minutes
- Total Time: 50–55 minutes
Why This Recipe is Awesome
This cake feels like dessert cheating in the best way — dump, bake, devour. The top crisps into a golden, buttery crust while the middle stays decadently gooey with melted chocolate and peanut butter. You get crunchy bits of candy, a buttery-sugar snap, and that warm, nutty aroma that makes people hover in the kitchen. It’s so easy that even your most distracted friend can pull it off, and the payoff tastes fancy enough for a potluck or casual enough for a weeknight dessert.
Ingredients
For the Main Dish:
- 1 (15.25 oz) box devil’s food cake mix (or any chocolate cake mix)
- 1 cup (2 sticks) unsalted butter, cold and cut into 1 tbsp slices
- 1 (14 oz) can sweetened condensed milk
- 1/2 cup creamy peanut butter (room temperature)
- 12 oz peanut butter cups, roughly chopped (about 30 mini cups or 18 full-size)
- 1 cup semi-sweet chocolate chips
- 1/4 tsp salt (balances sweetness; optional)
For the Sauce / Garnish (if applicable):
- Vanilla ice cream or whipped cream, for serving (optional)
- Extra chopped peanut butter cups and a drizzle of melted chocolate, for garnish
How I Make It
Step 1:
Preheat your oven to 350°F. Grease a 9×13-inch baking dish so the edges release easily. Scatter half the chopped peanut butter cups and half the chocolate chips across the bottom — this gives you little islands of chocolate and peanut butter that melt into pockets of goo.
Step 2:
In a small bowl, stir the sweetened condensed milk with the peanut butter and 1/4 tsp salt until creamy and smooth. You may warm it for 10–15 seconds in the microwave to make stirring easier. Dollop this mixture in spoonfuls over the chopped candies and chips so you get ribbons of peanut butter throughout the cake.
Step 3:
Sprinkle the entire surface evenly with the chocolate cake mix — do not mix. Arrange the slices of cold butter over the top, spacing them so the cake mix will absorb fat and crisp up. The kitchen already smells amazing: nutty, buttery, and like a candy shop mid-bake. That melted chocolate smell will make you check the oven more than once — let curiosity win a little.
Step 4:
Bake at 350°F for 40–45 minutes. Watch for golden-brown edges and a slightly crunchy top. The center should bubble up in places with molten peanut-buttery goodness; you want a few moist crumbs when you insert a toothpick, not a dry clean one. If the top browns too fast, tent with foil for the last 10 minutes.
Step 5:
Let the cake rest for at least 10 minutes before you scoop. This helps the gooey center set slightly so you get neat slices. Serve warm with a scoop of vanilla ice cream and extra chopped peanut butter cups on top. I always add a pinch of flaky sea salt if I’m feeling fancy — it makes the chocolate pop.
Pro Tips
- Use cold butter sliced thin so it melts into pockets and creates a crisp top instead of soaking in too quickly.
- Warm the peanut butter-condensed milk mix if it resists blending — a few seconds in the microwave helps you swirl without lumps.
- If you want nuttier depth, stir 1/2 cup chopped peanuts into the layer of chocolate chips for crunch and contrast.
- For cleaner slices, chill the cake for 30 minutes after baking, then reheat individual pieces briefly when serving.
Common Mistakes to Avoid
- Skipping preheating: Classic rookie move. It changes texture and bake time.
- Overmixing: Leads to dense or chewy results. Mix until just combined.
- Guessing cook time: Always use visual cues or a timer, not just vibes.
- Overcrowding pans: Give your food some breathing room to crisp properly.
Alternatives & Substitutions
- Use a yellow cake mix for a lighter, cake-like top instead of devil’s food — the center stays the same gooey joy.
- Swap peanut butter cups with chopped plain chocolate bars and a drizzle of peanut butter for a less sweet option.
- For a dairy-free version, use vegan sweetened condensed coconut milk and vegan butter; texture stays rich but shifts slightly coconutty.
- For a gluten-free option, try a certified gluten-free chocolate cake mix — the rest of the recipe works the same.
Variations & Tips
- Make it extra peanut-y: swirl additional 1/4 cup peanut butter over the top before baking for ribbons of nutty sweetness.
- Salted caramel twist: drizzle caramel sauce over warm slices and finish with flaky salt.
- Mini individual portions: bake in six 8-ounce ramekins at the same temp for 25–30 minutes for single-serve puddings.
- Healthier-ish: use 3/4 box cake mix and add 1/2 cup applesauce to the butter to lower fat without wrecking texture.
- Rocky road version: toss in marshmallows and chopped almonds with the chocolate chips for extra chew and crunch.
FAQ (Frequently Asked Questions)
- Can I make this ahead of time?
- Yes! Bake it, let it cool, then cover and refrigerate up to 3 days. Reheat individual portions in the microwave for 20–30 seconds or warm the whole pan at 325°F for 10–15 minutes.
- Can I double the recipe?
- Sure thing. Use a 9×13 plus an extra 9×13 or a deep 9×13 and increase baking time by 10–15 minutes; check for bubbling centers and golden edges.
- Can I substitute butter with oil?
- Technically yes, but you’ll miss that buttery magic. Use 3/4 the amount of oil and expect a softer top instead of crisp, flaky edges.
- How do I know it’s done?
- Bake until the top turns golden brown and the edges bubble with chocolate or peanut butter. A toothpick should come out with moist crumbs — not dry, not soupy.
- What if I don’t have ingredient X?
- Run out of peanut butter cups? Chop up chocolate bars and stir in a couple tablespoons of peanut butter. No sweetened condensed milk? Use 1 cup heavy cream plus 2 tbsp sugar, but texture changes slightly.
How I Like to Serve It
I serve this warm with a scoop of cold vanilla ice cream, a drizzle of chocolate, and a sprinkle of chopped peanut butter cups — yes, more candy. It shines at potlucks because it travels well and tastes even better the next day. For a cozy night in, stack two forks and plan to share (or not). In summer, a scoop of cold ice cream turns it into a camp-style sundae; in winter, it makes the house smell like comfort.
Notes
- Store leftovers covered in the fridge for up to 4 days. Reheat portions briefly to regain that molten center.
- To reheat a whole pan, warm at 325°F for 10–15 minutes until bubbly.
Final Thoughts
Closing: Now go impress someone — or just yourself — with your homemade masterpiece!