
Okay, picture this: I tried to make dessert with one hand once while juggling a toddler and a blinking phone, and that’s how these No-Bowl Chocolate Nut Bars were born — chaotic, delicious, and proud of their minimal cleanup. I call them my “no-fuss rescue bars” because you don’t need to drag out a mixing bowl, and you can actually stir everything in a single saucepan or skillet. They snap with toasted nuts, whisper chocolatey sweetness, and hold together with a glossy, slightly sticky hug of honey and peanut butter. If you like crunchy, nutty bars that smell like warm cocoa and toasted almonds, these are your new go-to. Plus, you get to lie about how simple they were. I won’t tell.
Quick Facts
- Yield: Serves 12
- Prep Time: 15 minutes
- Cook Time: 0 minutes (stovetop melting/toasting ~10 minutes)
- Total Time: 1 hour (including chill for 45 minutes)
Why This Recipe is Awesome
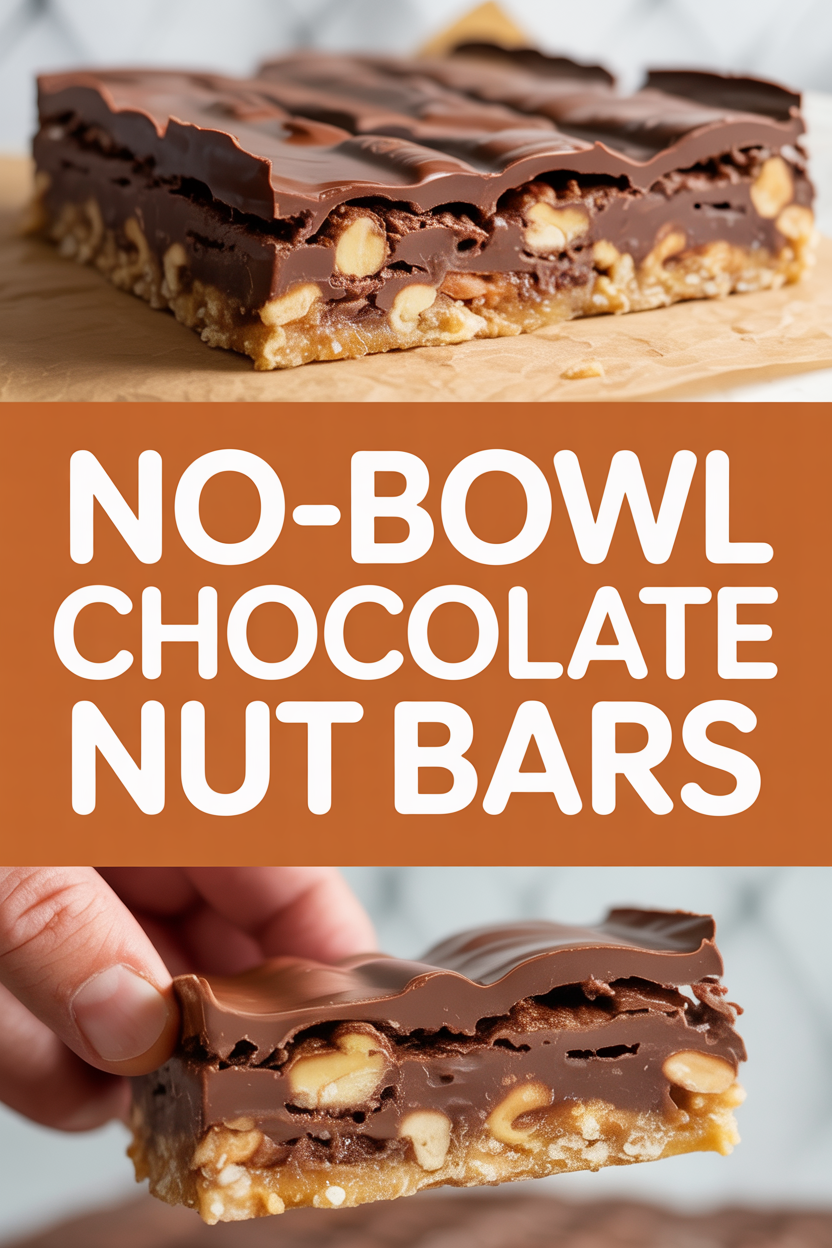
These bars give you crunchy, nutty texture with deep, melty chocolate — all without dirtying a mixing bowl. They taste like a cross between chewy granola bars and candy bark: crisp edges, a slightly gooey middle, and a satisfying snap. They come together fast, store well, and make the kitchen smell like cozy cocoa and toasted nuts. It’s so easy even your oven can’t mess it up — because you don’t need one!
Ingredients
For the Main Dish:
- 1 1/2 cups chopped mixed nuts (almonds, pecans, walnuts)
- 1 cup old-fashioned rolled oats
- 1 cup (6 oz) semisweet chocolate chips
- 1/2 cup creamy peanut butter (or any nut butter)
- 1/3 cup honey or maple syrup
- 3 tbsp unsalted butter
- 1/4 cup brown sugar, packed
- 1 tsp vanilla extract
- 1/4 tsp fine sea salt (plus extra for sprinkling)
- Optional: 1/2 cup dried fruit (cranberries or cherries), 2 tbsp chia or flax seed
For the Sauce / Garnish (if applicable):
- 2 tbsp chocolate chips (melted for drizzle) and extra flaky sea salt to finish
How I Make It
Step 1:
I toast the nuts and oats right in a large dry skillet over medium heat for about 4–5 minutes, stirring constantly until they smell warm and nutty and take on a little color. Listen for the faint crackle and watch for golden flecks — that toasty smell does half the job. Transfer the warm mix to a plate (or line your pan now) and set aside.
Step 2:
In the same skillet, I melt 3 tbsp unsalted butter over low heat. Then I stir in 1/3 cup honey and 1/4 cup brown sugar until the sugar dissolves and the mixture glows a little, about 2–3 minutes. Turn off the heat and whisk in 1/2 cup peanut butter, 1 tsp vanilla, and 1/4 tsp salt until glossy and smooth. Tip: lower heat keeps the nut butter from seizing or getting grainy.
Step 3:
Stir the toasted nuts, oats, and any optional dried fruit into the skillet. Add 1 cup (6 oz) chocolate chips and stir until the chips melt into ribbons and the whole pan looks shiny and well-coated. If the chocolate won’t melt fully, pop the skillet off the heat and stir; residual warmth finishes the job. The mixture should clump together when pressed — warm, chocolate-scented, and slightly sticky.
Step 4:
Line an 8×8-inch pan with parchment and press the mixture firmly into the pan using the back of a spatula or a piece of parchment. I press hard to get compact bars with crisp edges. Sprinkle a pinch of flaky sea salt on top. Chill in the fridge for at least 45 minutes until firm. You’ll hear a satisfying snap when you cut them.
Step 5:
Use a sharp knife to cut into 12 bars. For neat edges, chill an extra 10–15 minutes after slicing, then slice again. Drizzle with the extra melted chocolate and a shower of sea salt if you like dramatic, cafe-style bars. Serve cold or at room temperature — both delicious.
Pro Tips
- Toast nuts and oats carefully on medium heat; they can go from golden to burnt in seconds. I stay right there and stir constantly.
- If your chocolate seizes while mixing, add a teaspoon of butter or oil and stir — the fat calms the chocolate. Don’t overheat.
- Press the mixture firmly into the pan to avoid crumbly bars. Use a second piece of parchment on top and press with a flat-bottomed glass for even compression.
- Want nut-free or allergy-friendly? Swap nuts for sunflower seeds and use sunflower seed butter instead.
Common Mistakes to Avoid
- Skipping preheating: Classic rookie move. It changes texture and bake time.
- Overmixing: Leads to dense or chewy results. Mix until just combined.
- Guessing cook time: Always use visual cues or a timer, not just vibes.
- Overcrowding pans: Give your food some breathing room to crisp properly.
Alternatives & Substitutions
- Swap peanut butter for almond or cashew butter; almond lends a milder, more buttery flavor.
- Use coconut oil instead of butter to make them dairy-free — bars taste slightly more tropical and softer at room temp.
- Make them gluten-free by using certified gluten-free oats.
- Replace honey with maple syrup for a vegan-friendly option (texture stays similar, flavor shifts to maple).
Variations & Tips
- Chocolate-orange twist: add 1 tbsp orange zest and use dark chocolate chips.
- Spicy kick: sprinkle 1/4 tsp cayenne into the melted mix for a chocolate-chili bar.
- Trail mix bars: add 1/4 cup coconut flakes and 1/4 cup mini M&Ms for fun, kid-friendly bars.
- Superseed boost: fold in 2 tbsp each chia and hemp seeds for extra texture and protein.
- Layered bars: press half the mixture, pour a thin layer of melted white chocolate, then top with remaining mixture for visual drama.
FAQ (Frequently Asked Questions)
- Can I make this ahead of time?
- Yes! Make the bars and store them in an airtight container in the fridge for up to 2 weeks or freeze for up to 3 months. Thaw in the fridge or at room temperature for 15–30 minutes before serving.
- Can I double the recipe?
- Sure thing. Use a 9×13-inch pan and extend chilling time by another 15–30 minutes to ensure firmness. You may need two pans so you can press evenly.
- Can I substitute butter with oil?
- Technically yes, but you’ll miss that buttery magic. Use ¾ the amount of oil (so for 3 tbsp butter, use about 2 1/4 tbsp oil).
- How do I know it’s done?
- Look for glossy, clumping mixture in the pan and firm edges after chilling. When you press the top it should feel compact, and a clean cut should give you defined bars with a slight snap.
- What if I don’t have ingredient X?
- No panic. Replace mixed nuts with all almonds or pecans, or use extra oats and seeds if you’re missing nuts. Swap brown sugar for coconut sugar or increase the honey slightly for sweetness.
How I Like to Serve It
I love these bars with a steaming mug of coffee in the morning or sliced small as a dessert at parties. They also travel well for picnics and lunchboxes — keep them chilled on hot days. For a grown-up dessert, serve alongside a scoop of vanilla ice cream and a drizzle of espresso.
Notes
- Store bars in a covered container in the fridge for up to 2 weeks. Freeze extras between parchment squares.
- This recipe contains no meat; safe cooking temps for meat don’t apply here.
Final Thoughts
Closing: Now go impress someone — or just yourself — with these crunchy, chocolatey, no-bowl beauties. You deserve dessert with minimal cleanup and maximum flavor!