
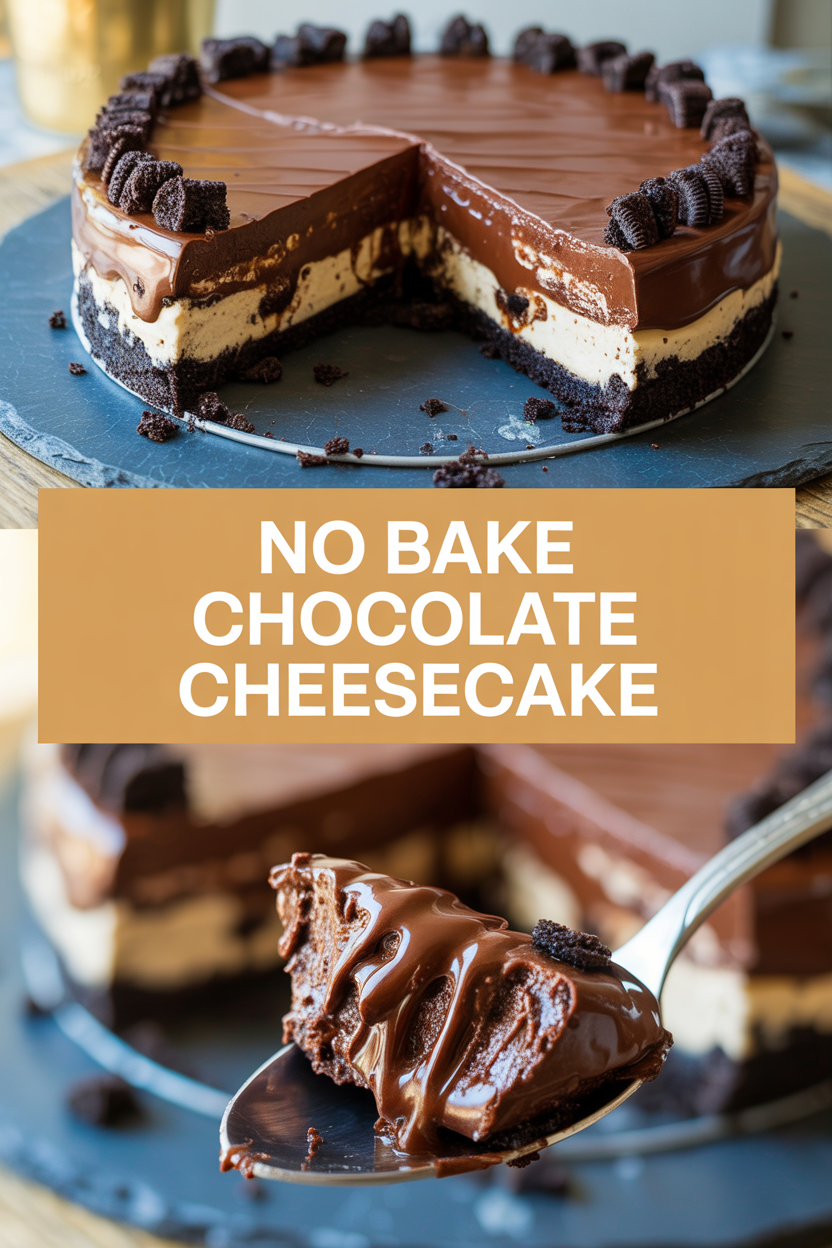
Here’s a little kitchen secret I love to whisper to friends: you don’t need an oven to make a show-stopping cheesecake. I stumbled on this no-bake chocolate cheesecake trick when I got lazy one holiday and refused to wait for my oven to stop humming. The result? Silky, rich chocolate filling that sets in the fridge and a buttery crust that crunches with each bite — without heating the kitchen. I’ll teach you how to melt chocolate without scorching it, how to whip cream until it sings clouds, and one magic move that keeps the filling perfectly smooth. Trust me — this becomes your go-to when you want dessert that feels fancy but comes together while you sip coffee.
Quick Facts
- Yield: Serves 8
- Prep Time: 20 minutes
- Cook Time: 0 minutes
- Total Time: 260 minutes (includes 4 hours chilling)
Why This Recipe is Awesome
This no-bake chocolate cheesecake tastes like a dessert from a cozy bakery but comes together in under 30 minutes of hands-on work. The filling feels silky and dense, the chocolate comes through without overpowering, and the crust gives a buttery crunch that balances everything. It’s so easy even your oven can’t mess it up — plus the fridge does the heavy lifting, so you end up with glossy chocolate, creamy textures, and melting-in-your-mouth slices every time.
Ingredients
For the Main Dish:
- Graham cracker crumbs: 1 1/2 cups (about 10–12 full crackers, crushed)
- Unsalted butter: 6 tbsp, melted
- Granulated sugar: 2 tbsp
- Cream cheese: 16 oz (2 packages), room temperature
- Powdered sugar: 3/4 cup, sifted
- Cocoa powder: 1/2 cup, unsweetened
- Semi-sweet chocolate: 6 oz, finely chopped
- Heavy cream: 1 1/2 cups cold
- Vanilla extract: 1 tsp
- Fine salt: 1/8 tsp
For the Sauce / Garnish (optional):
- Chocolate ganache: 4 oz chocolate + 1/2 cup heavy cream (heat briefly and stir until glossy)
- Whipped cream, cocoa powder, berries, or flaky sea salt for finishing
How I Make It
Step 1:
Crust first. I pulse crackers in a food processor until I see fine crumbs, then mix in 6 tbsp melted butter and 2 tbsp sugar. Press the mixture firmly into the bottom and slightly up the sides of an 8-inch springform pan using the bottom of a measuring cup. You want a compact, even layer so the crust holds together when you slice. Pop the pan into the fridge while you make the filling.
Step 2:
Chop 6 oz semi-sweet chocolate finely. I melt it gently over a double boiler or in 20-second bursts in the microwave, stirring between intervals until glossy and smooth. Let the melted chocolate cool slightly so it won’t melt the cream cheese when you add it.
Step 3:
Beat 16 oz cream cheese with 3/4 cup powdered sugar, 1/2 cup cocoa powder, 1 tsp vanilla, and a pinch of salt until the mixture becomes very smooth and lump-free. Scrape the bowl so nothing hides in the corners. Pour in the slightly cooled melted chocolate and beat until fully incorporated and the color deepens to a beautiful chocolate brown.
Step 4:
In a separate chilled bowl, whip 1 1/2 cups cold heavy cream until it holds medium-stiff peaks (soft, pillowy peaks that ripple but don’t flop). Gently fold one-third of the whipped cream into the chocolate-cream cheese base to loosen it, then fold in the rest in two additions. Keep the fold gentle so you retain the airy texture — you want a silky mousse-like filling, not dense paste.
Step 5:
Scrape the filling into the prepared crust and smooth the top with an offset spatula. Cover with plastic wrap and chill in the fridge for at least 4 hours, ideally overnight. When set, warm a knife under hot water, wipe dry, and slice for clean edges. Finish with a drizzle of glossy ganache, a dab of whipped cream, berries, or a sprinkle of flaky sea salt.
Pro Tips
- For the creamiest filling, bring cream cheese to room temperature before beating. Cold cream cheese lumps quickly.
- Use a chilled bowl and beaters for whipping cream; it whips faster and holds shape better.
- To prevent grainy chocolate, melt gently and avoid overheating. Stir until smooth and let cool slightly before adding.
- If you want a firmer set, add 2 tbsp of cream cheese powder or decrease heavy cream by 1/4 cup.
Common Mistakes to Avoid
- Skipping preheating: Classic rookie move. It changes texture and bake time.
- Overmixing: Leads to dense or chewy results. Mix until just combined.
- Guessing cook time: Always use visual cues or a timer, not just vibes.
- Overcrowding pans: Give your food some breathing room to crisp properly.
Alternatives & Substitutions
- Swap graham crackers for gluten-free graham crumbs or use 1 1/2 cups almond flour + 3 tbsp sugar for a gluten-free crust (press firmly; it’s a bit more crumbly).
- Replace heavy cream with full-fat coconut cream for a dairy-free option — the texture stays rich, but expect a hint of coconut flavor.
- Use Neufchâtel or a mix of half Neufchâtel and half cream cheese to cut richness slightly; flavor stays classic but lighter.
- If you must skip butter, use 4 1/2 tbsp neutral oil (¾ of butter amount) — you’ll miss that buttery magic, but it works in a pinch.
Variations & Tips
- Espresso-chocolate cheesecake: add 1 tbsp instant espresso powder to the filling for mocha notes.
- Peanut butter swirl: warm 1/3 cup peanut butter and ripple into filling before chilling.
- Berry layer: spoon a quick berry compote atop the filling before chilling for a fruity contrast.
- Mint chocolate: use mint extract (1/2 tsp) and top with chopped Andes mints for a holiday twist.
- Individual servings: press crust into muffin tins and chill filling for portable mini cheesecakes.
- Caramel sea-salt: top with salted caramel and a pinch of flaky sea salt for grown-up sweetness.
FAQ (Frequently Asked Questions)
- Can I make this ahead of time?
- Yes! Make the cheesecake up to 48 hours ahead and keep it covered in the fridge. For best texture, add fresh toppings right before serving.
- Can I double the recipe?
- Sure thing. Use a 9×13 pan or two 8-inch pans. You won’t need extra chilling time beyond the initial 4 hours, but a deeper pan may take longer to firm up.
- Can I substitute butter with oil?
- Technically yes, but you’ll miss that buttery magic. Use ¾ the amount of oil (about 4 1/2 tbsp) and press the crust firmly to compensate for less binding.
- How do I know it’s done?
- The top should feel set and slightly springy; when you jiggle the pan gently, the center may wobble a hair but won’t look liquid. After chilling, the knife should slice cleanly without dragging filling.
- What if I don’t have ingredient X?
- No problem — substitute almond flour for graham crumbs, coconut cream for heavy cream, or mix half powdered sugar + half honey if you’re out of powdered sugar (reduce liquid elsewhere to keep texture).
How I Like to Serve It
I love serving this cheesecake after a cozy dinner party with dark roast coffee or a glass of port. It also shines at summer picnics — keep it chilled in a cooler. For a simple weeknight treat, I slice it small and serve with berries and a dollop of whipped cream. The dessert feels festive in winter and refreshingly indulgent in summer.
Notes
- Store covered in the fridge for up to 4 days. You can freeze slices for up to 1 month; thaw in the fridge overnight.
- No meat temps required here — just enjoy your chocolatey victory!
Final Thoughts
Closing: Go ahead and make this; it’s quick, comforting, and a little sneaky — your guests will think you slaved over it, but you’ll know the real secret: the fridge and a few smart techniques.