
My grandmother kept a tin of Nanaimo bars on the top shelf of her pantry like a tiny treasure chest — always just out of reach for my impatient hands. I remember the flurry of crumbs on the counter, the warm, buttery smell when she pressed the base into the pan, and that triumphant snap of chocolate when we finally cut a square. These bars taste like snow days, school concerts, and holiday potlucks all rolled into one sweet, layered bite. If you want something that looks fancy but comes together in a lazy afternoon, this is your dessert: crunchy, creamy, chocolatey, and utterly nostalgic.
Quick Facts
- Yield: Serves 12–16
- Prep Time: 20 minutes
- Cook Time: 10 minutes active (melting & assembly)
- Total Time: 2 hours 30 minutes (including chilling)
Why This Recipe is Awesome
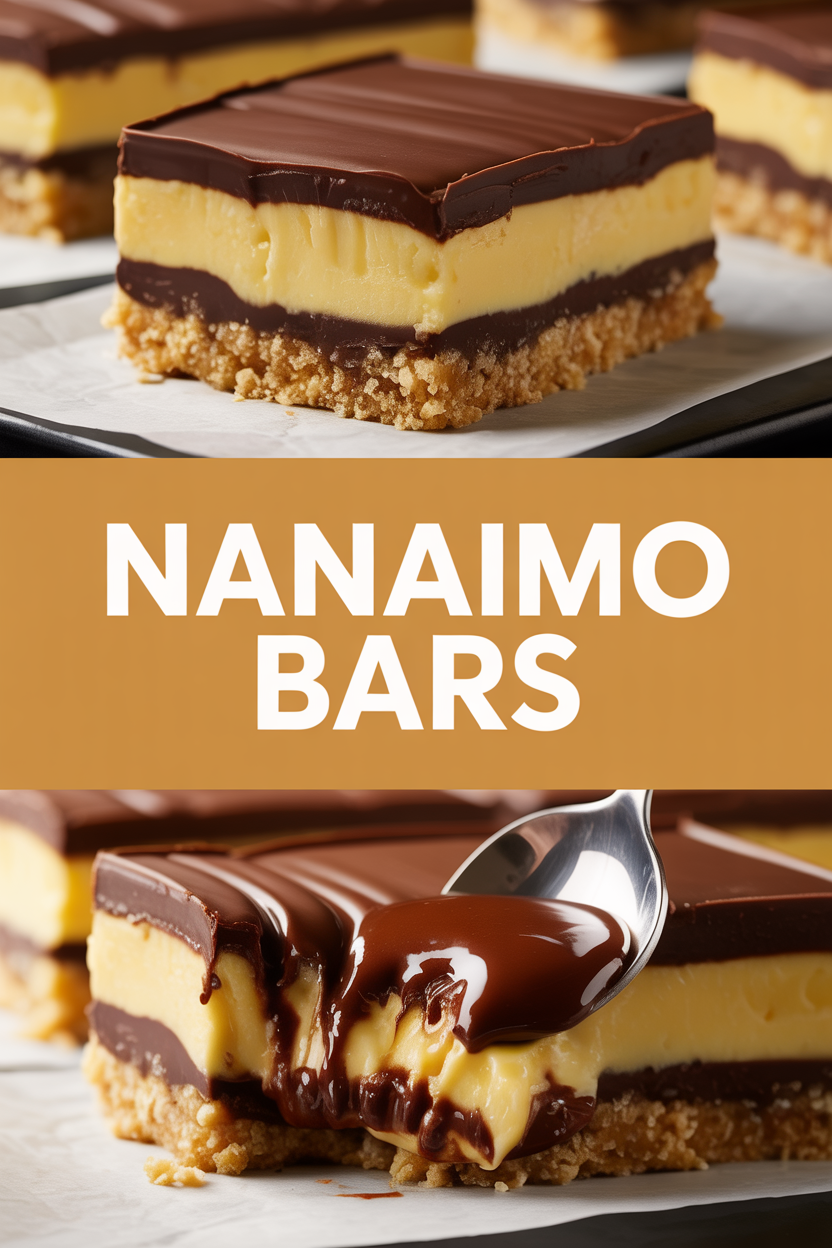
These Nanaimo bars deliver a trio of textures — a crunchy cocoa-graham base, a pillowy vanilla-custard middle, and a glossy chocolate top that snaps. They feel fussy but assemble faster than you expect, and they pack beautifully for potlucks. Honestly, it’s so easy even your oven will sit this one out. Plus, everyone loves a dessert you can make ahead and wow people with later.
Ingredients
For the Main Dish:
- For the base: 1 1/2 cups finely crushed graham crackers (about 10–12 sheets)
- 3/4 cup sweetened shredded coconut
- 1/2 cup chopped walnuts or pecans (optional)
- 1/3 cup + 2 tbsp unsweetened cocoa powder
- 1/2 cup granulated sugar
- 1/2 cup unsalted butter, melted (1 stick)
- 1 large egg, beaten (to bind base)
- 1/2 tsp salt
- For the custard middle: 1/2 cup unsalted butter (1 stick), room temperature
- 2 cups powdered sugar (confectioners’ sugar)
- 1 tbsp instant vanilla pudding mix or 2 tbsp custard powder (vanilla)
- 2–3 tbsp milk (start with 2 tbsp, add to reach spreadable consistency)
- 1 tsp vanilla extract
- For the chocolate topping: 8 oz semi-sweet chocolate chips or chopped chocolate
- 2 tbsp unsalted butter
For the Sauce / Garnish (if applicable):
- Optional flaky sea salt for sprinkling
- Optional toasted coconut for extra crunch
How I Make It
Step 1:
Line a 9×9-inch pan with parchment, leaving an overhang for easy lifting. In a bowl combine the crushed graham crackers, unsweetened cocoa powder, shredded coconut, chopped nuts (if using), granulated sugar, and salt. Pour in the melted butter and beaten egg, then stir until the mixture holds together when you press a pinch. Press the mixture firmly into the pan — you want an even, compact layer that will form a crunchy base. Press until you hear that gentle scraping sound; it helps the bars slice cleanly later.
Step 2:
Make the custard middle by beating the room-temperature butter until smooth, then add the powdered sugar and instant pudding mix. Add vanilla and start with 2 tbsp milk, beating until fluffy and spreadable. If it feels too stiff, add the third tablespoon. Taste it here — it should sing of vanilla and feel like a luxurious cloud between two layers.
Step 3:
Spread the custard layer gently and evenly over the pressed base with an offset spatula. Smooth it to the edges. When you press, listen for the faint squish of buttercream settling; that’s the good sound of texture building. Now chill the pan in the fridge for at least 2 hours, until the middle firms. This step makes cutting tidy squares instead of a chocolatey mess.
Step 4:
When the middle feels firm, melt the chocolate and butter together in a heatproof bowl set over barely simmering water (double boiler) or in short bursts in the microwave, stirring every 15 seconds. Pour the glossy chocolate over the chilled bars and spread to the edges. If you like, sprinkle with flaky sea salt or toasted coconut while the chocolate is still soft. Let the chocolate set — either at room temperature (30–60 minutes) or in the fridge for a quicker finish.
Step 5:
Use the parchment overhang to lift the whole slab from the pan. Warm a sharp knife under hot water, dry it, and slice into squares for clean edges. Store the bars in an airtight container in the fridge for up to 5 days — they taste even better after a day when flavors meld.
Pro Tips
- Press the base with a flat-bottomed measuring cup for an even, compact layer — that helps the bars hold their shape.
- Chill thoroughly between layers. A fully chilled middle prevents the chocolate from sinking or cracking when you slice.
- Warm your knife before each cut for glossy edges; wipe it clean between slices.
- Substitute custard powder if you can find it for an authentic flavor, but instant vanilla pudding works great and keeps things simple.
Common Mistakes to Avoid
- Skipping preheating: Classic rookie move. It changes texture and bake time.
- Overmixing: Leads to dense or chewy results. Mix until just combined.
- Guessing cook time: Always use visual cues or a timer, not just vibes.
- Overcrowding pans: Give your food some breathing room to crisp properly.
Alternatives & Substitutions
- Gluten-free: Use gluten-free graham crackers or crushed gluten-free vanilla cookies for the base — texture will stay similar.
- Dairy-free: Swap butter with coconut oil in the base and filling, and use dairy-free chocolate chips. Expect a slight coconut note.
- Nut-free: Omit nuts and add an extra 1/4 cup coconut or crushed graham for volume.
- Custard swap: If you don’t have instant pudding, whisk 2 tbsp cornstarch with 1 cup milk and cook until thickened for a homemade custard; cool before adding to butter and powdered sugar.
Variations & Tips
- Espresso Nanaimo: Add 1 tsp instant espresso powder to the custard for a coffee-kissed middle.
- Mint twist: Add 1/2 tsp peppermint extract to the filling and use dark chocolate topping.
- Salted caramel: Drizzle a thin layer of caramel over the custard before pouring chocolate.
- Almond joy-style: Swap walnuts for sliced almonds and add extra toasted coconut on top.
- Mini bars: Use a 9×13 pan and cut smaller for bite-sized treats — great for parties.
- Chocolate lovers: Mix chopped dark chocolate into the custard for pockets of melty goodness.
FAQ (Frequently Asked Questions)
- Can I make this ahead of time?
- Yes! Assemble the bars and keep them refrigerated in an airtight container for up to 5 days. Freeze for up to 2 months — thaw in the fridge before slicing.
- Can I double the recipe?
- Sure thing. Use a 9×13-inch pan and increase chill time slightly. Keep layers proportionate: 1.5x the base and 2x the filling for a taller bar, or make two 9×9 pans.
- Can I substitute butter with oil?
- Technically yes, but you’ll miss that buttery magic. Use ¾ the amount of oil.
- How do I know it’s done?
- Look for a firm custard middle and a shiny, set chocolate top. The bars should hold a clean edge when you slice; if the middle squishes, chill longer.
- What if I don’t have ingredient X?
- No pan? Use a similarly sized dish. No graham crackers? Substitute crushed vanilla wafers or digestive biscuits. No pudding mix? See the cornstarch custard method in substitutions.
How I Like to Serve It
I serve Nanaimo bars chilled with a steaming cup of strong coffee or a glass of cold milk — both are perfect. They shine on dessert trays at holiday parties, and they travel well for potlucks. In summer, I pair them with fresh berries to cut the richness; in winter, they feel like a cozy, indulgent treat after a snow day.
Notes
- Store in the fridge for up to 5 days; freeze for up to 2 months. Thaw in the fridge before serving.
- No meat here, so no internal temp required — just keep everything chilled until you slice.
Final Thoughts
Closing: Now go impress someone — or just yourself — with your homemade masterpiece! There’s something heartwarming about layer-after-layer of homemade goodness. Enjoy every bite.