
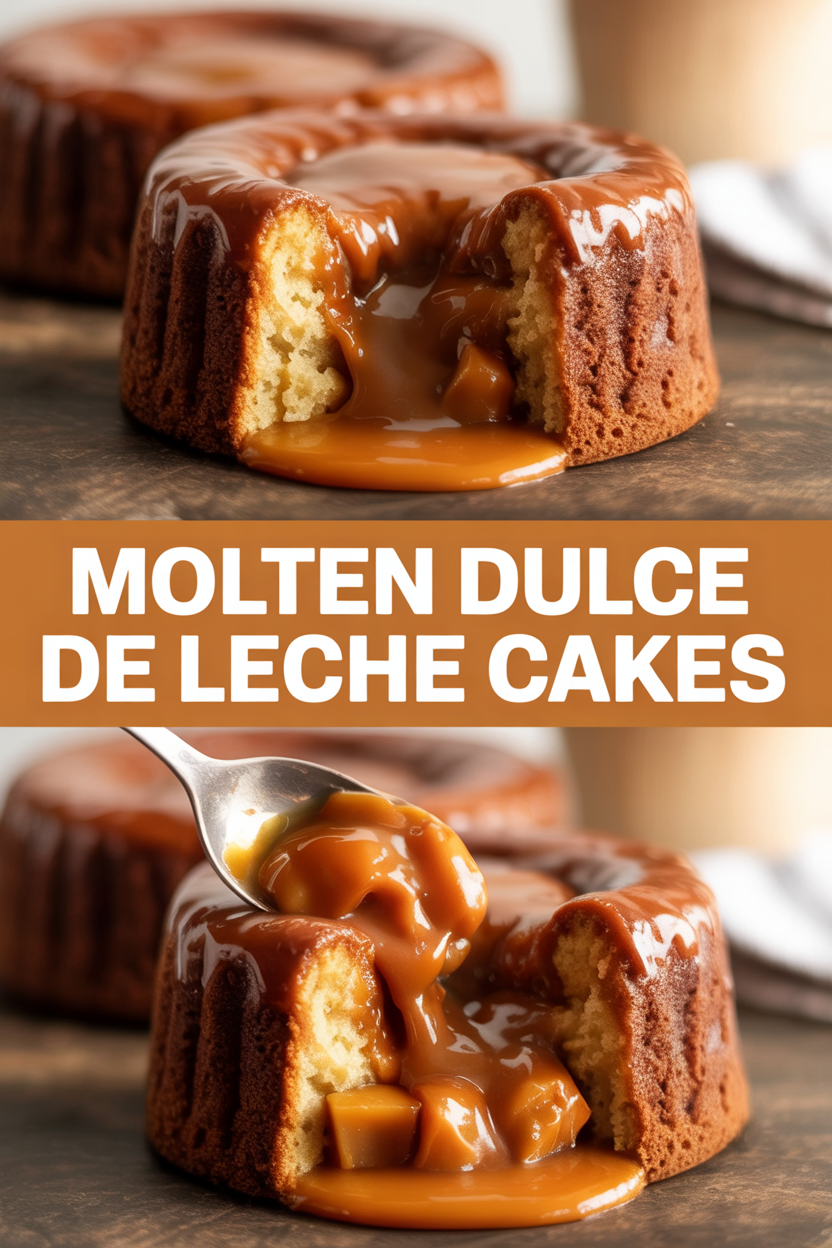
I have a confession: I once judged a dessert solely by how aggressively it could ruin my shirt with molten caramel. True story. These Molten Dulce de Leche Cakes behave like tiny, cozy dessert volcanoes — they look polite from the outside and then explode into a warm, sticky center the moment you cut in. If you like chocolate, caramel, a little drama, and the smug satisfaction of serving something that looks fancy but tastes like a hug, this recipe will become your secret weapon. Plus, they smell ridiculously good while they bake — think toasted sugar, melted chocolate, and buttered warmth invading your whole kitchen.
Quick Facts
- Yield: Serves 6
- Prep Time: 15 minutes
- Cook Time: 12 minutes
- Total Time: 27 minutes
Why This Recipe is Awesome
These cakes deliver a crisp, chocolatey edge with a molten, caramel center that oozes out and makes everyone gasp — in a good way. They come together fast, use pantry-friendly ingredients, and feel restaurant-worthy without the drama. They’re rich and silky, with a sweet, slightly toasty aroma while baking. It’s so easy even your oven can’t mess it up — but I’ll give you tips so it won’t try.
Ingredients
For the Main Dish:
- 1 stick (8 tbsp) unsalted butter, plus extra for ramekins
- 4 oz semi-sweet chocolate (about 2/3 cup chopped or chips)
- 3/4 cup granulated sugar
- 2 large eggs + 2 large egg yolks, room temperature
- 1 tsp vanilla extract
- 1/3 cup all-purpose flour
- Pinch of salt
- 1 (14 oz) can dulce de leche (you’ll use about 2–3 tbsp per cake)
- 6 small (6-oz) ramekins, dusted with cocoa powder or granulated sugar
For the Sauce / Garnish (if applicable):
- Powdered sugar and flaky sea salt for dusting
- Vanilla ice cream or whipped cream, optional
- Fresh berries or mint leaves, optional
How I Make It
Step 1:
Preheat your oven to 425°F and butter the ramekins, then dust them with cocoa or sugar so the cakes release easily. In a small saucepan over low heat (or a microwave in 20-second bursts), melt the butter and chocolate together until smooth, stirring constantly. The kitchen will smell like toasted cocoa — dangerous and delightful.
Step 2:
Whisk the granulated sugar into the warm chocolate mixture so it dissolves a bit. In a separate bowl, beat the eggs and egg yolks just until blended, then whisk them into the chocolate mixture. Add the vanilla, pinch of salt, and fold in the flour until just combined. Don’t overmix — you want a silky batter, not a cake batter that’s begging for a nap.
Step 3:
Divide the batter among the 6 ramekins, filling each about two-thirds full. Spoon about 2–3 tbsp of dulce de leche into the center of each ramekin, gently pressing it slightly into the batter. You can swirl a tiny bit of the batter over the top if you want a neater dome. The caramel will stay hidden like a sweet little surprise.
Step 4:
Bake at 425°F for about 11–13 minutes. Look for set edges and slightly domed tops; the centers should still jiggle when you shake the pan gently. You want that soft, molten heart — if the top cracks and the center looks dry, you baked too long. The smell at this point should be caramel-meets-chocolate heaven.
Step 5:
Let the cakes rest for 1 minute, then run a thin knife around the edges and invert each ramekin onto a plate. Tap and lift — the cake should release with a gooey center spilling out. Dust with powdered sugar, sprinkle a little flaky sea salt, add a scoop of vanilla ice cream if you’re feeling decadent, and serve immediately while molten.
Pro Tips
- Use room-temperature eggs so the batter emulsifies smoothly and you avoid graininess.
- If you want perfect centers every time, chill the dulce de leche in the fridge, scoop into small balls, freeze for 30 minutes, then tuck a frozen ball into the batter — it helps control the melt.
- Don’t overbake: start checking at 11 minutes. The center should jiggle, not wobble like jelly.
- If your ramekins vary in size, rotate the tray halfway through baking for even coloring and doneness.
Common Mistakes to Avoid
- Skipping preheating: Classic rookie move. It changes texture and bake time.
- Overmixing: Leads to dense or chewy results. Mix until just combined.
- Guessing cook time: Always use visual cues or a timer, not just vibes.
- Overcrowding pans: Give your food some breathing room to crisp properly.
Alternatives & Substitutions
- Swap semi-sweet chocolate for dark chocolate for a richer, less sweet cake. It will deepen the chocolate flavor.
- Use a jarred caramel sauce or homemade caramel if you don’t have dulce de leche — flavor stays similar but texture may runnier.
- For gluten-free, use a 1:1 gluten-free flour blend; the texture stays tender but may be slightly denser.
- Dairy-free option: replace butter with coconut oil and use dairy-free chocolate; for dulce de leche-style center, try canned coconut caramel (boiled coconut milk) or a thickened date caramel.
Variations & Tips
- Add a teaspoon of instant espresso powder to the batter to sharpen the chocolate flavor.
- Stir in 1/4 cup finely chopped toasted pecans or hazelnuts for crunch in the batter.
- For a boozy twist, swirl 1 tsp of bourbon into each dollop of dulce de leche before baking.
- Top with a sprinkle of chili powder or cayenne for a spicy-sweet kick that adults will love.
- Make mini versions in muffin tins for parties — reduce bake time by 2–3 minutes.
- Flip the concept: make chocolate cakes and serve with a spoonful of dulce de leche on top instead of hidden inside for a prettier presentation.
FAQ (Frequently Asked Questions)
- Can I make this ahead of time?
- Yes! You can assemble the cakes in ramekins, cover, and refrigerate for up to 24 hours. Bake straight from the fridge — add 1–2 minutes to the bake time. You can also freeze assembled cakes (wrap tightly) for up to 1 month; thaw in the fridge before baking.
- Can I double the recipe?
- Sure thing. Bake on two racks or two sheets and rotate halfway through. Keep an eye on timing — additional items in the oven can change air circulation, so check a minute or two earlier than expected.
- Can I substitute butter with oil?
- Technically yes, but you’ll miss that buttery magic. Use ¾ the amount of oil.
- How do I know it’s done?
- Look for set, slightly puffed edges and a center that still jiggles when you shake the pan gently. The top will look matte and slightly cracked but not dry. If the center is firm, you overbaked it.
- What if I don’t have ingredient X?
- No panic — swap chopped baking chocolate with an equal amount of chocolate chips, and use jarred caramel or a thick dulce de leche substitute if needed. A touch of honey or brown sugar can rescue flavor in a pinch.
How I Like to Serve It
I serve these warm with a big scoop of vanilla ice cream or a dollop of whipped cream so the cold contrasts the molten center. For dinner parties, plate them with a few fresh raspberries and a mint leaf for color. They work for cozy date nights, holiday dinners, or whenever you need a little drama and comfort in one spoonful.
Notes
- Store leftovers covered in the fridge for up to 2 days; reheat gently in a 350°F oven for about 6–8 minutes or microwave in 10-second bursts until warm.
- This dessert doesn’t require meat safe-temp notes, but if you serve with savory mains, remember poultry should reach 165°F.
Final Thoughts
Closing: Now go impress someone — or just yourself — with these gooey, chocolatey Molten Dulce de Leche Cakes. They look fancier than the effort they require, and the first spoonful will make everyone forgive you for any dessert-day chaos.