
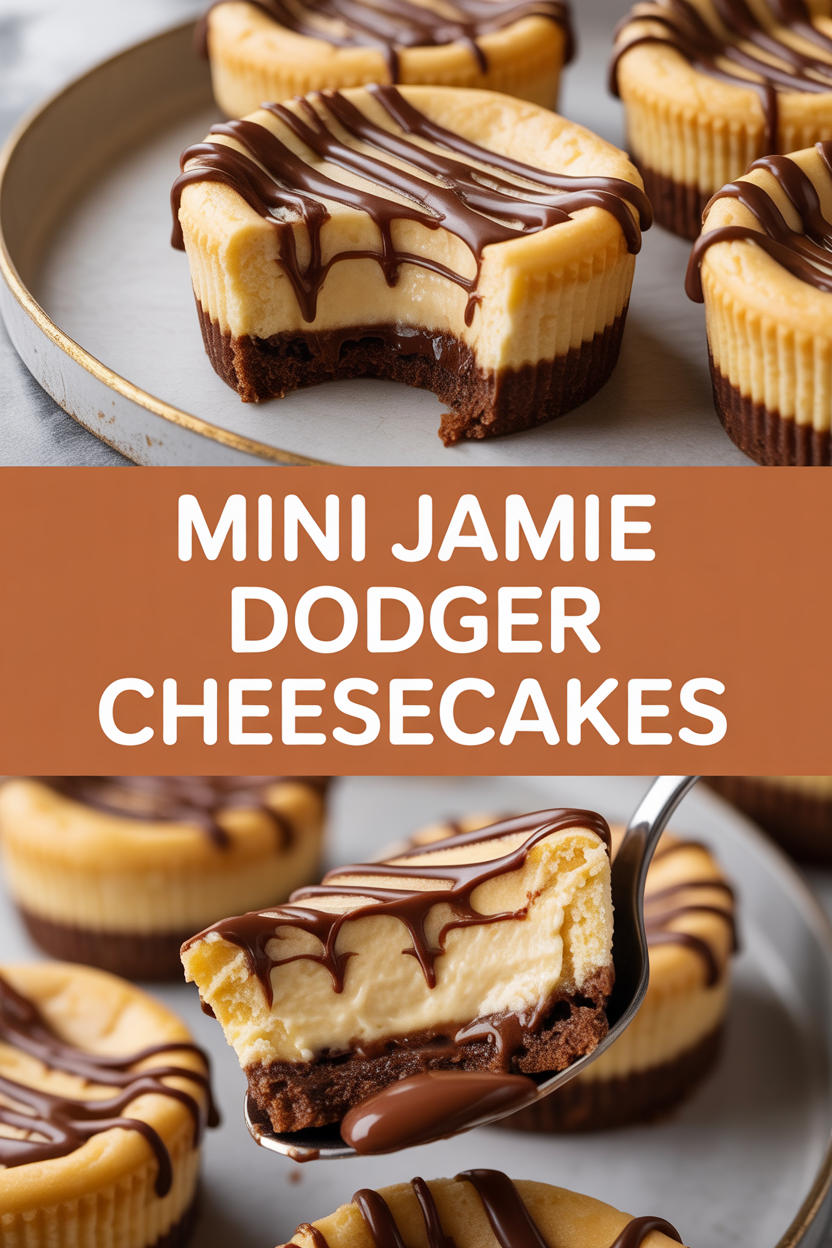
I’ll be honest: I made these because a pack of **Jamie Dodgers** kept winking at me from the pantry and I couldn’t resist. I promise I didn’t eat the whole bag—just enough to feel morally obligated to turn the rest into cheesecake. These are bite-sized, buttery-cookie crusts topped with tangy cream cheese and a glossy raspberry swirl, perfect for sneaking at parties or impressing your in-laws with minimal effort. They come together fast, smell like warm cookies and sweet jam, and deliver that perfect balance of crunchy edge and silky center. If you like nostalgia wrapped in a tiny dessert, these little cheesecakes will have you smiling with every bite.
Quick Facts
- Yield: Serves 12 (12 mini cheesecakes)
- Prep Time: 20 minutes
- Cook Time: 14–16 minutes
- Total Time: 60 minutes (including chilling)
Why This Recipe is Awesome
These mini cheesecakes feel indulgent but stay approachable. The buttery crunch of a **Jamie Dodger** crust gives way to a creamy, tangy filling and a bright, jewel-toned jam swirl. They taste fancy but require everyday ingredients and a muffin tin—no fancy equipment required. Plus, they hold their own at potlucks and disappear faster than you can say “seconds.”
Ingredients
For the Main Dish:
- 24 Jamie Dodger cookies (about 1 1/2 cups crushed)
- 3 tbsp unsalted butter, melted
- 8 oz cream cheese (1 package), softened to room temperature
- 1/3 cup granulated sugar
- 1 large egg, room temperature
- 1/2 tsp vanilla extract
- 1/4 cup sour cream or plain Greek yogurt
- Pinch of salt
- 1/3 cup raspberry jam, warmed slightly for swirling
- Optional: extra mini Jamie Dodger cookies for topping
For the Sauce / Garnish (if applicable):
- Optional drizzle: 2 tbsp melted dark chocolate or caramel sauce
- Optional garnish: fresh raspberries or lemon zest
How I Make It
Step 1:
Preheat your oven to 325°F. Line a 12-cup muffin tin with paper liners or silicone cups. Toss 24 Jamie Dodgers into a food processor and pulse until you get fine crumbs (or bash them in a zip-top bag with a rolling pin). Stir the crumbs with 3 tbsp melted butter until the texture looks like wet sand. Press about 1 tablespoon of the crumb mix into the bottom of each liner to form a compact crust. I use the back of a small measuring cup to get an even, snug base. Chill the tin in the fridge while you make the filling.
Step 2:
Beat the 8 oz cream cheese with 1/3 cup sugar in a medium bowl until smooth and creamy—scrape the sides so no lumps sneak in. Add 1 large egg, 1/2 tsp vanilla, 1/4 cup sour cream, and a pinch of salt and beat until just combined. Don’t overmix; you want the batter silky, not aerated. If your cream cheese feels slightly cold, pop it back out for a few minutes; warm cream cheese blends faster and gives a smoother texture.
Step 3:
Spoon the filling over the chilled crusts, filling each cup almost to the top—about 2 tablespoons per cupcake. Tap the tin gently on the counter to level the batter and release air bubbles. Drop a tiny spoonful (about 1/2 tsp) of warmed raspberry jam onto each cheesecake and use a toothpick to swirl it into pretty marbled patterns. You’ll smell the jam brightening the cream cheese—so cozy!
Step 4:
Bake at 325°F for 14–16 minutes, or until the edges look set and the centers hold a slight jiggle when you nudge the tray. The tops should stay pale but set; don’t chase a brown crust here. Let the cheesecakes cool in the tin for 30 minutes, then chill them in the fridge for at least 1 hour to firm up properly. Cold cheesecakes slice (or pop out) cleanly and keep that silky mouthfeel.
Step 5:
Top each mini cheesecake with a halved mini Jamie Dodger or a fresh raspberry. If you want drama, drizzle with melted dark chocolate or a spoonful of extra jam. Serve chilled, and listen to the satisfying crunch when you bite into that cookie crust meeting creamy filling.
Pro Tips
- Warm your cream cheese on the counter for 30 minutes so it blends smoothly—no lumps allowed.
- Use room-temperature egg to prevent the batter from curdling and to promote even baking.
- Don’t overbake—watch for the slight center jiggle. They firm up while chilling.
- If you want perfect tops, pipe the filling into the cups using a plastic bag with the corner snipped off.
Common Mistakes to Avoid
- Skipping preheating: Classic rookie move. It changes texture and bake time.
- Overmixing: Leads to dense or chewy results. Mix until just combined.
- Guessing cook time: Always use visual cues or a timer, not just vibes.
- Overcrowding pans: Give your food some breathing room to crisp properly.
Alternatives & Substitutions
- Swap sour cream for plain Greek yogurt for a tangier, lighter filling; texture stays silky but slightly less rich.
- Use gluten-free jam cookies or gluten-free graham crackers for a gluten-free crust—expect a slightly different crunch.
- For dairy-free: use a good-quality vegan cream cheese and vegan butter; chill longer to help them firm up.
Variations & Tips
- Add 1 tbsp cocoa powder to the crumb mix for a chocolatey crust.
- Swap raspberry jam for salted caramel or lemon curd for a tangy twist.
- Make them boozy: mix 1 tsp rum or orange liqueur into the jam before swirling.
- Use dark chocolate chips folded into the batter for a cookies-and-chocolate vibe.
- Turn them into a no-bake version: press crusts, chill a no-bake cream filling (cream cheese + whipped cream + powdered sugar), then top with jam.
FAQ (Frequently Asked Questions)
- Can I make this ahead of time?
- Yes! Make them the day before and store in an airtight container in the fridge for up to 3 days. Bring them to the table chilled for best texture.
- Can I double the recipe?
- Sure thing. Use two muffin tins or bake in batches. If you double and use multiple racks, rotate pans halfway through baking for even heat.
- Can I substitute butter with oil?
- Technically yes, but you’ll miss that buttery magic. Use ¾ the amount of oil and expect a slightly softer crust texture.
- How do I know it’s done?
- Look for set edges and a center that holds a slight jiggle. The tops should stay pale and smooth—not cracked or browned.
- What if I don’t have ingredient X?
- Out of jam? Use a spoonful of preserves or a smear of Nutella for a chocolate-hazelnut spin. No sour cream? Swap in Greek yogurt one-for-one.
How I Like to Serve It
I serve these chilled with a hot cup of tea or espresso so you get cold-and-creamy against warm sips. They shine at brunch, potlucks, or as a tiny dessert after a cozy dinner. For summer parties, add a few fresh raspberries on top for a bright, pretty plate. They also make adorable gifts tucked into a small box tied with twine.
Notes
- Store in an airtight container in the fridge for up to 3 days. Freeze for up to 1 month; thaw in the fridge overnight.
- No meat safety temps here, but remember to chill desserts well—cold improves texture and flavor.
Final Thoughts
Closing: Go on—whip up a batch, hide a few, and then share the rest. You’ll get little gasps of delight and a smug smile every time someone asks for the recipe.