
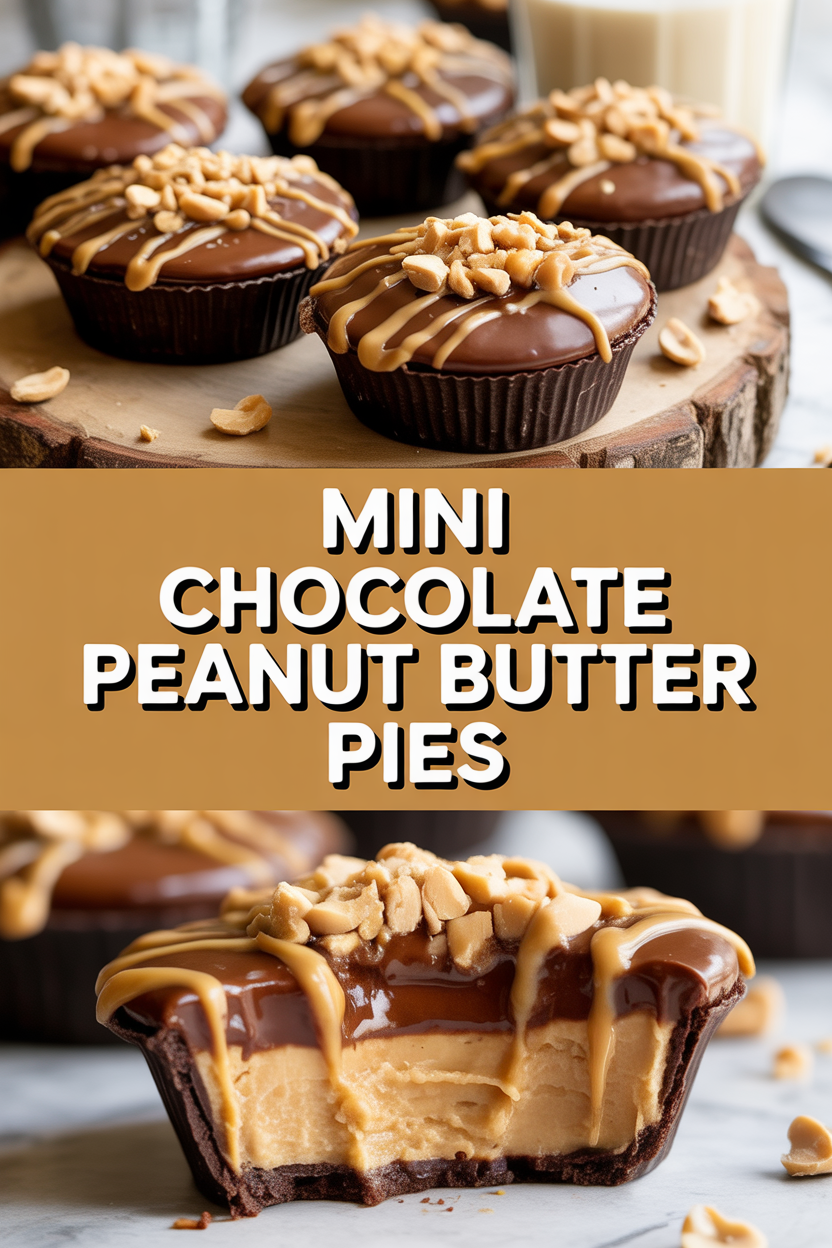
Okay, full confession: I shrieked the first time I bit into one of these — in a good way. I love anything that combines chocolate and peanut butter, and these mini pies hit that spot like a tiny, buttery velvet hammer. They feel fancy enough for company but take less effort than deciding what to wear to said company. The crust crunch, the peanut-butter-smooth center, and the glossy chocolate cap make me want to spoon the whole batch straight out of the tin. Trust me — your kitchen will smell like a candy shop in the best possible way.
Quick Facts
- Yield: Serves 12 (mini pies)
- Prep Time: 20 minutes
- Cook Time: 8 minutes (optional crust bake + ganache melt)
- Total Time: 1 hour 28 minutes (including chilling)
Why This Recipe is Awesome
These mini pies give you the luxurious combo of creamy peanut butter and rich chocolate in a palm-sized package. They deliver crunchy, buttery crust, silky filling, and a snap of ganache — so many textures in one bite. They come together fast, chill while you text your friends, and look adorable on a dessert platter. Honestly, it’s so easy even your oven can’t mess it up (and it barely needs the oven).
Ingredients
For the Main Dish:
- 2 cups graham cracker crumbs (or crushed golden Oreos for extra chocolate)
- 6 tbsp unsalted butter, melted
- 2 tbsp granulated sugar
- 1/4 tsp fine salt
- 8 oz cream cheese, softened
- 1 cup smooth peanut butter (not natural — use creamy for best texture)
- 1 cup powdered sugar, sifted
- 1 tsp pure vanilla extract
- 1 cup heavy whipping cream, cold (for whipping)
- 6 oz semisweet chocolate chips
- 1/3 cup heavy cream (for ganache)
- 2 tbsp chopped roasted peanuts, for garnish
- Flaky sea salt, for finishing
For the Sauce / Garnish (if applicable):
- Optional: 2 tbsp melted peanut butter for drizzling
- Optional: 1 tbsp butter for silkier ganache
How I Make It
Step 1:
Preheat the oven to 350°F if you want a toasted, sturdier crust — I do this sometimes because I love that warm, toasty smell. In a bowl, stir graham cracker crumbs, melted butter, sugar, and salt until the crumbs feel like damp sand. Press about 2 tablespoons into each cavity of a 12-cup mini tart pan or well-greased muffin tin, building a little lip. Bake for 6–8 minutes until the edges turn golden and smell nutty. If you skip baking, just press the crust firmly and chill.
Step 2:
While the crust cools, beat cream cheese and peanut butter together until silky, then add powdered sugar and vanilla. The mixture should look glossy and thick. If it feels heavy, don’t panic — whipping the cream next fixes everything. Chill this mixture for five minutes if it looks too soft.
Step 3:
Whip cold heavy cream to stiff peaks in a chilled bowl (listen for that subtle, airy ripple as it thickens). Fold one-third of the whipped cream into the peanut-butter mixture to lighten it, then gently fold in the rest until completely combined. The filling should feel pillowy and hold its shape.
Step 4:
Spoon or pipe the filling into the cooled crusts, smoothing the tops. Refrigerate the pies while you make the ganache. Heat 1/3 cup heavy cream until it just simmers (tiny bubbles at the edge), then pour over 6 oz semisweet chocolate chips. Wait 30 seconds, then stir until glossy and smooth — add 1 tbsp butter if you want extra sheen. Spoon a teaspoon or two of ganache onto each mini pie and spread quickly; it will set while the pies chill. You’ll smell the deep cocoa and butter notes here — heavenly.
Step 5:
Top each pie with a sprinkle of chopped roasted peanuts and a tiny pinch of flaky sea salt. Chill the pies for at least 1 hour to firm up. When you slice one open, the crust should give a satisfying crunch, the filling should be creamy and light, and the chocolate should snap against your fork. Serve cold or at cool room temperature.
Pro Tips
- Use room-temperature cream cheese to avoid lumps — I leave it out for about 30 minutes before starting.
- If your peanut butter separates, stir it first or microwave 10 seconds to reincorporate oil for a silkier filling.
- Chill the mixing bowl and whisk for whipping cream — cold gear makes quicker, more stable peaks.
- Want extra crunch? Add 1/2 cup chopped salted peanuts to the crust mixture.
Common Mistakes to Avoid
- Skipping preheating: Classic rookie move. It changes texture and bake time.
- Overmixing: Leads to dense or chewy results. Mix until just combined.
- Guessing cook time: Always use visual cues or a timer, not just vibes.
- Overcrowding pans: Give your food some breathing room to crisp properly.
Alternatives & Substitutions
- Swap graham crackers for gluten-free crumbs or crushed gluten-free cookies for a gluten-free option; the texture will stay similar.
- Use coconut cream and dairy-free chocolate for a dairy-free version; the filling will be slightly less airy but still decadent.
- Replace heavy cream with chilled full-fat coconut milk for a dairy-free whipped topping (chill the can overnight first).
- Swap peanut butter for almond or sunflower seed butter to avoid peanuts — flavor shifts but keeps the same creamy feel.
Variations & Tips
- Make them s’mores-style: press a toasted marshmallow on top after the ganache sets and torch lightly.
- Children-friendly: swirl in a tablespoon of mini chocolate chips into the filling for texture kids love.
- Spicy twist: add 1/8 tsp cayenne to the ganache for a warm chocolate kick.
- Decadent twist: fold in 2 tbsp cocoa powder to the peanut filling for a chocolate-peanut hybrid.
- Adult-friendly: stir in a teaspoon of bourbon to the filling for a boozy depth.
FAQ (Frequently Asked Questions)
- Can I make this ahead of time?
- Yes! Make the crusts and filling up to 48 hours ahead and store them separately in airtight containers. Assemble and add ganache the day you plan to serve for the freshest look and texture. If fully assembled, the pies keep well in the fridge for 2–3 days.
- Can I double the recipe?
- Sure thing. Double every ingredient and use two pans or bake in batches. If you bake crusts, give them space on the baking sheet so heat circulates evenly; bake two sheets one at a time for consistent browning.
- Can I substitute butter with oil?
- Technically yes, but you’ll miss that buttery magic. Use ¾ the amount of oil (so about 4½ tbsp) and chill the crust longer to firm it up.
- How do I know it’s done?
- Look for a golden, fragrant crust if you bake it. The filling should hold peaks and not slump when you spoon it in. The ganache should look glossy and set to a soft snap after chilling.
- What if I don’t have ingredient X?
- No panicky moves: swap graham crackers for any crunchy cookie; use whipped topping instead of whipped cream in a pinch; substitute almond or sunflower butter for peanut butter. Adjust sweetness to taste.
How I Like to Serve It
I love these at a casual dinner party with coffee or after-school with cold milk. They look darling on a dessert plate at bridal showers, but they hold up perfectly at potlucks too. In summer, they feel like chilled candy; in winter, the salt and chocolate combo feels utterly cozy. Pair with a short espresso or a cold stout for grown-up balance.
Notes
- Store leftovers covered in the fridge for up to 3 days. Bring to room temperature for 10 minutes before serving if you prefer softer ganache.
- If you ever add meat to a recipe nearby, remember safe cooking temps: cook chicken to 165°F.
Final Thoughts
Closing: Now go impress someone — or just yourself — with these tiny, luscious mini chocolate peanut butter pies. You deserve the first bite.