
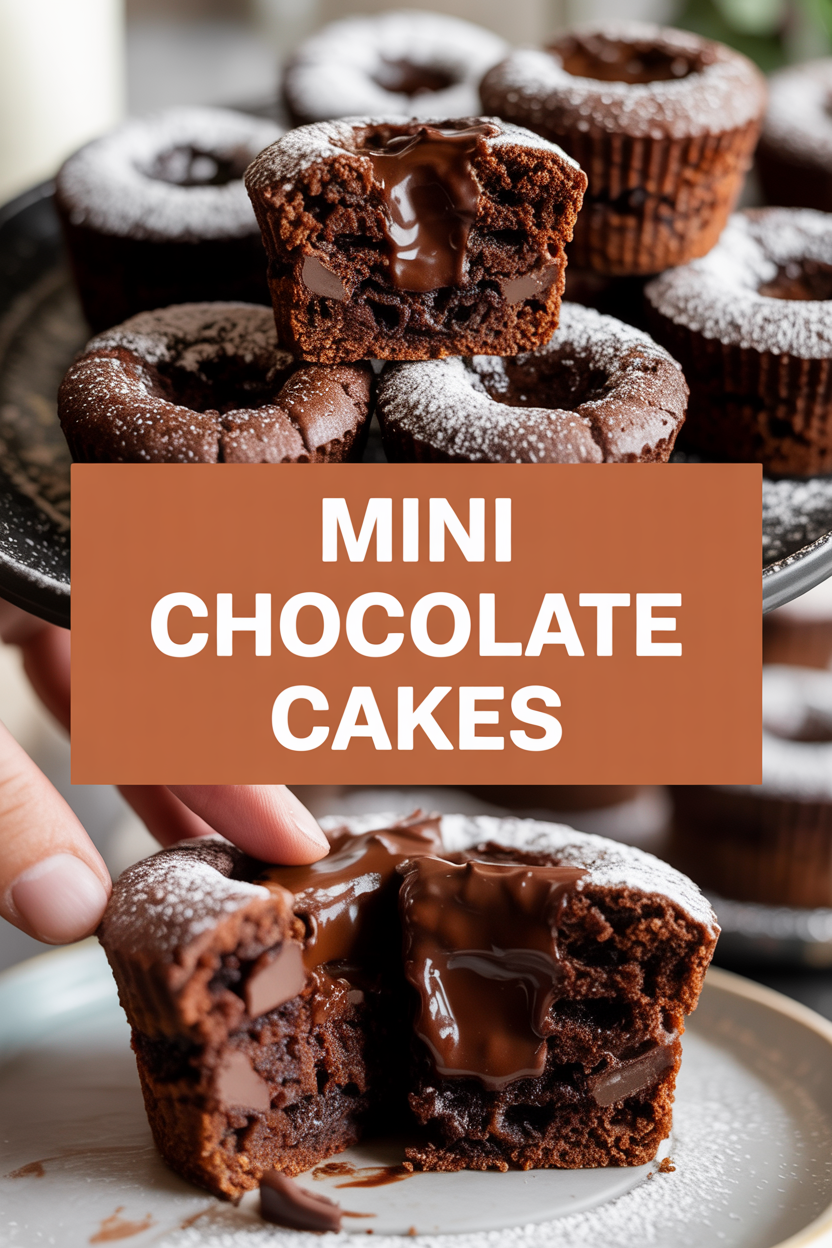
Here’s a little chef’s secret: you don’t need a fancy oven or souffle ring to make an impressive single-serving chocolate cake. I learned this trick when I wanted a quick, decadent dessert after a long shift in a tiny apartment kitchen — and honestly, it changed my dessert life. These mini chocolate cakes come together in under 30 minutes and deliver that rich, glossy chocolate hit with a gooey center and slightly crisp edges. I’ll show you how to coax maximum flavor from pantry staples like unsweetened cocoa, butter, and vanilla, and how to tell when they’re perfectly set — because timing makes the magic.
Quick Facts
- Yield: Serves 6 (6 mini cakes)
- Prep Time: 10 minutes
- Cook Time: 12–14 minutes
- Total Time: 22–24 minutes
Why This Recipe is Awesome
These mini cakes balance a tender crumb with a slightly molten center — that contrast gives each bite a silky, chocolatey wave with crisped edges for texture. They bake fast, travel well, and make you look like a dessert rock star with minimal effort. And honestly? It’s so easy even your oven can’t mess it up (as long as you preheat it — more on that later).
Ingredients
For the Main Dish:
- 1 cup all-purpose flour
- 1/2 cup unsweetened cocoa powder (natural or Dutch-processed both work)
- 1 cup granulated sugar
- 1 tsp baking powder
- 1/2 tsp kosher salt
- 2 large eggs, room temperature
- 1/2 cup whole milk (or your favorite milk)
- 4 tbsp unsalted butter, melted and slightly cooled
- 1 tsp vanilla extract
- 1/2 cup semi-sweet chocolate chips or chopped chocolate (optional — for extra goo)
For the Sauce / Garnish (optional):
- Powdered sugar, whipped cream, or vanilla ice cream
- Fresh berries or a spoonful of salted caramel
How I Make It
Step 1:
Preheat your oven to 375°F and grease six 6-ounce ramekins or a muffin tin well with butter or nonstick spray. In a large bowl, whisk together the flour, cocoa, sugar, baking powder, and salt until evenly combined. I love the smell of cocoa waking up here — deep and chocolatey.
Step 2:
In a medium bowl, beat the eggs lightly, then whisk in the milk, melted butter, and vanilla. Pour the wet ingredients into the dry and stir with a spatula until just combined — small streaks of flour are okay. Overmixing tightens the crumb, so stop when the batter looks smooth and glossy.
Step 3:
Spoon the batter into the prepared ramekins, filling each about 3/4 full. If you want a gooey chocolate center, tuck a few chocolate chips or a chunk of chocolate into the middle of each cake. The batter looks thick and satiny and it smells like warm chocolate — my favorite kind of kitchen perfume.
Step 4:
Bake at 375°F for 12–14 minutes. Watch for the edges to look set and slightly pulled away from the sides and the center to still have a gentle jiggle — that wobble tells you the middle stays molten without being raw. If you prefer a fully set cake, bake for 1–2 minutes longer. Let the cakes rest for 3–5 minutes before running a knife around the edges.
Step 5:
Turn each cake out onto a small plate, dust with powdered sugar or add a scoop of vanilla ice cream so it melts over the warm top. Garnish with berries or a drizzle of caramel. The contrast of warm cake and cold ice cream makes the chocolate sing — the sauce gives a glossy finish and the berries add a bright pop.
Pro Tips
- Use room-temperature eggs for better emulsion and a silkier batter.
- Measure your flour by spooning into the cup and leveling — don’t pack it. Too much flour dries the cakes out.
- If you don’t have ramekins, use a well-greased muffin tin; reduce bake time by about 1 minute if using shallow cups.
- For extra shine, stir a tablespoon of brewed espresso into the wet ingredients — it amps the chocolate without tasting like coffee.
Common Mistakes to Avoid
- Skipping preheating: Classic rookie move. It changes texture and bake time.
- Overmixing: Leads to dense or chewy results. Mix until just combined.
- Guessing cook time: Always use visual cues or a timer, not just vibes.
- Overcrowding pans: Give your food some breathing room to crisp properly.
Alternatives & Substitutions
- Swap whole milk for almond or oat milk for a dairy-free option — expect a slightly lighter mouthfeel.
- Use a 1:1 gluten-free flour blend to make them gluten-free; texture might be a touch more crumbly but still delicious.
- Replace butter with coconut oil for dairy-free baking — the cakes stay moist but gain a subtle coconut note.
- For egg-free, try 1/4 cup applesauce + 1 tbsp chia seeds mixed with 3 tbsp water per egg; the cake becomes slightly denser.
Variations & Tips
- Add a pinch of cayenne or cinnamon to the batter for a warm, spicy twist.
- Stir in orange zest and swap chocolate chips for dark chocolate chunks for a citrus-chocolate version.
- Top each cake with a spoonful of raspberry jam before baking for a jammy center.
- Make mini molten lava cakes by inserting a chilled truffle in the center before baking — extra gooey!
- For a kid-friendly version, fold in rainbow sprinkles and use milk chocolate chips.
- Create a salted caramel mocha by adding 1 tbsp instant coffee to the wet mix and drizzling caramel on top.
FAQ (Frequently Asked Questions)
- Can I make this ahead of time?
- Yes! Mix the batter and keep it in the fridge for up to 24 hours, covered. Bake from cold — add a minute to the bake time. Baked cakes store in the fridge for 3 days; reheat in a 350°F oven for 6–8 minutes or microwave for 20–30 seconds.
- Can I double the recipe?
- Sure thing. Use two baking pans or bake in batches to avoid overcrowding. If you double and use larger dishes, watch the bake time closely — larger volumes need a few extra minutes.
- Can I substitute butter with oil?
- Technically yes, but you’ll miss that buttery magic. Use 3/4 the amount of oil (so 3 tbsp oil for 4 tbsp butter) and expect a slightly different mouthfeel — still tasty, just less rich.
- How do I know it’s done?
- Look for set edges and a center that still jiggles gently when you tap the ramekin. The top should look matte rather than wet. If the center stays liquid, give it 1–2 more minutes.
- What if I don’t have ingredient X?
- No chocolate chips? Drop in a square of chocolate or a spoonful of peanut butter for a surprise center. No cocoa powder? Use 3 oz melted chocolate and reduce butter by 1 tbsp — your cake will skew fudgier.
How I Like to Serve It
I usually serve these warm with a scoop of vanilla ice cream and a handful of fresh raspberries. For a fancy brunch, add whipped cream and espresso — breakfast and dessert in one, yes please. On chilly nights, I pair a mini cake with a mug of hot chocolate for the ultimate chocolate-overload comfort.
Notes
- Store cooled cakes in an airtight container in the fridge for up to 3 days. Reheat before serving for best texture.
- This recipe doesn’t involve meat, so no safe meat temps here — just enjoy them warm and gooey!
Final Thoughts
Closing: Now go impress someone — or just yourself — with your homemade miniature chocolate masterpieces. You deserve it.