
Bold & Enthusiastic: Oh my gosh, mini cheesecakes — tiny circles of creamy happiness that make any day feel fancy. I get ridiculously excited every time I pull a tray of these out of the fridge: the kitchen smells faintly of vanilla and butter, the tops glisten, and people’s eyes go wide like I handed them a golden ticket. They look fancy but they behave like simple little desserts, which means you get the applause without the stress. Ready to make a batch that disappears in under ten minutes? Let’s do this — I’ll walk you through every buttery press and silky stir.
Quick Facts
- Yield: Serves 12 (24 mini cheesecakes; plan on 2 per person)
- Prep Time: 20 minutes
- Cook Time: 15–18 minutes
- Total Time: 1 hour 10 minutes (includes 2 hours chilling)
Why This Recipe is Awesome
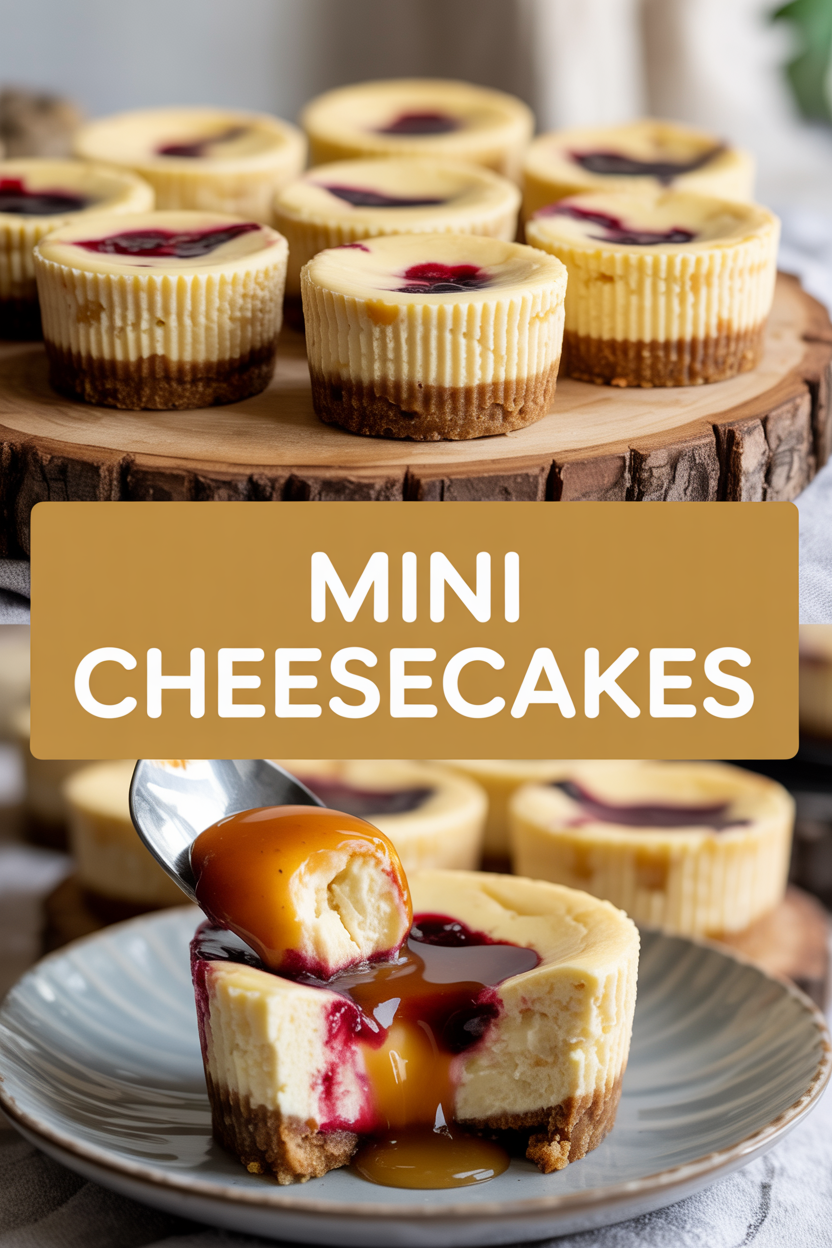
These mini cheesecakes pack a creamy, tangy filling into a buttery crumb cup — the contrast between crunchy base and velvety center feels delightfully grown-up. They look elegant for parties but whip up faster than a store-bought box. Plus, they chill into neat little bites you can pop into your mouth without drama. Who doesn’t love a dessert that tastes gourmet but acts like comfort food?
Ingredients
For the Main Dish:
- 1 1/2 cups graham cracker crumbs (about 12 full crackers, crushed)
- 4 tbsp unsalted butter, melted
- 2 tbsp granulated sugar
- Pinch of salt
- 16 oz cream cheese (2 blocks), at room temperature
- 1/2 cup granulated sugar
- 2 large eggs, room temperature
- 1/4 cup sour cream (or plain Greek yogurt)
- 1 tsp vanilla extract
- 1 tbsp fresh lemon juice (optional, brightens flavor)
For the Sauce / Garnish (optional):
- 1 cup fresh berries (strawberries, blueberries, or raspberries)
- 2 tbsp granulated sugar
- 1 tbsp lemon juice
- Whipped cream or a dusting of powdered sugar, for finishing
How I Make It
Step 1:
Preheat the oven to 325°F. Line a 24-cup mini muffin tin with paper liners or use silicone cups. Mix the graham cracker crumbs, melted butter, 2 tbsp sugar, and a pinch of salt in a bowl until the crumbs feel like damp sand. Press about 1 to 1 1/4 teaspoons of the mixture into the bottom of each liner — I use the back of a small measuring spoon or the bottom of a shot glass to get firm, even crusts. You want the crumbs compacted so they hold together after baking.
Step 2:
Beat the cream cheese in a bowl with an electric mixer until silky and smooth (no lumps — that’s why I let it sit at room temp). Add 1/2 cup sugar and beat again until creamy. Scrape the bowl often so you don’t miss pockets of cream cheese. Add the eggs one at a time, beating briefly after each. Stir in the sour cream, vanilla, and lemon juice until the mixture looks glossy and light. Don’t overmix — stop when the batter looks uniform.
Step 3:
Spoon about 1 heaping tablespoon of batter into each crust-lined cup, filling almost to the top but leaving a tiny rim. Tap the pan gently on the counter to pop any air bubbles. Slide the pan into the oven and bake at 325°F for 15–18 minutes. You’ll know they’re ready when the edges look set and the centers still jiggle slightly like loose gelatin — they’ll firm up as they cool.
Step 4:
Pull the pan from the oven and let the cheesecakes cool on the counter for 30 minutes. I like to hear the quiet tick as they settle; it feels very domestic. After they cool, transfer the pan to the fridge and chill for at least 2 hours, or overnight if you want sharper flavor and cleaner slices when you remove the liners.
Step 5:
Run a small knife around each cheesecake to help release the liners, then top with a quick berry sauce: simmer 1 cup berries, 2 tbsp sugar, and 1 tbsp lemon juice for 4–5 minutes until syrupy. Spoon over the minis, add a dollop of whipped cream, or just dust with powdered sugar and admire your perfect little rounds before they disappear.
Pro Tips
- Soften the cream cheese on the counter for at least 30 minutes. Cold cream cheese gives you lumpy batter and sad texture.
- If you crack a top, cover each mini with a spoonful of topping — no one will complain. Cracks hide under fruit beautifully.
- Use room-temperature eggs so the batter mixes evenly; cold eggs can cause the batter to curdle.
- Chill overnight if you can — the flavor rounds out and the texture turns beautifully dense and velvety.
Common Mistakes to Avoid
- Skipping preheating: Classic rookie move. It changes texture and bake time.
- Overmixing: Leads to dense or chewy results. Mix until just combined.
- Guessing cook time: Always use visual cues or a timer, not just vibes.
- Overcrowding pans: Give your food some breathing room to crisp properly.
Alternatives & Substitutions
- Use gluten-free graham crumbs or crushed gluten-free cookies to make the crust gluten-free; texture stays very similar.
- Swap sour cream for an equal amount of full-fat Greek yogurt — you’ll keep the tang and cut sugar slightly.
- For dairy-free, use a vegan cream cheese and melted coconut oil in the crust; expect a faint coconut note and slightly softer texture.
- Substitute graham crackers with vanilla wafers or Oreo crumbs for a chocolate crust — fun twist for kids.
Variations & Tips
- Lemon-Blueberry: Fold 1 tsp lemon zest into the batter and top with blueberry compote.
- Chocolate Swirl: Drop a teaspoon of melted chocolate on each and swirl with a toothpick before baking.
- Pumpkin Spice: Replace 2 tbsp of sour cream with 2 tbsp pumpkin purée and add 1/2 tsp pumpkin pie spice.
- Salted Caramel: Drizzle warm salted caramel over each mini just before serving.
- Espresso Kick: Add 1 tsp instant espresso to the batter for a grown-up tiramisu vibe.
- Party Platter: Make three flavors in one tin — mix plain, lemon, and chocolate for a crowd-pleasing assortment.
FAQ (Frequently Asked Questions)
- Can I make this ahead of time?
- Yes! Make the mini cheesecakes up to 48 hours ahead and keep them covered in the fridge. Store toppings separately and add them right before serving to keep textures fresh.
- Can I double the recipe?
- Sure thing. If you double, bake in two pans or in batches so the oven temperature stays steady — overcrowding the oven changes baking time.
- Can I substitute butter with oil?
- Technically yes, but you’ll miss that buttery magic. Use ¾ the amount of oil.
- How do I know it’s done?
- Look for set edges and a slightly wobbly center — not liquid, but a soft jiggle. The tops shouldn’t brown heavily; that means you baked too long.
- What if I don’t have ingredient X?
- No cream cheese? Use Neufchâtel or a mix of full-fat Greek yogurt and a little mascarpone for similar tang. No graham crackers? Crush vanilla wafers or digestive biscuits.
How I Like to Serve It
I serve these on a little platter with a few extra berries scattered around and a pot of strong coffee; the contrast between bright berries and rich cake sings. They make a chic addition to birthday dessert tables, baby showers, or weekday dessert when you want something small and celebratory. In summer, I go heavy on the fresh berries; in fall, a drizzle of spiced caramel hits the spot.
Notes
- Store leftovers in an airtight container in the fridge for up to 4 days. You can freeze them (without fresh topping) for up to 1 month — thaw in the fridge overnight.
- No meat temperatures apply here, but always use common-sense food safety: keep dairy chilled and serve within safe time frames.
Final Thoughts
Closing: Now go impress someone — or just yourself — with your homemade masterpiece!