
When I think of mini apple pies, my brain goes straight to my grandmother’s kitchen — that warm, cinnamon-sweet fog where every surface wore a dusting of flour. I can still hear the soft thunk of her rolling pin and the happy pop when she cut little stars for the tops. These tiny pies always felt like a secret: big flavor tucked into a pocket of buttery crust, perfect for handing to kids with sticky fingers or nibbling at the mailbox when you’re running late. I recreate that feeling in under an hour now, and honestly, nothing beats the smell of apples, butter, and cinnamon pulling everyone into the kitchen like a cozy magnet.
Quick Facts
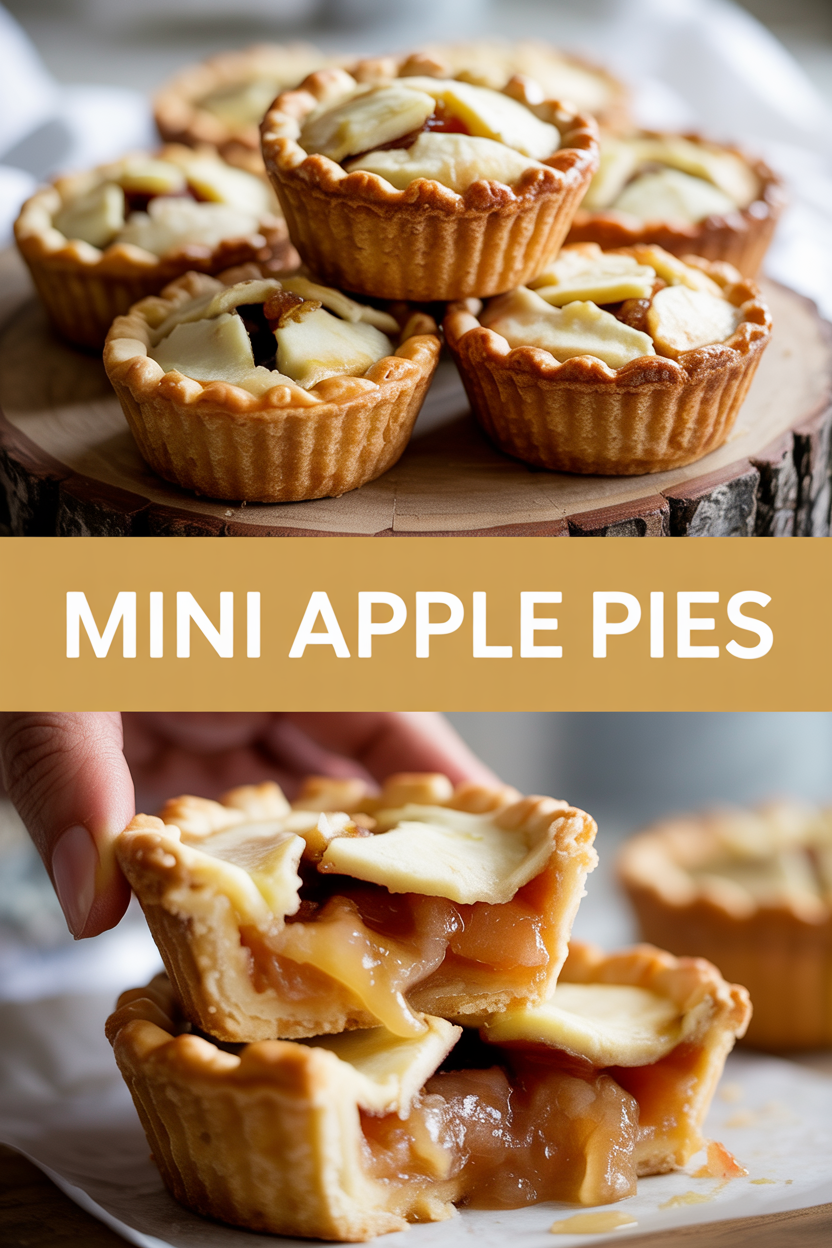
- Yield: Serves 6 (six 4-inch mini pies)
- Prep Time: 25 minutes
- Cook Time: 25 minutes
- Total Time: 50 minutes
Why This Recipe is Awesome
This recipe delivers all the crisp, flaky edges and warm, cinnamon-sweet apple filling of a full pie, but in adorable, portable packages. It’s forgiving, quick, and uses simple pantry staples — so even if your countertop looks like a small baking apocalypse, you can still pull this off. Think golden crust, bubbling cinnamon apples, and that first crack when you press a fork into a mini pie. It’s so easy even your oven can’t mess it up.
Ingredients
For the Main Dish:
- 2 medium apples (about 12 ounces total) — use a mix like **Granny Smith** + **Honeycrisp** for sweet-tart balance
- 2 tbsp fresh lemon juice
- 1/4 cup granulated sugar
- 2 tbsp packed brown sugar
- 1 tsp ground cinnamon
- 1/8 tsp ground nutmeg
- 1 tbsp cornstarch
- 2 tbsp unsalted butter, cut into small pieces
- 1 package (14 oz) refrigerated pie crusts (usually 2 crusts) — or one homemade crust rolled to ~12-inch circle
- 1 large egg beaten with 1 tsp water for egg wash
- Coarse sugar for sprinkling (optional)
For the Sauce / Garnish (if applicable):
- Vanilla ice cream or whipped cream for serving (optional)
How I Make It
Step 1:
I preheat the oven to 400°F and grease a 6-cup muffin tin lightly with butter or nonstick spray. While the oven warms, I core and dice the apples into 1/2-inch pieces so every bite has a tender chunk. Toss the apples with 2 tbsp lemon juice (it keeps them bright), then stir in 1/4 cup granulated sugar, 2 tbsp brown sugar, 1 tsp cinnamon, 1/8 tsp nutmeg, and 1 tbsp cornstarch until they glisten. The filling should smell floral and spicy — like autumn in a bowl.
Step 2:
Unroll the pie crusts and use a 4-inch round cutter (or a small bowl) to cut 6 bottom circles and 6 top circles (save scraps for decorations). Press each bottom circle into the muffin cups, letting the edges drape slightly. Spoon about 2 heaping tbsp of the apple filling into each crust, tucking a tiny pat of butter on top of the apples — it melts and makes the filling glossy. Don’t overfill; leave room for bubbling.
Step 3:
Brush the rims with the egg wash and place the top crusts on. Pinch or crimp the edges to seal and cut a small vent or decorate with lattice or star shapes from the scraps. Brush the tops with egg wash and sprinkle a pinch of coarse sugar for crunch. You’ll hear a faint sizzle as the butter and sugar settle into the crust — such a satisfying sound.
Step 4:
Bake at 400°F for 20–25 minutes, rotating the pan halfway through. Look for **golden edges** and **bubbling apple juices** poking through the vents. If the tops brown too quickly, tent loosely with foil. The pies are done when the crust looks deep golden and the filling thickens into sticky, glossy ribbons.
Step 5:
Let them rest in the tin for 8–10 minutes so the filling sets, then gently lift each mini pie out with a spoon. Serve warm with a scoop of vanilla ice cream or a dollop of whipped cream and an extra sprinkle of cinnamon. I like to drizzle a bit of warm caramel for company on special days — it’s showy and delicious.
Pro Tips
- Use a mix of tart and sweet apples for the best flavor balance — Granny Smith + Honeycrisp or Fuji works great.
- Keep your apple pieces uniform (about 1/2 inch) so they cook evenly and you don’t end up with mushy bits or raw bites.
- If your crust browns too fast, lower the oven to 375°F and bake a few minutes longer — crust first, filling second.
- Make these ahead: freeze unbaked covered minis on a tray, then transfer to a bag. Bake from frozen, adding 5–8 minutes to the time.
Common Mistakes to Avoid
- Skipping preheating: Classic rookie move. It changes texture and bake time.
- Overmixing: Leads to dense or chewy results. Mix until just combined.
- Guessing cook time: Always use visual cues or a timer, not just vibes.
- Overcrowding pans: Give your food some breathing room to crisp properly.
Alternatives & Substitutions
- Gluten-free: use a store-bought **gluten-free pie crust** or make a simple gluten-free pastry — crust will be a touch more fragile but tasty.
- Dairy-free: swap the butter for **vegan butter** or coconut oil (use 1:1 for vegan butter or slightly less coconut oil) — expect a slightly different mouthfeel.
- Sugar swaps: replace granulated sugar with coconut sugar for a deeper, caramel note; reduce amount by 1–2 tbsp to taste.
- Thickener swap: use 1 tbsp tapioca starch instead of cornstarch for clearer filling (great if you dislike cloudy juices).
Variations & Tips
- Add 1 tbsp finely chopped pecans to the filling for a nutty crunch.
- Stir 1 tsp vanilla extract or 1 tbsp bourbon into the filling for grown-up warmth.
- Sprinkle shredded sharp cheddar on the crust before baking for a classic savory-sweet twist.
- Make them hand-held: fold into half-moons and crimp edges for portable apple turnovers.
- Turn them into mini galettes by folding crust edges over the filling for a rustic look — no muffin tin needed.
- For a kid-friendly version, skip the nutmeg and use apple varieties with more natural sweetness.
FAQ (Frequently Asked Questions)
- Can I make this ahead of time?
- Yes! Prepare the filling and crust-lined tins up to a day ahead, cover tightly, and refrigerate. For longer storage, freeze unbaked minis on a tray, then bag them; bake from frozen adding 5–8 minutes.
- Can I double the recipe?
- Sure thing. Use two muffin tins or bake in batches. Keep an eye on oven crowding — two pans may take an extra 2–5 minutes to reach perfect golden color.
- Can I substitute butter with oil?
- Technically yes, but you’ll miss that buttery magic. Use ¾ the amount of oil (so 1½ tbsp oil for 2 tbsp butter) and expect a slightly different, less flaky crust.
- How do I know it’s done?
- Look for a deep golden crust and bubbling apple juices around vents. The filling should thicken and not run all over the place when you nudge a pie.
- What if I don’t have ingredient X?
- No panick — swap cornstarch with tapioca starch, use any crisp-tart apple in place of Granny Smith, or replace brown sugar with molasses + granulated sugar (1 tbsp molasses + 1 tbsp sugar).
How I Like to Serve It
I love serving these warm out of the oven with a scoop of vanilla ice cream and a big mug of hot cocoa or coffee. They also shine at potlucks — people love how cute they look — and they travel well for picnics. In autumn, I add a sprinkle of toasted pecans; in spring, I keep it simple with a dusting of powdered sugar.
Notes
- Store leftover mini pies in an airtight container at room temperature for up to 2 days, or refrigerate for up to 4 days. Reheat at 325°F for about 8–10 minutes for a revived crisp.
- This recipe doesn’t involve meat, so no internal safe-cooking temps needed here — just aim for that bubbling, golden finish.
Final Thoughts
Closing: Now go impress someone — or just yourself — with these tiny, comforting bites of apple pie magic!