
Chef’s Secret: Okay, tuck this away like a spice blend I only pretend to hoard. I learned this trick from a pastry chef friend who swore a hot, sticky binder and a firm press beat fancy ingredients every time. These granola bars came out of my kitchen tasting like the best parts of cereal aisle nostalgia with a grown-up crunch. You’ll smell warm, toasty oats and a caramel-y butter-and-honey aroma that makes the whole house feel like Sunday morning. I’ll walk you through simple swaps, how to press like a pro, and the one tiny move that keeps bars from falling apart. Trust me — once you master this, you’ll keep a pan of bars in the fridge like a cozy, crunchy secret weapon.
Quick Facts
- Yield: Serves 12 bars
- Prep Time: 15 minutes
- Cook Time: 15–18 minutes
- Total Time: 45 minutes (including cooling)
Why This Recipe is Awesome
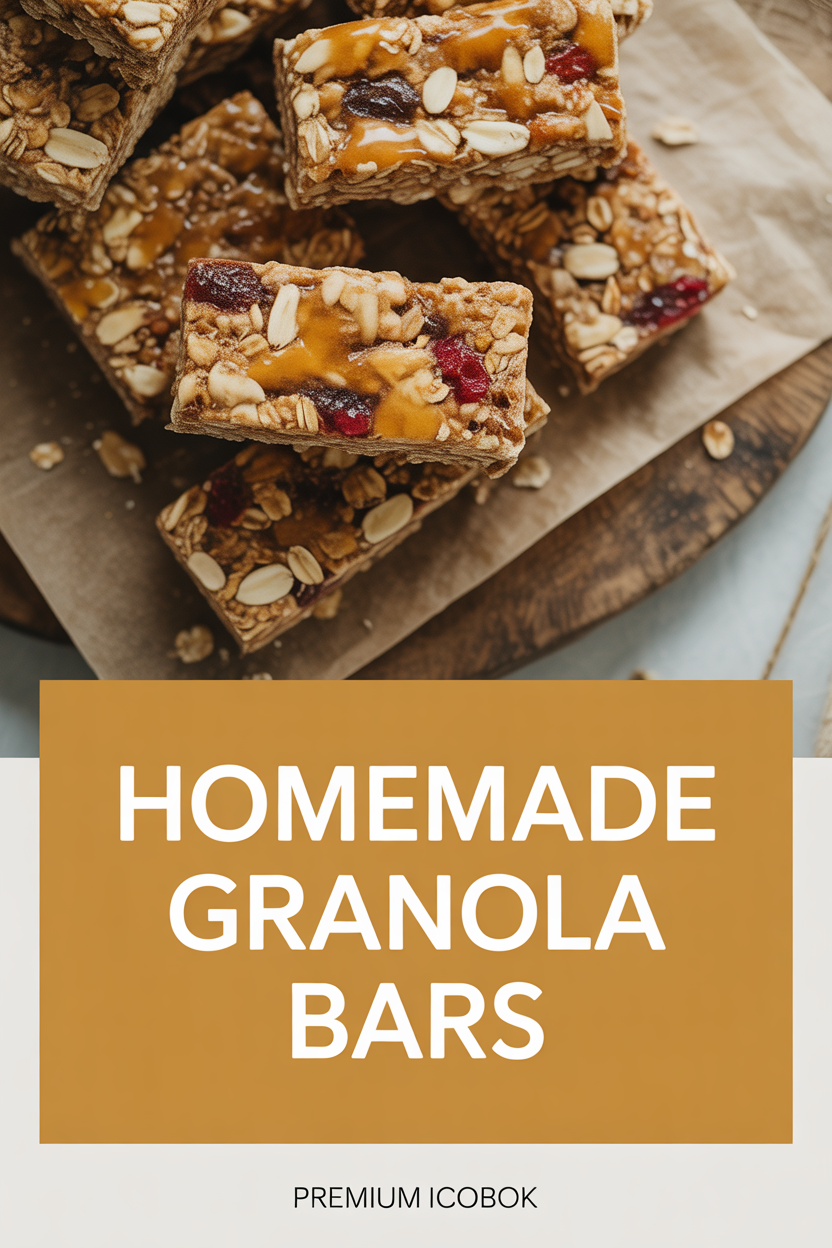
This recipe gives you chewy centers with crisp, golden edges — basically the best of granola and candy-bar worlds. It’s easy enough for a weeknight snack run but tasty enough for lunchboxes and coffee dates. The texture balances toasted oats, crunchy nuts, and sticky honey-peanut butter. It’s so straightforward that your oven can’t mess it up, and the aroma while it bakes will make neighbors curious (and hungry).
Ingredients
For the Main Dish:
- 3 cups old-fashioned rolled oats
- 1 cup mixed chopped nuts (almonds, walnuts, or pecans)
- 1/2 cup creamy peanut butter (or almond butter)
- 1/2 cup honey (or pure maple syrup)
- 1/4 cup packed brown sugar (optional, for extra chew and caramel)
- 1/4 cup unsalted butter (or 1/4 cup coconut oil for dairy-free)
- 1 tsp vanilla extract
- 1/2 tsp fine sea salt
- 1/2 cup dried fruit (raisins, cranberries, or chopped apricots)
- 1/2 cup chocolate chips or chopped dark chocolate (optional)
- 1/2 cup shredded unsweetened coconut (optional)
For the Sauce / Garnish (if applicable):
- 2 oz dark chocolate, melted with 1 tsp coconut oil for an easy drizzle (optional)
How I Make It
Step 1:
I preheat the oven to 350°F. I spread the 3 cups of oats on a baking sheet and toast them for about 8–10 minutes until they smell nutty and look light golden — the kitchen fills with that irresistible toasty scent. Toasting adds flavor and keeps the bars from tasting flat, so don’t skip this if you have 10 minutes.
Step 2:
While the oats toast, I melt 1/4 cup butter, 1/2 cup honey, and 1/2 cup peanut butter in a small saucepan over low heat. I stir until glossy and smooth, then whisk in 1/4 cup brown sugar (if using), 1 tsp vanilla, and 1/2 tsp salt. Tip: keep the heat low — you want a gentle shimmer, not a furious boil.
Step 3:
I pour the warm mixture over the toasted oats in a large bowl, add the chopped nuts, dried fruit, coconut, and chocolate chips, and stir until everything gets an even, sticky coat. The mixture should hold together when you squeeze a small handful. If it feels too dry, add a tablespoon of extra honey; if too runny, add a tablespoon of oats.
Step 4:
I line an 8×8-inch pan with parchment, leaving an overhang for easy removal, and press the mixture into the pan with a spatula. Then I put another piece of parchment on top and press firmly with the bottom of a measuring cup — this step seals the bars and prevents crumbling later. I bake at 350°F for 15–18 minutes, until the edges look golden and the center looks set but still slightly soft. The smell gets dangerously good here — sweet, toasty, warm.
Step 5:
I let the bars cool completely in the pan — at least 30 minutes; I often chill them for 15 minutes in the fridge to speed things up and firm the binder. Then I use the parchment overhang to lift the slab out and slice into 12 bars. If I’m drizzling chocolate, I melt the chocolate with the coconut oil, drizzle on top, and let it set. Listen for that satisfying snap when you cut through a baked edge — pure joy.
Pro Tips
- Press the mixture down firmly into the pan — firm pressure gives you cohesive bars that don’t crumble.
- Use certified gluten-free oats if you need a gluten-free option; some oats contain traces of wheat.
- Cool completely before slicing. Cutting hot bars causes them to fall apart like a sad cookie.
- If using sticky add-ins (like jammy dried fruits), reduce honey by 1–2 tbsp to prevent sogginess.
Common Mistakes to Avoid
- Skipping preheating: Classic rookie move. It changes texture and bake time.
- Overmixing: Leads to dense or chewy results. Mix until just combined.
- Guessing cook time: Always use visual cues or a timer, not just vibes.
- Overcrowding pans: Give your food some breathing room to crisp properly.
Alternatives & Substitutions
- Swap peanut butter for almond or sunflower seed butter (sunflower is great for nut-free households). This changes flavor to nuttier or milder, but keeps chew.
- Use maple syrup instead of honey for a vegan bar; expect a slightly looser binder and subtler flavor.
- Replace butter with coconut oil for dairy-free bars; coconut adds a faint tropical note and makes bars slightly firmer when chilled.
- For lower sugar, cut brown sugar to 2 tbsp and increase nuts/seeds for texture.
Variations & Tips
- Chocolate Peanut Butter: Add 1/4 cup cocoa powder to the binder for brownie-like bars.
- Fruit & Nut: Swap chocolate chips for extra dried fruit and a handful of chia seeds for chew and nutrition.
- Spiced Apple: Add 1 tsp cinnamon and 1/4 tsp nutmeg with chopped apple chips for fall vibes.
- Savory Twist: Reduce honey to 1/4 cup, add 1 tsp soy sauce and sesame seeds for an umami snack bar.
- No-Bake Option: Press the mixture into the pan and chill 2 hours instead of baking for a softer, chewier bar.
FAQ (Frequently Asked Questions)
- Can I make this ahead of time?
- Yes! Store in an airtight container at room temperature up to 1 week, or freeze individually wrapped bars for up to 3 months. Thaw at room temp for 30 minutes before eating if frozen.
- Can I double the recipe?
- Sure thing. Use a 9×13 pan and spread into two 8×8 pans if you want thicker bars. Baking time may increase by 3–5 minutes if the slab gets thicker.
- Can I substitute butter with oil?
- Technically yes, but you’ll miss that buttery magic. Use ¾ the amount of oil.
- How do I know it’s done?
- Look for golden edges and a center that looks set (not liquid). The surface will firm up as it cools, so slight softness in the middle under an even top is fine.
- What if I don’t have ingredient X?
- No nuts? Use seeds (pumpkin, sunflower). Out of peanut butter? Try tahini or almond butter. No chocolate? Toasted coconut adds sweetness and chew.
How I Like to Serve It
I pack these for school lunches, slice them into bite-sized pieces for coffee guests, or enjoy one with a tall glass of cold milk for a nostalgic treat. They travel well on hikes and feel fancy with a warm mug of tea on rainy afternoons. In summer, I keep a plate in the freezer for an ice-cold bite. They fit into busy mornings, picnic baskets, and cozy movie nights alike.
Notes
- Store in an airtight container at room temp up to 1 week or freeze for up to 3 months.
- This recipe contains no meat; safe cooking temps for meat don’t apply here.
Final Thoughts
Closing: Now go impress someone — or just yourself — with your homemade masterpiece!