
Chef’s secret time: I stumbled on this recipe while trying to make brownies that actually make me feel proud the next morning — not regretful. I kept tinkering until the texture hit that perfect fudgy-while-slightly-cakey middle, and then I realized the trick wasn’t some mythical ingredient but smart swaps: protein powder, a trusty nut butter, and just enough natural sweetener to make the kitchen smell like comfort. I share this because I love a recipe that behaves: it bakes reliably, tastes indulgent, and gives you a little protein boost so you can have dessert for breakfast without moral panic. Yes, I’ve tested this more than once — for science (and snack happiness).
Quick Facts
- Yield: Serves 9
- Prep Time: 10 minutes
- Cook Time: 20 minutes
- Total Time: 30 minutes
Why This Recipe is Awesome
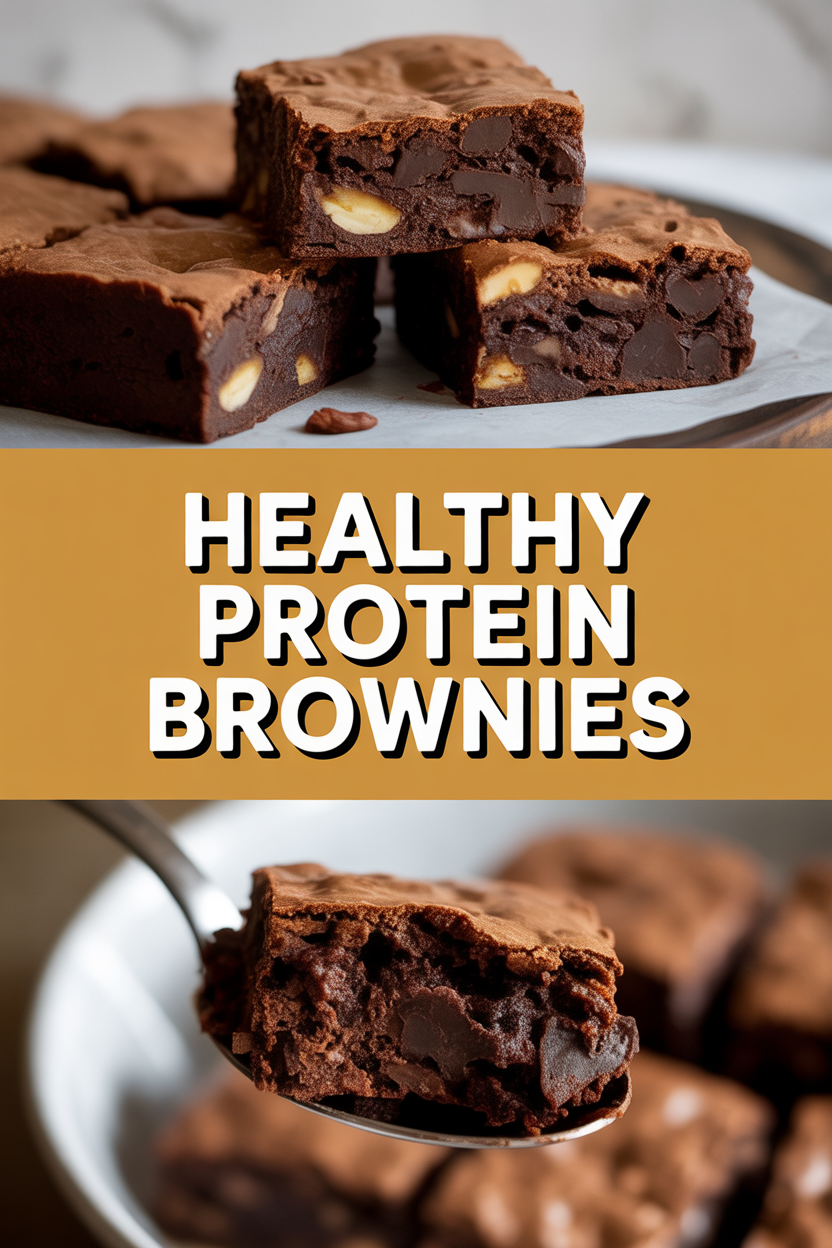
This recipe gives you brownie vibes — deep chocolate smell, slightly crackly top, chewy edges, and a tender, fudgy center — but with extra protein so the treat actually helps fill you up. It’s forgiving, fast, and uses pantry-friendly ingredients. Think of it as the grown-up brownie that still lets you lick the spoon. It’s so easy even your oven can’t mess it up.
Ingredients
For the Main Dish:
- 1 cup rolled oats (or oat flour)
- 1/2 cup unsweetened cocoa powder
- 3/4 cup chocolate or vanilla protein powder (whey or plant-based)
- 1/2 tsp baking powder
- 1/4 tsp fine sea salt
- 2 large eggs (or 2 tbsp flax + 6 tbsp water for vegan)
- 1/2 cup almond butter or peanut butter, slightly warm
- 1/3 cup maple syrup or honey
- 1/4 cup mashed ripe banana or unsweetened applesauce (for moisture)
- 1 tsp vanilla extract
- 1/3 cup dark chocolate chips (optional)
For the Sauce / Garnish (if applicable):
- 2 tbsp dark chocolate, melted (drizzle)
- 2 tbsp plain Greek yogurt or coconut yogurt (optional dollop)
- Flaky sea salt or chopped nuts for topping
How I Make It
Step 1:
Preheat the oven to 350°F. Line an 8×8-inch pan with parchment and lightly grease the corners so the brownies pop out cleanly. While the oven warms, pulse the rolled oats in a blender or food processor for a minute to make oat flour if you don’t have it — I love the slight grainy texture it gives. Your kitchen should smell faintly toasty from the oat grinding, which always feels reassuring.
Step 2:
In a mixing bowl, whisk together cocoa powder, protein powder, baking powder, and salt. In another bowl, beat the eggs (or flax mixture) with almond butter, maple syrup, mashed banana, and vanilla until glossy. The batter smells like warm chocolate — cue happy sighs. Tip: if your nut butter feels stiff, microwave 10–15 seconds to loosen.
Step 3:
Fold the dry into the wet with a spatula until just combined. Add the chocolate chips if using. Don’t overmix — you want a slightly thick, scoopable batter. If it seems too dry, stir in a tablespoon of milk (dairy or plant) at a time until it reaches a fudgy consistency. I like to scrape the spoon and admire that ribbon — that’s your texture cue.
Step 4:
Spread the batter evenly in the prepared pan and smooth the top with an offset spatula or the back of a spoon. Bake for 18–22 minutes, rotating the pan at the 10-minute mark for even browning. Watch for a set top with slightly soft center — a toothpick should come out with a few moist crumbs, not goo. Edges should look firmer and pull away a little from the sides. The oven will sing a little when the sugar starts caramelizing — that gentle scent means golden edges incoming.
Step 5:
Let the brownies cool in the pan for at least 15 minutes before slicing so they firm up. Warmly drizzle melted chocolate and sprinkle flaky salt or chopped nuts. Dollop Greek yogurt if you want tang and creaminess. Cut into 9 squares and serve slightly warm with a cold glass of milk or coffee.
Pro Tips
- Use oat flour for a denser, more traditional brownie texture; whole oats give chewiness. Pulse for a finer crumb if you prefer.
- If your batter feels dry, add milk 1 tbsp at a time. If too runny, add a tablespoon of protein powder or cocoa.
- For extra fudgy centers, pull the brownies at the lower end of the bake time and let them finish setting in the warm pan.
- Swap nut butter brands sparingly — the salt and oil content changes texture. Taste a spoonful if unsure.
Common Mistakes to Avoid
- Skipping preheating: Classic rookie move. It changes texture and bake time.
- Overmixing: Leads to dense or chewy results. Mix until just combined.
- Guessing cook time: Always use visual cues or a timer, not just vibes.
- Overcrowding pans: Give your food some breathing room to crisp properly.
Alternatives & Substitutions
- Use gluten-free oats to make these gluten-free — note: texture stays similar but may be a touch crumblier.
- Swap eggs for 2 tbsp ground flax + 6 tbsp water for a vegan option; expect a slightly denser texture.
- Replace almond butter with sunflower seed butter to avoid tree nuts — taste stays rich but greener in color.
- Use a different sweetener: swap maple for honey (not vegan) or a zero-calorie syrup; sweetness and mouthfeel change slightly.
Variations & Tips
- Add a pinch of cayenne or smoked paprika for a spicy-sweet adult treat.
- Stir in 1/3 cup chopped walnuts or pecans for crunch and nutty aroma.
- Make them kid-friendly with mini chocolate chips and a sprinkle of rainbow nonpareils after baking.
- Create PB-swirl brownies: dollop 1/4 cup peanut butter on top before baking and swirl with a knife.
- Turn into bars: press into a 9×13 pan and increase bake time to 25–28 minutes for thinner bars.
FAQ (Frequently Asked Questions)
- Can I make this ahead of time?
- Yes! Bake completely, cool, and store in an airtight container at room temperature for 2 days or in the fridge for up to 5 days. Warm a square for 10–15 seconds in the microwave to revive that just-baked feel.
- Can I double the recipe?
- Sure thing. Use a 9×13-inch pan and bake for about 25–28 minutes, checking at the lower time. Rotate once during baking for even color.
- Can I substitute butter with oil?
- Technically yes, but you’ll miss that buttery magic. Use 3/4 the amount of oil (so 3 tbsp oil for 4 tbsp butter) and expect a slightly different mouthfeel — a touch less richness.
- How do I know it’s done?
- Look for a crackly top, firmer edges, and a center that yields moist crumbs on a toothpick. If a toothpick comes out wet with batter, give it another 2–3 minutes.
- What if I don’t have ingredient X?
- No panic. No cocoa? Use 6 oz melted dark chocolate and reduce sweetener a touch. No protein powder? Add 1/4 cup extra oat flour and accept lower protein content — texture shifts slightly.
How I Like to Serve It
I love these brownies slightly warm with a scoop of vanilla ice cream on top or a dollop of Greek yogurt and fresh berries for breakfast vibes. They pair beautifully with black coffee or a cold glass of milk for kids. Bring them to potlucks: they travel well and people assume you fussed — which you did, but in the best way.
Notes
- Store in an airtight container at room temperature for up to 2 days, or in the fridge for 5 days. Freeze individual squares wrapped tightly for up to 2 months.
- No meat here — no internal safe-temp notes needed. Reheat squares for 10–15 seconds in the microwave or 5 minutes at 300°F to refresh from frozen.
Final Thoughts
Closing: Go bake a pan, steal a square while it’s still warm, and then smile because you just fed your sweet tooth and your muscles with one delicious little victory.