
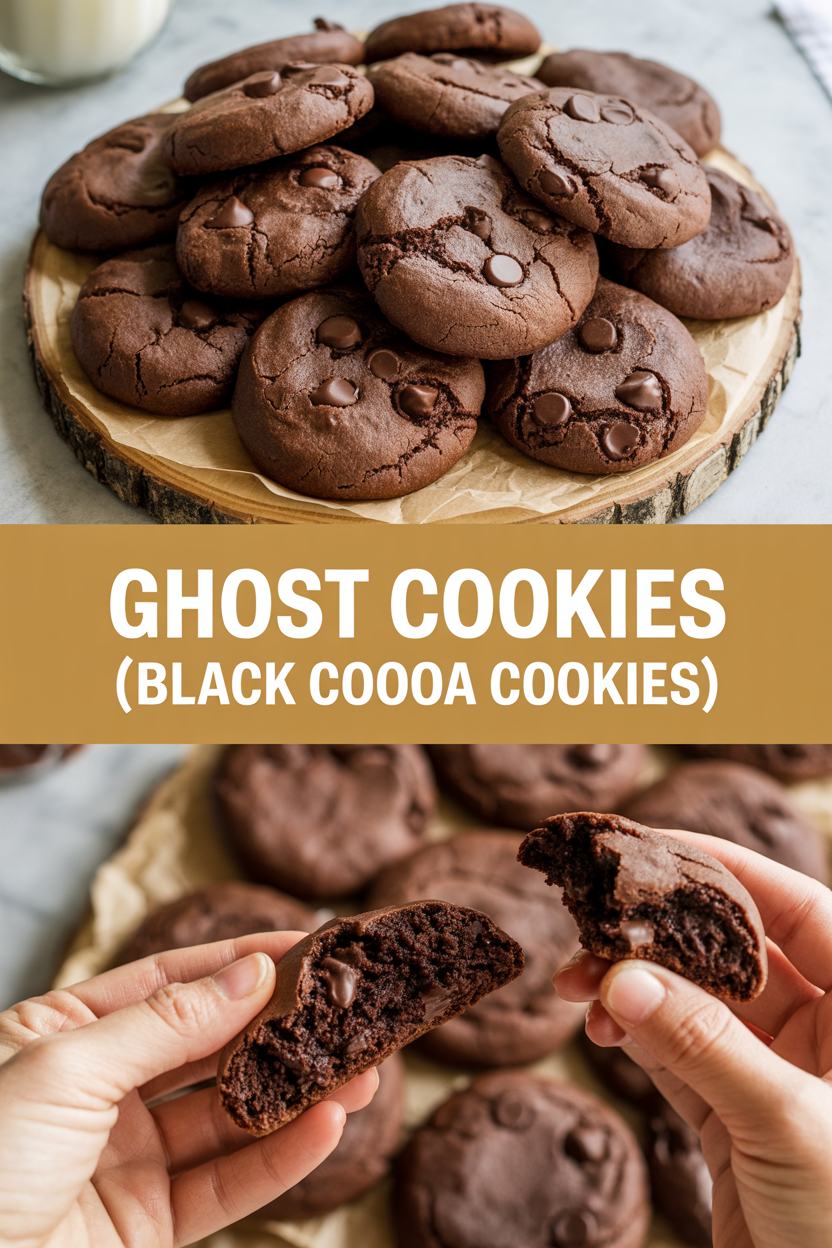
Okay, imagine me in an apron that definitely has cookie crumbs on it, waving a spatula like a magic wand — because these Ghost Cookies deserve drama. I first made them on a rainy Halloween when the power flickered and my kitchen smelled like dark chocolate and nostalgia. They look like little midnight moons: deeply black from black cocoa, crackly on top, and hauntingly tender inside. I cratered the tops with a spoon to make them look spooky, melted white chocolate into silly faces, and felt like a pastry witch. These cookies travel well to parties, survive sticky fingers, and somehow make milk taste like a secret.
Quick Facts
- Yield: Serves 24 cookies
- Prep Time: 20 minutes
- Cook Time: 10–12 minutes per batch
- Total Time: 40 minutes (including cooling)
Why This Recipe is Awesome
You get dramatic color and deep chocolate flavor without complicated steps. The dough smells like rich cocoa and vanilla; the edges crisp while the centers stay chewy — hello, contrast! They make a statement on a cookie plate, and the white chocolate “ghost” faces? Ridiculously cute. Plus, they hold up well in lunchboxes and disappear astonishingly fast at parties. It’s so easy even your oven can’t mess it up.
Ingredients
For the Main Dish:
- 1 cup (2 sticks) unsalted butter, softened
- 1 cup granulated sugar
- 1/2 cup light brown sugar, packed
- 1 large egg, room temperature
- 1 tsp vanilla extract
- 1 3/4 cups all-purpose flour
- 1/2 cup black cocoa powder (Dutch-process, finely sifted)
- 1/2 cup unsweetened cocoa powder (regular)
- 1 tsp baking soda
- 1/2 tsp baking powder
- 1/2 tsp fine salt
- 1 cup semi-sweet chocolate chips or chunks (optional for extra melty pockets)
For the Sauce / Garnish (if applicable):
- 6–8 oz white chocolate chips or candy melts, melted for faces
- Mini chocolate chips or melted dark chocolate for eyes
How I Make It
Step 1:
Preheat your oven to 350°F. Line two baking sheets with parchment paper. In a large bowl, cream together 1 cup butter, 1 cup granulated sugar, and 1/2 cup brown sugar until light and fluffy — about 2–3 minutes with a hand mixer. You’ll notice the mix turn pale and smell buttery and sweet; that’s your base flavor singing.
Step 2:
Add the egg and 1 tsp vanilla, then beat until smooth. In a separate bowl, whisk 1 3/4 cups flour, 1/2 cup black cocoa, 1/2 cup unsweetened cocoa, 1 tsp baking soda, 1/2 tsp baking powder, and 1/2 tsp salt. Sift if your cocoa clumps; no one likes gritty pockets of cocoa. Fold the dry mix into the butter mixture until just combined. Avoid overmixing — you want tender, not tough.
Step 3:
Fold in 1 cup chocolate chips if using. Scoop dough by heaping tablespoons onto the prepared sheets, leaving about 2 inches between cookies. For ghost-shaped bumps, slightly smooth the tops with the back of a spoon or a damp fingertip. The dough will feel almost black and velvety under your hands.
Step 4:
Bake at 350°F for 10–12 minutes, rotating pans halfway. Look for *crackly tops* and set edges; centers still look soft. You’ll smell deep chocolate and maybe a hint of caramel from the brown sugar. Pull the sheets when the edges look firm — the centers will finish while the cookies rest on the hot sheet for 5 minutes.
Step 5:
Transfer cookies to a cooling rack. Once cool, melt the white chocolate in short bursts in the microwave, stirring until smooth. Use a small piping bag or a spoon to paint little ghost faces on each cookie, then dot on mini chips for eyes. Let the chocolate set — about 15 minutes at room temperature or 5 in the fridge. Admire the spooky contrast: midnight-black cookies wearing tiny white grins.
Pro Tips
- Stiffen soft butter by chilling the bowl briefly if the dough feels greasy; too-warm butter flattens cookies.
- If you want extra chew, swap 2 tbsp of flour for 2 tbsp of corn syrup or honey.
- Make dough ahead and chill for up to 48 hours — chilled dough bakes into taller cookies with deeper flavor.
- Don’t skip sifting black cocoa if it clumps; it gives the dough that galaxy-smooth look.
Common Mistakes to Avoid
- Skipping preheating: Classic rookie move. It changes texture and bake time.
- Overmixing: Leads to dense or chewy results. Mix until just combined.
- Guessing cook time: Always use visual cues or a timer, not just vibes.
- Overcrowding pans: Give your food some breathing room to crisp properly.
Alternatives & Substitutions
- If you don’t have black cocoa, use 1/2 cup Dutch-process cocoa plus 2–3 tbsp of unsweetened cocoa for color — flavor stays close but color dims slightly.
- Swap butter for coconut oil for a dairy-free version; expect slightly different spread and a hint of coconut.
- Use 1:1 gluten-free flour blend to make a gluten-free batch; texture stays tender but might be a touch crumblier.
- For vegan cookies, use flax “egg” (1 tbsp ground flax + 3 tbsp water) and a vegan butter substitute.
Variations & Tips
- Add 1 tsp instant espresso powder to amplify chocolate flavor without tasting “coffee.”
- Stir in chopped toasted pecans for crunch and a nutty undertone.
- Drop a piece of caramel in the center before baking for a molten surprise (wrap in parchment to prevent stickiness).
- For kid-friendly decorating, use colored candy melts instead of white chocolate for goofy faces.
- Turn them into sandwich cookies with marshmallow fluff or vanilla buttercream between two cookies.
FAQ (Frequently Asked Questions)
- Can I make this ahead of time?
- Yes! Shape the dough into balls and freeze on a tray for 1–2 hours, then transfer to a bag for up to 3 months. Bake from frozen, adding 1–2 minutes to the bake time.
- Can I double the recipe?
- Sure thing. Use two sheets and rotate them in the oven for even baking. You may need to bake two trays instead of stacking them, depending on oven size.
- Can I substitute butter with oil?
- Technically yes, but you’ll miss that buttery magic. Use ¾ the amount of oil and expect thinner, chewier cookies.
- How do I know it’s done?
- Look for crackly tops and edges that feel set; the center should still look slightly soft. Cooked cookies firm up while cooling on the sheet.
- What if I don’t have ingredient X?
- Swap cocoa types (Dutch-process or natural) with slight flavor changes. No white chocolate? Use a smear of vanilla frosting for faces.
How I Like to Serve It
I serve these with a tall glass of cold milk for dunking, or with espresso for an after-dinner treat. They make a dramatic addition to Halloween platters, cookie exchanges, or cozy movie nights. I sometimes crumble one over vanilla ice cream for instant sundae luxury.
Notes
- Store cookies in an airtight container at room temperature for up to 5 days, or freeze baked cookies for up to 2 months.
- Reheat gently in a 300°F oven for 4–5 minutes to refresh the crisp edges and warm the centers.
Final Thoughts
Closing: Now go bake something deliciously dramatic — these Ghost Cookies will make your kitchen smell amazing and your friends very impressed. Enjoy every spooky bite!