
I have to admit: funnel cake fries are my fairground sin, homemade and slightly less suspicious than the ones sold under fluorescent lights. Picture me as a kid with powdered sugar dust on my nose and a sugar high in progress — I tried to replicate that crunchy, craggy goodness in my tiny kitchen and never looked back. These fries give you the same crackly, golden exterior and pillowy inside, but you don’t need to juggle a giant funnel or a deep fryer. They come together fast, smell like warm vanilla and butter, and they disappear even faster. If you love a little crunch, a little sweet, and a lot of nostalgia, this recipe is for you.
Quick Facts
- Yield: Serves 4
- Prep Time: 15 minutes
- Cook Time: 15–20 minutes
- Total Time: 30–35 minutes
Why This Recipe is Awesome
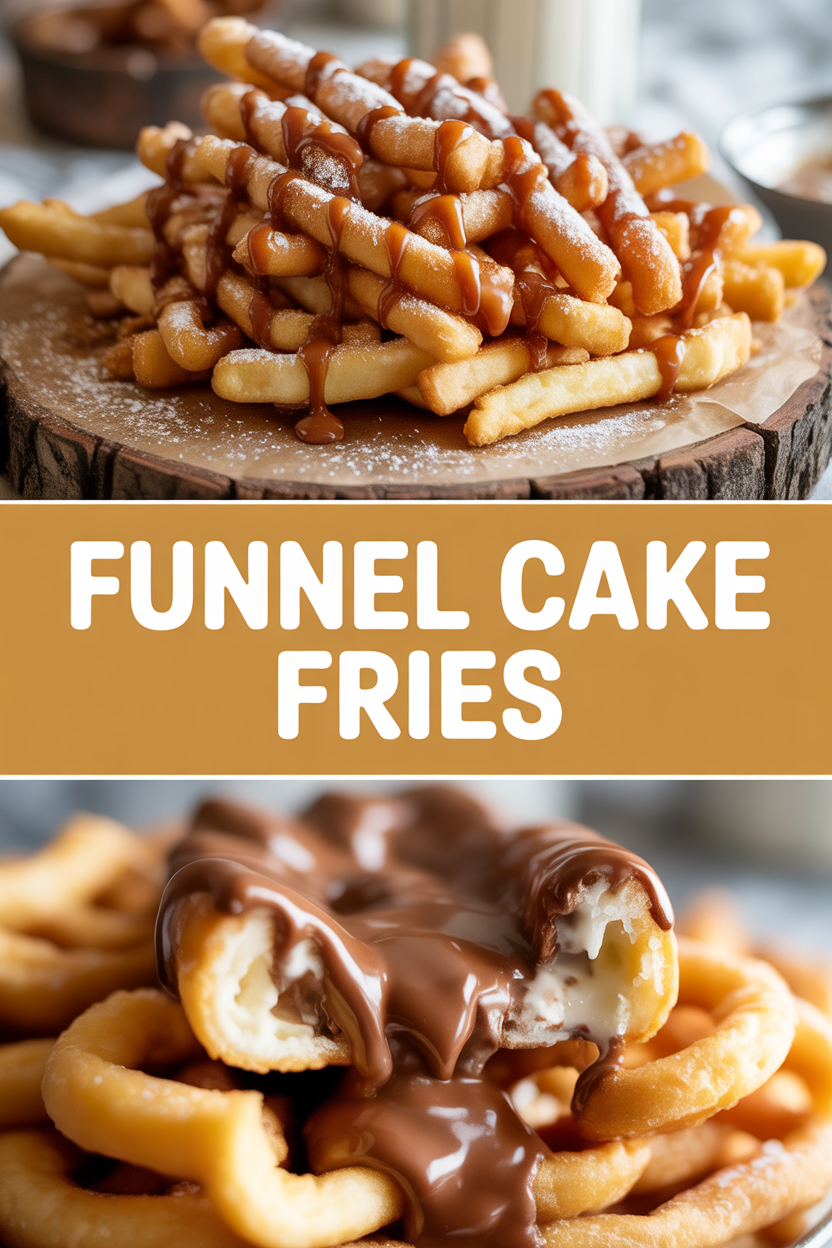
These funnel cake fries give you the best parts of a carnival treat — crispy, crackly edges and soft, slightly chewy insides — without the lines or sticky ride-home hands. They taste like warm vanilla, butter, and summer fairs. They come together with pantry staples, fry quickly, and pair with any dipping sauce from powdered sugar splashes to gooey caramel. Trust me: once you hear that first sizzle, you’ll have a hard time stopping.
Ingredients
For the Main Dish:
- 1 1/2 cups **all-purpose flour**
- 2 tbsp **granulated sugar**
- 1 tsp **baking powder**
- 1/2 tsp **salt**
- 1 large **egg**, room temperature
- 1 cup **milk** (whole or 2%)
- 1 tsp **vanilla extract**
- 2 tbsp **melted butter** (optional, for richness)
- Vegetable oil for frying (about 4 cups, enough for 2–3″ depth)
For the Sauce / Garnish:
- Powdered sugar, for dusting
- Cinnamon-sugar mix (optional)
- Chocolate sauce, caramel, or strawberry jam for dipping
How I Make It
Step 1:
I start by whisking the dry ingredients together: 1 1/2 cups all-purpose flour, 2 tbsp sugar, 1 tsp baking powder, and 1/2 tsp salt. In another bowl I beat the egg with 1 cup milk, 1 tsp vanilla, and the 2 tbsp melted butter. The batter should be pourable but a little thick — think a creamy pancake batter. If it feels too thick, add a tablespoon of milk at a time until it flows easily.
Step 2:
Heat your oil in a deep skillet or Dutch oven to 375°F. Use a candy thermometer or an instant-read thermometer — the right temp gives you that instant sizzle and golden color. I transfer the batter to a squeeze bottle or a large zip-top bag and snip a small corner; that gives me control to pipe long fry shapes. If you prefer old-school, a funnel with the tip blocked slightly works too.
Step 3:
Pipe 3–4″ strips of batter into the hot oil, working in small batches so the oil temperature recovers quickly. The batter will sizzle and puff right away — listen for that lively fry-sound. Flip the fries gently with tongs when the underside turns golden brown. Each batch takes about 2–3 minutes total to reach a deep, golden color with craggy edges and a soft center.
Step 4:
Move finished fries to a paper towel-lined tray to drain for about 1 minute, then dust generously with powdered sugar or toss in cinnamon-sugar while still warm so the coating sticks. The contrast of crispy ridges and soft interior hits all the right notes about 10 seconds after your first bite — hot steam, sweet smell, and the crunch-to-soft ratio you secretly crave.
Step 5:
Arrange on a platter with little bowls of chocolate sauce and caramel for dipping. I like to add a sprinkle of flaky sea salt over the caramel-dipped fries — that sweet-salty bit makes you do a double-take in the best way.
Pro Tips
- Keep the oil at a steady 375°F. If it’s cooler, the fries soak up oil; if hotter, they brown too fast. I adjust the burner to maintain temp between batches.
- Use a squeeze bottle or zip-top bag for consistent shapes; uneven pieces fry unevenly.
- Don’t overcrowd the pan — give each fry at least an inch to puff and crisp.
- If your batter thickens while you cook, thin with 1 tbsp milk and stir; batter should stream, not plop.
Common Mistakes to Avoid
- Skipping preheating: Classic rookie move. It changes texture and bake time.
- Overmixing: Leads to dense or chewy results. Mix until just combined.
- Guessing cook time: Always use visual cues or a timer, not just vibes.
- Overcrowding pans: Give your food some breathing room to crisp properly.
Alternatives & Substitutions
- Swap regular milk for almond or oat milk for a dairy-free option — texture stays similar but flavor shifts slightly.
- Use a 1:1 gluten-free flour blend if you need GF; expect a slightly more crumbly interior and add 1 tsp xanthan gum if your blend lacks it.
- Replace melted butter with vegetable oil in the batter for dairy-free — you’ll lose a little richness but keep great crisp.
- For lighter fries, try baking at 425°F on an oiled sheet for 12–15 minutes, flipping halfway — not quite the same crunch, but still delicious.
Variations & Tips
- Chocolate-drizzled: Melt chocolate chips and drizzle over fries, then sprinkle with sea salt.
- Maple-cinn: Toss warm fries in a mix of powdered sugar and a splash of maple syrup, then cinnamon.
- Savory twist: Omit sugar in batter, fry, then toss with grated Parmesan and garlic powder for a snackable savory fry.
- Kiddie-friendly: Make smaller 2″ fries and serve with fruit jam or chocolate milk for dipping.
- Spiced: Add 1/2 tsp ground cardamom or nutmeg to the batter for an aromatic twist.
- Creative twist: Add zested lemon to the batter and dust with powdered sugar + lemon zest for a bright finish.
FAQ (Frequently Asked Questions)
- Can I make this ahead of time?
- Yes! Mix the batter and store it in the fridge for up to 24 hours; bring it back to room temp and thin slightly if needed before frying. Cooked fries taste best fresh, but you can keep them in a single layer in the fridge for 1 day and re-crisp in a 350°F oven for 5–7 minutes.
- Can I double the recipe?
- Sure thing. Fry in more batches and monitor oil temperature carefully — larger batches will drop the oil temp more, so let it recover between batches.
- Can I substitute butter with oil?
- Technically yes, but you’ll miss that buttery magic. Use ¾ the amount of oil if swapping, and add a splash of vanilla for extra flavor.
- How do I know it’s done?
- Look for a deep golden color with craggy edges and a light, bouncy interior when you press lightly. The fries should sound crisp when you tap them with tongs.
- What if I don’t have ingredient X?
- No sweat — use regular sugar instead of caster, or sub milk with a non-dairy alternative. If you lack a squeeze bottle, a zip-top bag with a snipped corner works perfectly.
How I Like to Serve It
I love piling these on a big platter and passing around little dipping bowls of chocolate, caramel, and raspberry jam at a cozy gathering. They make a playful dessert for movie night or a weekend brunch treat with coffee. In summer, I pair them with lemon gelato; in fall, a hot cider balances the warm vanilla notes beautifully.
Notes
- Store cooled leftover fries in an airtight container in the fridge for up to 24 hours; reheat in a 350°F oven to crisp back up.
- No meat in this recipe — safe cooking temps for meat are not applicable here.
Final Thoughts
Closing: Go make a batch, dust your fingers with powdered sugar, and savor that first crunchy, warm bite — now go impress someone — or just yourself — with your homemade masterpiece!