
Okay, full disclosure: I once tried to impress a date with a fancy souffle and nearly set off the smoke alarm. These fudgy cocoa brownies? They’re the opposite of that nervous, dramatic bake — they’re forgiving, fast, and reliably delicious. I’ll be honest: I developed this one-bowl recipe during a week when my pantry looked sad and my patience looked sadder, and it instantly became the “no-fuss showstopper” at movie nights. Picture glossy batter, the warm chocolate smell that fills the whole kitchen, and those crackly tops giving way to gooey, almost-syrupy centers. You’ll want to eat one warm with a spoon. Or three. I won’t judge.
Quick Facts
- Yield: Serves 9 (8×8 inch pan)
- Prep Time: 10 minutes
- Cook Time: 20–25 minutes
- Total Time: 35 minutes
Why This Recipe is Awesome
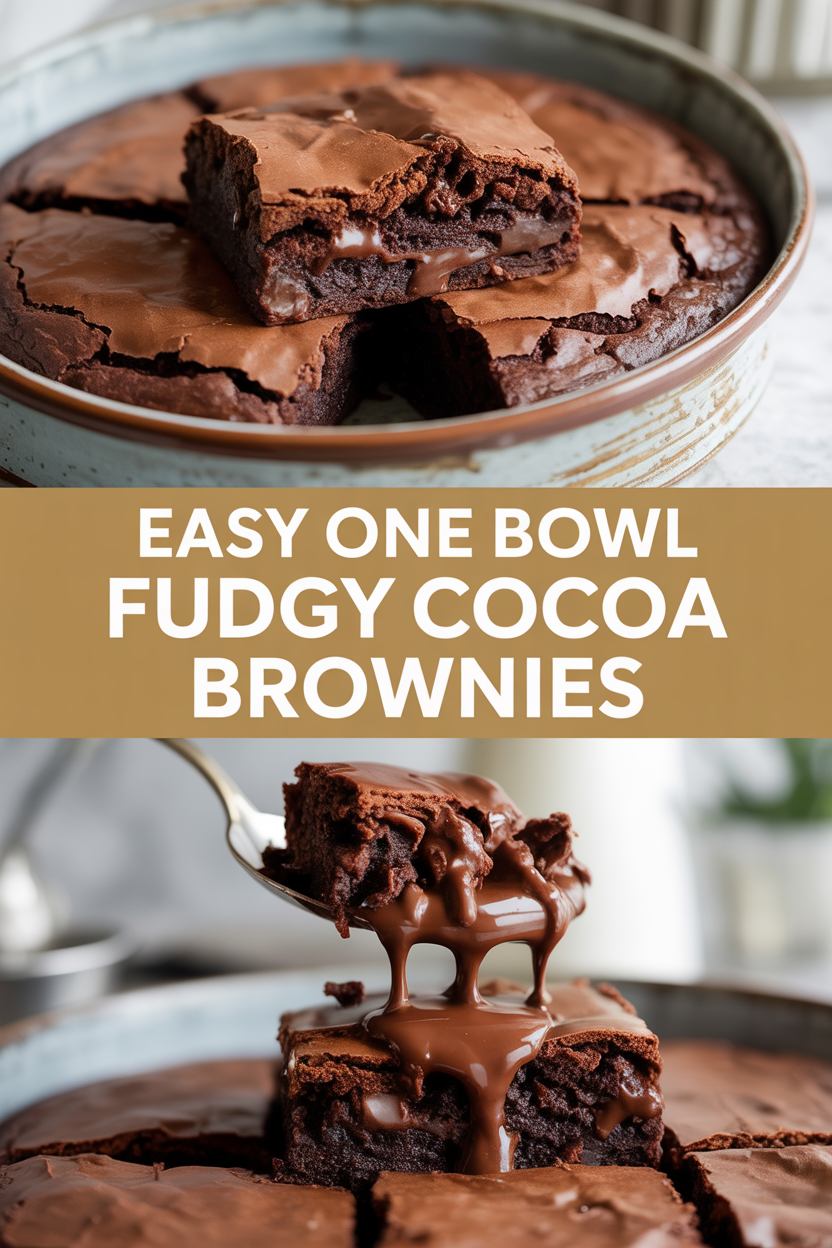
If you love brownies that taste like chocolate hugged a marshmallow, you’ll adore these. I keep the ingredients simple and do everything in one bowl, so you save dishes and brain cells. Expect a shiny, crackled top, fudgy center, and slightly chewy edges — that trio of textures makes people swoon. It’s so easy even your oven can’t mess it up, and the aroma of cocoa and butter will make your whole house smell like a bakery. Trust me, neighbors will notice.
Ingredients
For the Main Dish:
- 1 cup granulated sugar
- 3/4 cup all-purpose flour
- 1/2 cup unsweetened cocoa powder (natural or Dutch-processed)
- 1/2 tsp salt
- 1/2 tsp baking powder
- 2 large eggs, at room temperature
- 1/2 cup (1 stick) unsalted butter, melted and slightly cooled
- 2 tsp vanilla extract
- 1/2 cup semi-sweet chocolate chips or chopped chocolate (optional, but highly recommended)
- Optional: 1/2 cup chopped nuts (walnuts or pecans) or 1/3 cup mini chocolate chips for extra chewy pockets
For the Sauce / Garnish (if applicable):
- Powdered sugar for dusting or a scoop of vanilla ice cream for serving
How I Make It
Step 1:
Preheat the oven to 350°F. Grease an 8×8 inch pan and line with parchment, leaving a little overhang for easy lifting. In a large bowl, whisk together the dry ingredients: 1 cup sugar, 3/4 cup flour, 1/2 cup cocoa powder, 1/2 tsp salt, and 1/2 tsp baking powder. I like to whisk until the cocoa has no lumps so the batter feels silky from the start.
Step 2:
Add the wet ingredients directly to the dry: crack in the 2 eggs, pour in the melted 1/2 cup butter, and stir in 2 tsp vanilla. Use a sturdy spoon or rubber spatula and fold until just combined — a few streaks of flour are okay. Overmixing makes the brownies cakier, and we want fudgy, not spongy.
Step 3:
Fold in the 1/2 cup chocolate chips and any nuts if using. The batter should look glossy and pourable; it smells like a warm chocolate hug. Spoon the batter into your prepared pan and smooth the top with a spatula. Tap the pan once on the counter to pop any large air bubbles and help the batter settle for that shiny crackle on top.
Step 4:
Bake at 350°F for 20–25 minutes. Start checking at 18 minutes: insert a toothpick near the center — you want a few moist crumbs clinging to it, not clean. The edges should pull slightly away from the pan and turn a touch darker. The top will form a beautiful glossy crust that snaps when you break a piece — music to my ears.
Step 5:
Let the brownies cool in the pan on a rack for at least 20 minutes. This resting time helps the interior set so you can cut neat squares. Lift the brownies out using the parchment overhang, slice with a sharp knife (wipe between cuts), and serve warm with a dusting of powdered sugar or a scoop of vanilla ice cream. I always taste one warm to test the quality control — purely scientific, of course.
Pro Tips
- Use room-temperature eggs so they emulsify easily with the melted butter for a glossy top.
- If you want extra fudginess, shave 1–2 minutes off the bake time and let them rest longer — they’ll firm up but stay gooey inside.
- Swap half the sugar for brown sugar for a deeper, slightly caramel flavor.
- For cleaner slices, chill the brownies for 30 minutes before cutting or warm the knife under hot water and dry between cuts.
Common Mistakes to Avoid
- Skipping preheating: Classic rookie move. It changes texture and bake time.
- Overmixing: Leads to dense or chewy results. Mix until just combined.
- Guessing cook time: Always use visual cues or a timer, not just vibes.
- Overcrowding pans: Give your food some breathing room to crisp properly.
Alternatives & Substitutions
- Flour alternatives: Use a 1:1 gluten-free flour blend for a gluten-free version; texture will stay fudgy but may be slightly crumblier.
- Dairy-free: Replace butter with 3/8 cup neutral oil (like avocado or light olive oil) and use dairy-free chocolate; you’ll lose a touch of that buttery magic, but the brownies will stay moist.
- Chocolate swaps: Dark chocolate chips give a more intense chocolate hit; milk chocolate makes them sweeter and creamier.
- Sugar swaps: Replace half the granulated sugar with coconut sugar for a caramel note; it’s not a perfect 1:1 in color but works well.
Variations & Tips
- Add 1 tsp instant espresso powder to the batter for a deeper, coffee-enhanced chocolate flavor.
- Swirl in 1/3 cup peanut butter or Nutella before baking for a marbled twist.
- Stir in 1/2 cup mini marshmallows in the last 5 minutes of baking for gooey, toasty marshmallow pockets.
- Mix in 1/2 cup orange zest and white chocolate chips for a bright, citrusy version.
- Make them spicy: add 1/4 tsp cayenne and 1/2 tsp cinnamon for a Mexican hot-chocolate vibe.
- Create blondie-brownies: swap cocoa for 1/2 cup extra flour and add 1/2 cup brown sugar plus vanilla for a butterscotch-forward bar.
FAQ (Frequently Asked Questions)
- Can I make this ahead of time?
- Yes! Bake the brownies, cool completely, and store in an airtight container at room temperature for up to 3 days. For longer storage, refrigerate up to 1 week or freeze cut squares for up to 3 months — thaw at room temperature or warm briefly in the microwave.
- Can I double the recipe?
- Sure thing. Use a 9×13 inch pan and increase bake time to 25–30 minutes, but start checking at 22 minutes. Keep the same temperature and watch for that glossy top and moist crumb on a toothpick.
- Can I substitute butter with oil?
- Technically yes, but you’ll miss that buttery magic. Use 3/8 cup oil (¾ of the butter amount) and expect a slightly different crumb and flavor.
- How do I know it’s done?
- Look for a shiny, crackly top, slightly darker edges, and a toothpick with moist crumbs (not wet batter). The center should jiggle a little but not flow when you nudge the pan.
- What if I don’t have ingredient X?
- Out of cocoa? Use 3 oz melted dark chocolate plus reduce butter by 1 tbsp and cut sugar by 2 tbsp. No eggs? Use 1/4 cup unsweetened applesauce per egg for a dense, fudgy result.
How I Like to Serve It
I serve these brownies warm with a big scoop of vanilla ice cream and a drizzle of chocolate sauce for movie night. For casual weekends, I cut them small and tuck them into lunchboxes — they make adults feel like kids again. They also sit nicely on a dessert platter with fruit for potlucks. In colder months, I pair them with a steaming mug of coffee or hot chocolate; in summer, a glass of cold milk hits the spot.
Notes
- Store in an airtight container at room temperature for up to 3 days, refrigerate for up to 1 week, or freeze for up to 3 months.
- If you double the recipe for a 9×13 pan, monitor baking time closely — ovens vary.
Final Thoughts
Closing: Now go impress someone — or just yourself — with your homemade masterpiece! These brownies demand very little effort and deliver maximum chocolate joy.