
I have a confession: I once tried to make “fancy” cookies for a party and accidentally created a sticky marshmallow apocalypse. The smoke alarm gave me a standing ovation, but my friends loved the gooey mess so much that I rewrote the recipe that very night. These Easy Gooey Marshmallow Cookies fix my earlier mistakes and keep all the fun—the crackly edges, the molten center, the smell of toasted sugar and butter—without turning your kitchen into Mount Marshmallow. They bake fast, use pantry staples, and deliver that oozy, pillowy bite we all secretly chase. If you like chocolate, warm sugar, and cookies that collapse gloriously when you take a bite, you’re in the right place.
Quick Facts
- Yield: Serves 24 cookies
- Prep Time: 15 minutes
- Cook Time: 10–12 minutes
- Total Time: 25–27 minutes
Why This Recipe is Awesome
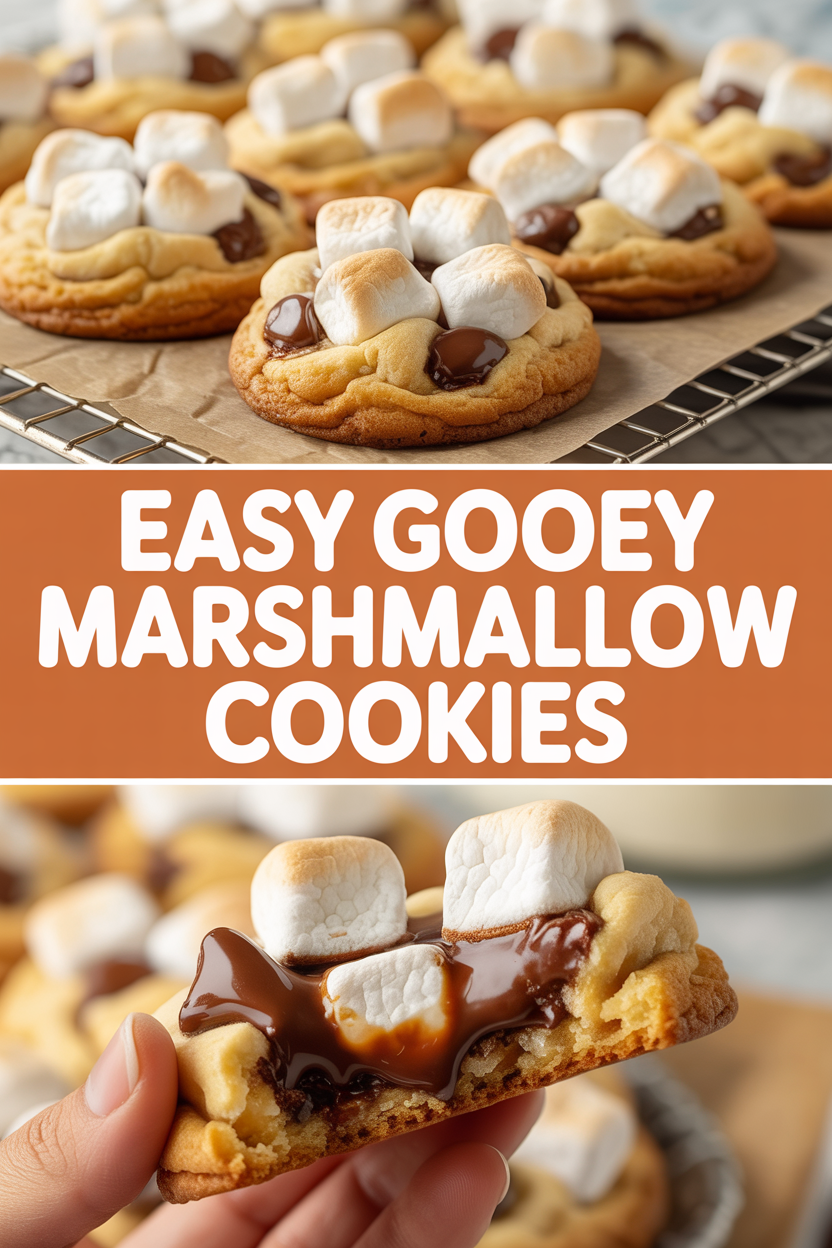
This recipe gives you crisp, golden edges and a gooey, pillowy marshmallow center in every bite. It feels indulgent but stays simple—no candy thermometer or weird ingredients. It smells like caramel and toasted sugar while baking, the chocolate pockets melt into silk, and the marshmallow gives that satisfying stretch when you pull a cookie apart. It’s so easy even your oven can’t mess it up (mostly). Perfect for kids, last-minute guests, or when you need a nostalgic sugar hug.
Ingredients
For the Main Dish:
- 1 cup (2 sticks) unsalted butter, softened
- 1 cup packed brown sugar (light or dark)
- 1/2 cup granulated sugar
- 2 large eggs
- 1 tsp vanilla extract
- 2 1/4 cups all-purpose flour
- 1 tsp baking soda
- 1/2 tsp salt
- 1 1/2 cups semi-sweet chocolate chips
- 24 large marshmallows (or 2 cups mini marshmallows)
For the Sauce / Garnish (if applicable):
- Optional: pinch of flaky sea salt for sprinkling
How I Make It
Step 1:
I preheat the oven to 350°F and line two baking sheets with parchment. In my mixing bowl, I cream together 1 cup softened butter with 1 cup packed brown sugar and 1/2 cup granulated sugar until the mixture looks light and a little fluffy—about 2–3 minutes. I love that sweet, buttery smell that blooms right here. Then I beat in 2 large eggs and 1 tsp vanilla until everything sings together.
Step 2:
In a separate bowl I whisk 2 1/4 cups flour, 1 tsp baking soda, and 1/2 tsp salt. I add the dry mix to the wet in two batches and stir until just combined—don’t overwork the dough or you’ll lose tenderness. I fold in 1 1/2 cups chocolate chips. The dough feels soft and slightly sticky; if it feels too wet, I sprinkle in a tablespoon of flour at a time.
Step 3:
I scoop tablespoon-sized balls of dough onto the baking sheets, spacing them about 2 inches apart. For each cookie, I press a single large marshmallow into the center of the dough ball, then pinch a little dough over the top so the marshmallow peeks out but stays snug. If you use mini marshmallows, I fold about 2 tablespoons into each dough scoop so you get pockets of goo throughout. You’ll hear a quiet hush in the kitchen—anticipation—and smell sugary butter as the oven works its magic.
Step 4:
I slide the sheets into the oven and bake for 10–12 minutes. Watch for golden edges and slightly set centers; the cookies will still feel soft when I pull them out. If the marshmallow starts to brown too fast, I lower the oven rack or tent a piece of foil loosely over that tray. Let the cookies rest on the sheet for 3–4 minutes so the marshmallow settles into a gloriously gooey center, then transfer to a wire rack to finish cooling just enough to handle.
Step 5:
I sprinkle a tiny pinch of flaky sea salt on warm cookies for contrast—game changer. Serve slightly warm so the marshmallow pulls and stretches; it looks dramatic and tastes divine. If you prefer more toasted tops, I briefly run the broiler for 10–15 seconds while watching like a hawk. That caramelized sugar smell? Instant crowd-pleaser.
Pro Tips
- Chill the dough 15 minutes if your kitchen feels warm—cold dough spreads less, so the marshmallow stays centered.
- Use large marshmallows for one big gooey center, or mini marshmallows for little melty pockets throughout the cookie.
- If marshmallows brown before the cookie sets, move the tray to a lower rack or tent loosely with foil.
- For even baking, rotate baking sheets halfway through the bake time.
Common Mistakes to Avoid
- Skipping preheating: Classic rookie move. It changes texture and bake time.
- Overmixing: Leads to dense or chewy results. Mix until just combined.
- Guessing cook time: Always use visual cues or a timer, not just vibes.
- Overcrowding pans: Give your food some breathing room to crisp properly.
Alternatives & Substitutions
- Swap semi-sweet chocolate chips for milk or dark chocolate—milk gives creamier sweetness, dark adds contrast.
- Use gluten-free all-purpose flour 1:1 for a gluten-free option; texture stays soft but might spread a bit more.
- For dairy-free, replace butter with 3/4 cup neutral oil and use dairy-free chocolate chips—the texture shifts slightly but stays tasty.
- Substitute 1/2 cup chopped nuts (walnuts or pecans) for some chocolate chips for crunch and a nutty note.
Variations & Tips
- Salted Chocolate Marshmallow: sprinkle flaky sea salt on top right after baking.
- Peanut Butter Twist: swirl 1/4 cup peanut butter into the dough for peanut butter-marshmallow s’mores vibes.
- Spiced Cookie: add 1/2 tsp cinnamon and a pinch of cayenne for a warm, spicy lift.
- Minty Fresh: use mint chocolate chips or add 1/2 tsp peppermint extract for a holiday touch.
- Stuffed Surprise: tuck a caramel candy under the marshmallow for a caramel-mallow core.
- Cookie Sandwich: sandwich two cookies together with extra marshmallow or frosting to make a gooey sandwich.
FAQ (Frequently Asked Questions)
- Can I make this ahead of time?
- Yes! You can scoop dough and freeze the balls on a tray, then store in a bag for up to 3 months. Bake straight from frozen—add 1–2 minutes to the bake time. Store baked cookies in an airtight container at room temperature for 2–3 days, or freeze for longer.
- Can I double the recipe?
- Sure thing. Use two baking sheets and rotate racks halfway through baking. Avoid crowding the pan; bake in batches if needed.
- Can I substitute butter with oil?
- Technically yes, but you’ll miss that buttery magic. Use 3/4 cup oil for every 1 cup butter and expect slightly different texture—more cake-like and less crisp at the edges.
- How do I know it’s done?
- Look for golden edges and a center that still looks slightly soft. The cookies continue to set as they cool, so pull them when edges color and the middle has just begun to firm.
- What if I don’t have ingredient X?
- Missing vanilla? Use 1/2 tsp almond extract or a teaspoon of instant coffee dissolved in a tablespoon of water for depth. Out of brown sugar? Use granulated sugar plus 1 tablespoon molasses per cup to mimic flavor.
How I Like to Serve It
I serve these slightly warm with a cold glass of milk or a strong cup of coffee. They steal the show at potlucks and disappear at movie nights—kids adore them. For summer, pair with vanilla ice cream for a gooey dessert; in winter, add a mug of hot cocoa. They fit cozy nights, celebrations, and the exact moment when you need comfort in cookie form.
Notes
- Store baked cookies in an airtight container for up to 3 days; rewarm in a 350°F oven for 3–4 minutes to refresh gooeyness.
- If you use meat in other recipes, remember safe cooking temps (e.g., 165°F for chicken).
Final Thoughts
Closing: Now go impress someone — or just yourself — with your homemade masterpiece!