
I promise I didn’t plan to make tiny edible Easter baskets the day my mixer decided to stage a dramatic protest (flour on the ceiling, anyone?). These Easter Basket Cookie Cups started as a goofy fix for a stubborn stand mixer and turned into my favorite party trick: a chewy cookie shell, a glossy chocolate puddle, and a little nest of bright-green coconut topped with candy eggs. They smell like butter and happy Sunday mornings, and they vanish faster than you can say “who ate the last jellybean?” If you like cookies, chocolate, and anything that makes people smile, you’ll love how simple and show-offy these come together. Bonus: kids volunteer as taste-testers. I never say no to that help.
Quick Facts
- Yield: Serves 12
- Prep Time: 20 minutes
- Cook Time: 12–14 minutes per batch
- Total Time: 40 minutes
Why This Recipe is Awesome
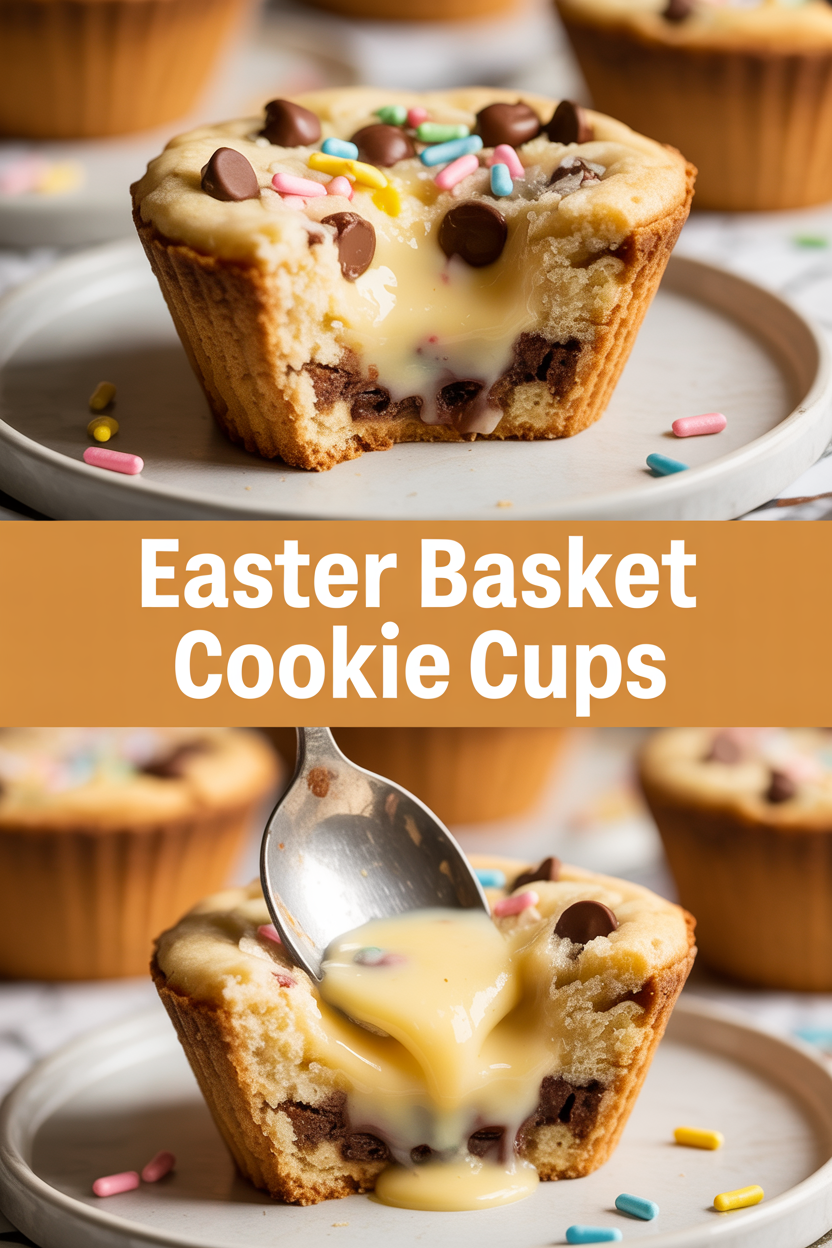
These cookie cups combine chewy, buttery cookie rims with a silky chocolate center and a playful coconut “grass” nest. They look fancy but come together with pantry staples, and they make the house smell like pure comfort — warm butter, vanilla, and toasted coconut. They’re so easy even your oven can’t mess them up, and they hold up well for parties, baskets, or an after-dinner surprise. Who doesn’t love crispy edges with a gooey middle?
Ingredients
For the Main Dish:
- 1 cup (2 sticks) unsalted butter, softened
- 3/4 cup granulated sugar
- 3/4 cup packed light brown sugar
- 2 large eggs
- 2 tsp vanilla extract
- 3 cups all-purpose flour
- 1 tsp baking soda
- 1/2 tsp salt
- Cooking spray or extra butter, for the muffin tin
For the Filling & Garnish:
- 8 oz semi-sweet chocolate (chips or chopped)
- 1/2 cup heavy cream
- 1 cup sweetened shredded coconut
- Green food coloring (gel works best), a few drops
- Mini chocolate eggs or jelly beans, about 24
How I Make It
Step 1:
Preheat the oven to 350°F and spray a 12-cup muffin tin with cooking spray or rub with softened butter. In a bowl, cream together 1 cup butter, 3/4 cup granulated sugar, and 3/4 cup brown sugar until fluffy and pale — it should look light and airy and smell faintly sweet and buttery. Beat in the eggs one at a time, then stir in the vanilla.
Step 2:
Whisk together 3 cups flour, 1 tsp baking soda, and 1/2 tsp salt in a separate bowl. Add the dry mix to the butter mixture a cup at a time and mix until the dough just comes together. Don’t overmix — you want tender, slightly chewy cookie cups, not hockey pucks.
Step 3:
Pinch off generous golf-ball sized pieces of dough (about 2 tablespoons each) and press each into a muffin cup, pushing up the sides to create a hollow center. I like to use my thumb to make an even well and keep the bottom slightly thinner so chocolate fills it nicely. You’ll hear a faint squish and feel the dough warm under your palms — that’s the fun part.
Step 4:
Bake at 350°F for 12–14 minutes, until the edges turn golden and the centers look set but not dried out. The cookies will puff slightly; they’ll settle as they cool and form perfect little cups. Let them cool in the pan for 5 minutes, then gently transfer to a wire rack to cool completely.
Step 5:
Make the filling while the cups cool. Heat 1/2 cup heavy cream until it just simmers, then pour over 8 oz chopped chocolate in a bowl. Let sit 1 minute, then stir until glossy and smooth — you’ll get a shiny, pourable ganache. Spoon or pipe the ganache into each cookie cup. Mix the shredded coconut with a few drops of green food coloring until it looks like grass, then sprinkle a nest of green coconut on top and tuck 2 mini eggs into each. Let the ganache set about 15 minutes before serving.
Pro Tips
- If your butter feels too soft, chill the dough 15 minutes before shaping so the cups keep their structure.
- Don’t overfill the muffin wells — leave room for the dough to rise and form a rim.
- Use gel food coloring for brighter green coconut without adding too much moisture.
- Make ganache ahead and warm gently in 10-second intervals in the microwave if it firms up too much while you assemble.
Common Mistakes to Avoid
- Skipping preheating: Classic rookie move. It changes texture and bake time.
- Overmixing: Leads to dense or chewy results. Mix until just combined.
- Guessing cook time: Always use visual cues or a timer, not just vibes.
- Overcrowding pans: Give your food some breathing room to crisp properly.
Alternatives & Substitutions
- Use store-bought cookie dough for a shortcut — flavor and texture stay great, and bake time stays the same.
- Swap heavy cream for canned coconut milk for a dairy-free ganache (flavor turns slightly coconutty but delicious).
- For gluten-free: use a 1:1 gluten-free flour blend and check dough texture; you may need to chill a bit longer.
- Replace butter with coconut oil for a dairy-free cookie — expect a slightly different, tropical flavor.
Variations & Tips
- Add mini chocolate chips to the dough for extra pockets of chocolate.
- Make carrot cake cookie cups — add 1 tsp cinnamon, 1/2 tsp nutmeg, and 1/2 cup grated carrot to the dough, fill with cream cheese frosting.
- Use colored white chocolate instead of ganache for a kid-friendly pastel center.
- Make adult-only cups by drizzling the ganache with a teaspoon of bourbon before it sets.
- Turn them into breakfast treats by filling with lemon curd and topping with toasted coconut.
- Pack them into cellophane bags with a ribbon for easy gifting — they travel well for a day.
FAQ (Frequently Asked Questions)
- Can I make this ahead of time?
- Yes! Bake the cookie cups and store them separately from the ganache and coconut for up to 3 days at room temperature. Assemble within a few hours before serving for best texture. For longer storage, freeze baked cups (no filling) in a sealed bag for up to 1 month and thaw before filling.
- Can I double the recipe?
- Sure thing. If you double, bake in two muffin pans or in batches. Watch spacing so the oven can circulate heat evenly; you may need to rotate pans halfway through baking.
- Can I substitute butter with oil?
- Technically yes, but you’ll miss that buttery magic. Use ¾ the amount of oil.
- How do I know it’s done?
- Look for golden edges and a center that looks set but not cracked. The cups firm up as they cool, so err on the side of slightly underbaked rather than overbaked for a chewy texture.
- What if I don’t have ingredient X?
- No heavy cream? Use coconut milk or whole milk (ganache will be a little less glossy). No shredded coconut? Use toasted slivered almonds or green-colored sprinkles for the nest.
How I Like to Serve It
I love serving these warm enough that the ganache still feels silky, alongside coffee or sparkling lemonade. They make a playful centerpiece on a brunch table or an easy dessert for potlucks — people love picking them up like tiny pies. Toss a few pastel napkins nearby and you’ve got an Easter-ready spread. These fit spring, Easter, or any time you want something whimsical.
Notes
- Store assembled cups at room temperature for up to 2 days, or refrigerate for up to 5 days (ganache firms; let come to room temp before serving).
- Freeze baked, unfilled cups for up to 1 month. Reheat gently in a 350°F oven for 3–4 minutes to refresh before filling.
Final Thoughts
Closing: Now go impress someone — or just yourself — with your homemade edible Easter baskets; they’re fun, forgiving, and impossible not to smile at.