
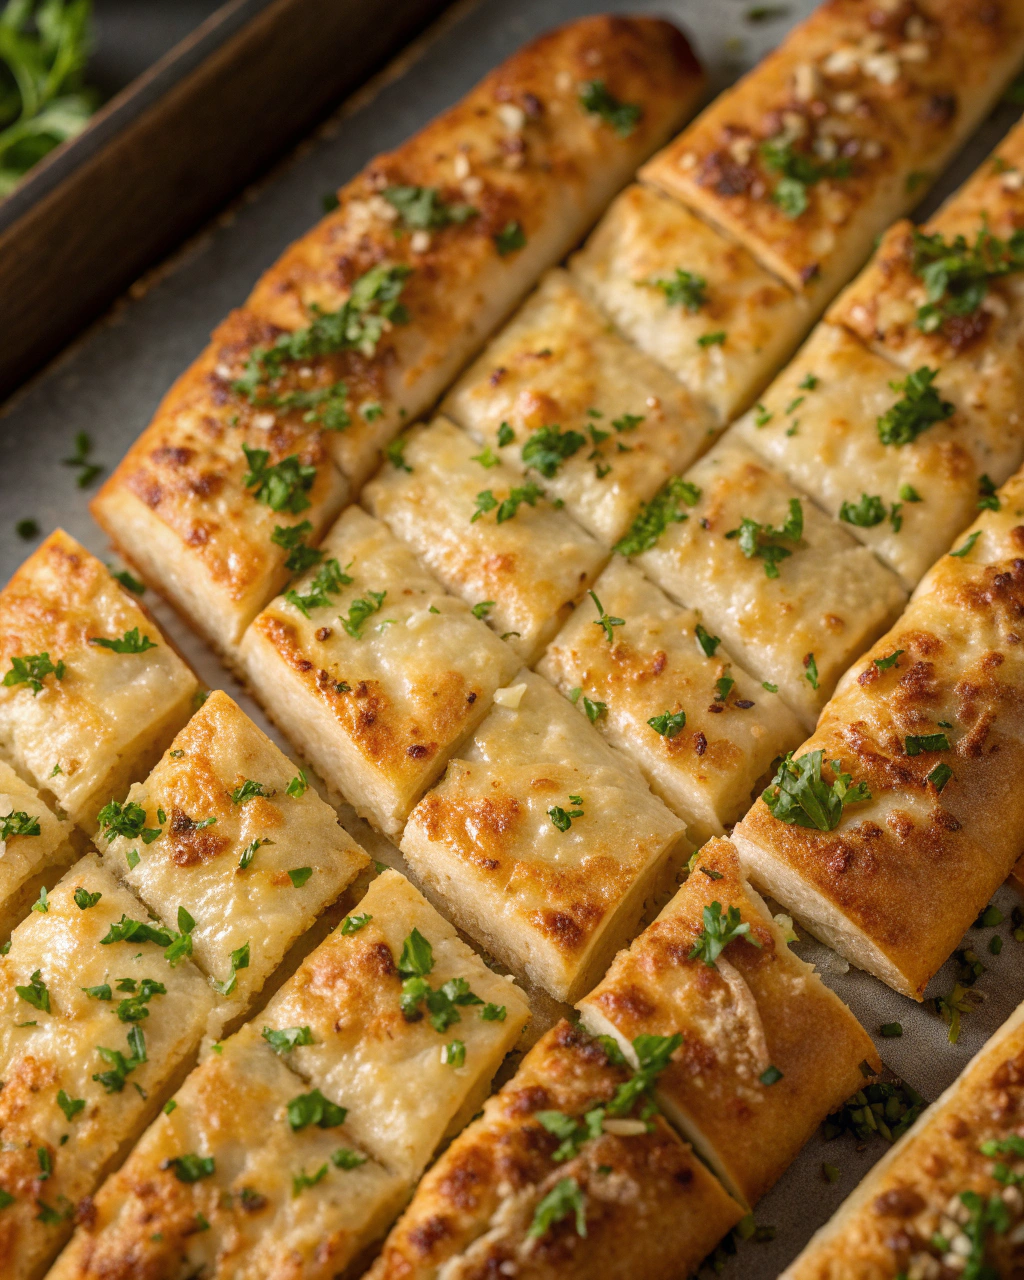
Okay, picture this: the smell of warm garlic and buttery goodness wafting through your kitchen—that’s exactly what happens when I bake up these crispy garlic breadsticks. If you’ve ever dreamed of breadsticks so crunchy on the outside and soft on the inside that you literally can’t stop eating them, you’re in the right place. Honestly, these breadsticks have a way of disappearing before the main course even hits the table, and I’m not mad about it one bit. There’s something magical about the sizzle of garlic butter glazing the golden crust and that irresistible crunch that follows the first bite. Let me share my secret recipe so you can make everyone at home start craving these as much as I do!
Quick Facts
- Yield: Serves 6-8
- Prep Time: 15 minutes
- Cook Time: 20 minutes
- Total Time: 35 minutes
Why This Recipe is Awesome
This recipe hits all the right notes: crisp on the outside, pillowy soft inside, with a buttery garlic kick that’ll have you dunking them into marinara or just devouring them solo. It’s super straightforward—nothing fancy or intimidating—and the aroma alone will make your kitchen the ultimate hangout spot. Plus, it’s so easy even your oven won’t mess it up (been there, done that). These breadsticks are the kind of snack or side that turns any meal into a celebration.
Ingredients
For the Main Dish:
- 2 ½ cups all-purpose flour
- 1 packet (2 ¼ tsp) active dry yeast
- 1 tsp sugar
- ¾ cup warm water (about 110°F)
- 2 tbsp olive oil, plus more for greasing
- 1 tsp salt
- 2 tbsp unsalted butter, melted
- 3 cloves garlic, minced
- 1 tsp dried parsley (or 1 tbsp fresh, finely chopped)
- ½ tsp salt, for sprinkling
How I Make It
Step 1:
First, let’s wake up the yeast by stirring warm water with the sugar and active dry yeast. Give it about 5 minutes until it’s all bubbly and smells faintly sweet. This is your magic starter—if it doesn’t foam, your yeast might be sleeping on the job.
Step 2:
Next, whisk together the flour and salt in a big bowl. Pour in the bubbly yeast mixture and olive oil. Stir with a spoon or your hands until it starts forming a dough. Don’t overthink it; you want it just combined, a bit sticky but manageable.
Step 3:
Time to get hands-on! Knead the dough on a floured surface for about 6-8 minutes until it’s smooth and elastic—think stretchy and soft, not stiff. The kneading develops gluten, which is our secret weapon for that soft, chewy inside. Then pop it in a greased bowl, cover it with a clean towel, and let it rise in a warm spot for 45 minutes to an hour until it doubles in size. You’ll see—this waiting part is so worth it!
Step 4:
Punch down the dough and shape it into 12 even sticks. Lay them spaced out on a greased or parchment-lined baking sheet. Now, mix the melted butter with minced garlic and parsley and brush half of it over the sticks—that buttery garlicky scent will have you swooning already.
Step 5:
Bake at 400°F for about 15-20 minutes, or until the breadsticks are golden brown and crisp. Halfway through, brush them with the remaining garlic butter for an extra flavor punch. Once out of the oven, sprinkle a pinch of salt and maybe a little more parsley, if you’re feeling fancy. Serve warm and watch them disappear!
Pro Tips
- Make sure the water is warm but not hot—110°F is perfect. Too hot and you kill the yeast; too cold and it won’t activate.
- Don’t rush the rising process. A warm, draft-free spot helps the dough puff up beautifully.
- If your garlic butter cools and solidifies, just microwave for 10-15 seconds to melt it again before brushing.
- For extra crispy breadsticks, bake them a few minutes longer, but keep an eye so they don’t burn!
Common Mistakes to Avoid
- Skipping preheating: Classic rookie move. It changes texture and bake time.
- Overmixing: Leads to dense or chewy results. Mix until just combined.
- Guessing cook time: Always use visual cues or a timer, not just vibes.
- Overcrowding pans: Give your food some breathing room to crisp properly.
Alternatives & Substitutions
- If you want to skip butter, use extra virgin olive oil for a lighter, heart-healthier option.
- Swap all-purpose flour with 1-to-1 gluten-free blend for gluten-free breadsticks (texture changes slightly, but still delicious!).
- You can use dried garlic powder if fresh garlic isn’t available—about 1 tsp will do.
Variations & Tips
- Make it spicy by adding a pinch of red pepper flakes into the garlic butter.
- Sprinkle grated Parmesan over the breadsticks before baking for cheesy goodness.
- For a kid-friendly tweak, leave out the parsley and add a little bit of cinnamon sugar for a sweet twist (seriously, why not?).
- Herb fans can swap parsley with rosemary or thyme for a different flavor profile.
- Wrap breadsticks with a slice of pepperoni before baking for a fun, pizza-inspired snack.
FAQ (Frequently Asked Questions)
- Can I make this ahead of time?
- Absolutely! Prepare the dough and shape the breadsticks, then freeze them before the second rise. When ready, thaw, let rise, brush with butter, and bake. Fresh as ever!
- Can I double the recipe?
- You bet! Just use a larger bowl and baking sheets. Watch the rising times—they might be slightly longer with bigger dough volume.
- Can I substitute butter with oil?
- Technically yes, but you’ll miss that buttery magic. Use ¾ the amount of olive oil for brushing instead. Still tasty, just different.
- How do I know it’s done?
- Look for a golden-brown exterior; the edges will be crisp, and when you tap the breadsticks, they sound hollow inside. Resist the urge to open the oven too early!
- What if I don’t have ingredient X?
- If you’re missing parsley, a light sprinkle of dried Italian seasoning works. No garlic? Garlic powder or granulated onion can step in moderately.
How I Like to Serve It
These crispy garlic breadsticks shine alongside a big bowl of marinara or creamy Alfredo sauce. They’re perfect for casual weeknight dinners, game day snacks, or even at summer BBQs when everyone’s craving something warm and crispy. Pair with a cold lemonade in summer or a cozy cup of tomato soup in the winter—either way, they bring people together.
Notes
- Store leftover breadsticks in an airtight container for up to 2 days. Reheat in the oven at 350°F for 5-8 minutes to regain crispiness.
- If you add protein sides, remember safe cooking temps: chicken should reach at least 165°F.
Final Thoughts
Closing: Now go impress someone — or just yourself — with your homemade masterpiece! Trust me, once you taste these garlic breadsticks, your kitchen will become the neighborhood favorite spot.