
Okay, full disclosure: I once tried to recreate the cotton candy from the county fair in my kitchen and ended up with sticky hair, glittery sweater, and a small pink cloud stuck to the ceiling. This cake is the less-hazardous, more socially acceptable version. It tastes like a carnival without the sticky aftermath — fluffy, sweet, and surprisingly sophisticated. I keep a tiny bottle of cotton candy extract in the pantry now (yes, that is a thing), and one sniff transports me straight to Ferris wheel sunsets. If you love the whimsical sugar-breeze of spun cotton candy, this soft, pink layer cake will make you feel like a kid again — in the best, non-sticky way.
Quick Facts
- Yield: Serves 8–10
- Prep Time: 25 minutes
- Cook Time: 25 minutes
- Total Time: 1 hour (including cooling and quick assembly)
Why This Recipe is Awesome
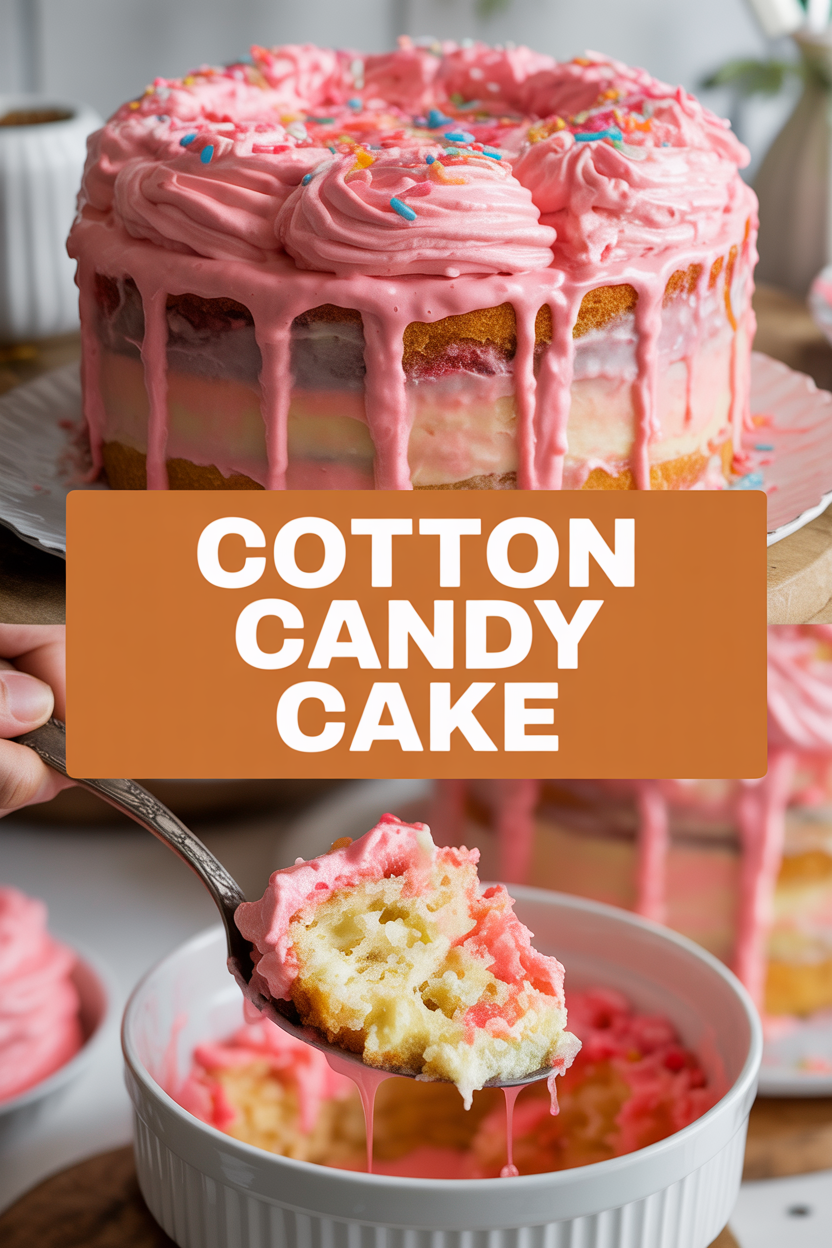
It’s a playful, easy-to-make cake that actually tastes like the idea of cotton candy — light, sweet, and a little nostalgic. The crumb stays tender and moist, the frosting melts creamy on your tongue, and the pale pink color makes every slice feel celebratory. It’s so easy even your oven can’t mess it up. Who doesn’t love a cake that smells like vanilla clouds and looks like a party?
Ingredients
For the Main Dish:
- 2 1/2 cups all-purpose flour
- 1 3/4 cups granulated sugar
- 2 1/2 tsp baking powder
- 1/2 tsp fine salt
- 1 cup (2 sticks) unsalted butter, room temperature
- 4 large eggs, room temperature
- 1 cup whole milk, room temperature
- 1 tsp vanilla extract
- 1/2–1 tsp cotton candy extract (start small — it’s potent)
- a few drops pink gel food coloring (optional, for that cotton-candy hue)
For the Frosting & Garnish:
- 1 cup (2 sticks) unsalted butter, room temperature
- 4 cups powdered sugar, sifted
- 2–3 tbsp whole milk (more to adjust consistency)
- 1 tsp vanilla extract
- 1/2–1 tsp cotton candy extract
- Pink gel food coloring to taste
- Store-bought cotton candy and rainbow sprinkles for garnish (optional)
How I Make It
Step 1:
Preheat the oven to 350°F. Grease and line two 8-inch round cake pans with parchment; this helps the cakes slip out like little pink pillows. In a large bowl, whisk together the flour, baking powder, and salt until well combined. The dry mix smells clean and slightly mineral — a good contrast to the sweet butter and sugar we’re about to add.
Step 2:
In your stand mixer or with a hand mixer, cream the butter and sugar on medium-high for about 3–4 minutes until pale and airy. You’ll hear a soft whir and see the mixture lighten — that’s the air you want trapped for a tender crumb. Beat in the eggs one at a time, scraping the bowl between additions. Stir in the vanilla and cotton candy extract — that tiny sniff of cotton candy makes me grin every time.
Step 3:
Reduce the mixer speed and add the dry ingredients in three additions, alternating with the milk (start and end with dry). Mix until just combined. The batter should be smooth, slightly thick, and glossy. Add a few drops of pink gel until you get the color that makes your heart jump — don’t overdo it or the flavor distracts from the texture.
Step 4:
Divide the batter evenly between the prepared pans. Tap the pans gently on the counter to release large air bubbles. Bake at 350°F for 22–26 minutes, rotating halfway if your oven runs hot. Look for a light golden edge and a springy center — press gently with a finger; it should bounce back. A toothpick in the center should come out with a few moist crumbs, not wet batter.
Step 5:
Cool cakes in pans for 10 minutes, then turn them out onto a rack to cool completely. For the frosting, beat the butter until creamy, then add powdered sugar one cup at a time. Add milk, vanilla, and cotton candy extract until the frosting spreads easily. Tint with pink food coloring and whip for another minute to get it light and fluffy. Stack the layers and crumb-coat, chill 10 minutes, then finish frosting. Garnish with a few small tufts of store-bought cotton candy just before serving — it melts fast, so add it at the last minute for dramatic effect.
Pro Tips
- Use room-temperature ingredients. Cold eggs or milk slow mixing and lead to a lumpy batter.
- Start with 1/2 tsp cotton candy extract and taste the frosting — you can always add more. Too much tastes artificial.
- Gel food coloring gives vibrant color without thinning the batter or frosting like liquid dye does.
- Make the cakes a day ahead, freeze wrapped layers, and frost the next day for easier assembly.
Common Mistakes to Avoid
- Skipping preheating: Classic rookie move. It changes texture and bake time.
- Overmixing: Leads to dense or chewy results. Mix until just combined.
- Guessing cook time: Always use visual cues or a timer, not just vibes.
- Overcrowding pans: Give your food some breathing room to crisp properly.
Alternatives & Substitutions
- Swap whole milk for almond milk or oat milk for a dairy-free option (the cake stays tender, though flavor shifts slightly).
- Use 1:1 gluten-free flour with a binding agent (like a blend that already contains xanthan gum); expect a slightly denser crumb.
- Replace half the butter with neutral oil for a moister cake; texture will become a touch more tender but you’ll miss a bit of that buttery magic.
- For a lighter option, swap half the butter in the frosting for cream cheese (adds tang and pairs well with the sweet cotton-candy notes).
Variations & Tips
- Make cupcakes instead of layers — bake 18–22 minutes and top with a swirl of cotton-candy buttercream.
- Add a smear of raspberry jam between layers for a bright, tart contrast to the sweet frosting.
- Turn this into a sheet cake for parties and scatter edible glitter or confetti sprinkles on top.
- For a grown-up twist, brush each layer with a teaspoon of rum or vodka (infused with cotton candy extract) for an adult carnival cake.
- Swap cotton candy extract for bubblegum extract for a slightly different nostalgic note.
FAQ (Frequently Asked Questions)
- Can I make this ahead of time?
- Yes! Bake the layers, cool completely, wrap tightly, and chill up to 48 hours (or freeze for up to 1 month). Thaw in the fridge before frosting. Store frosted cake in the fridge and bring to room temperature before serving for the best texture.
- Can I double the recipe?
- Sure thing. Use two ovens or bake in batches. If you double, split batter into four pans or use larger pans and adjust bake time — a 9×13 pan may need 5–10 extra minutes. Check with the toothpick test.
- Can I substitute butter with oil?
- Technically yes, but you’ll miss that buttery magic. Use ¾ the amount of oil and expect a slightly different crumb and flavor.
- How do I know it’s done?
- Look for light golden edges, a springy center, and a toothpick that comes out with a few moist crumbs. The cakes should pull away slightly from the pan sides.
- What if I don’t have ingredient X?
- If you lack cotton candy extract, use extra vanilla and a tiny splash of almond extract or bubblegum extract (start with 1/8 tsp). For pink color, a few drops of beet powder mixed into the batter gives natural tint without flavor.
How I Like to Serve It
I slice this cake for birthdays, impromptu tea parties, or when friends drop by with boring cookies and suddenly everyone gets excited. I pair it with cold milk, a bright lemon iced tea, or a fizzy pink lemonade to keep the carnival vibes. It looks adorable on a picnic table in summer and cheerfully brightens a winter dessert spread.
Notes
- Store leftover cake covered in the fridge for up to 4 days. Let slices come to room temperature before eating for best flavor.
- If you add alcohol to the layers, keep them refrigerated and serve within 48 hours. For any meat-safe temp notes: not applicable here.
Final Thoughts
Closing: Now go make a cake that makes you smile — bring out the cotton candy, crank up something nostalgic, and enjoy a slice that tastes like simple, sugary joy.