
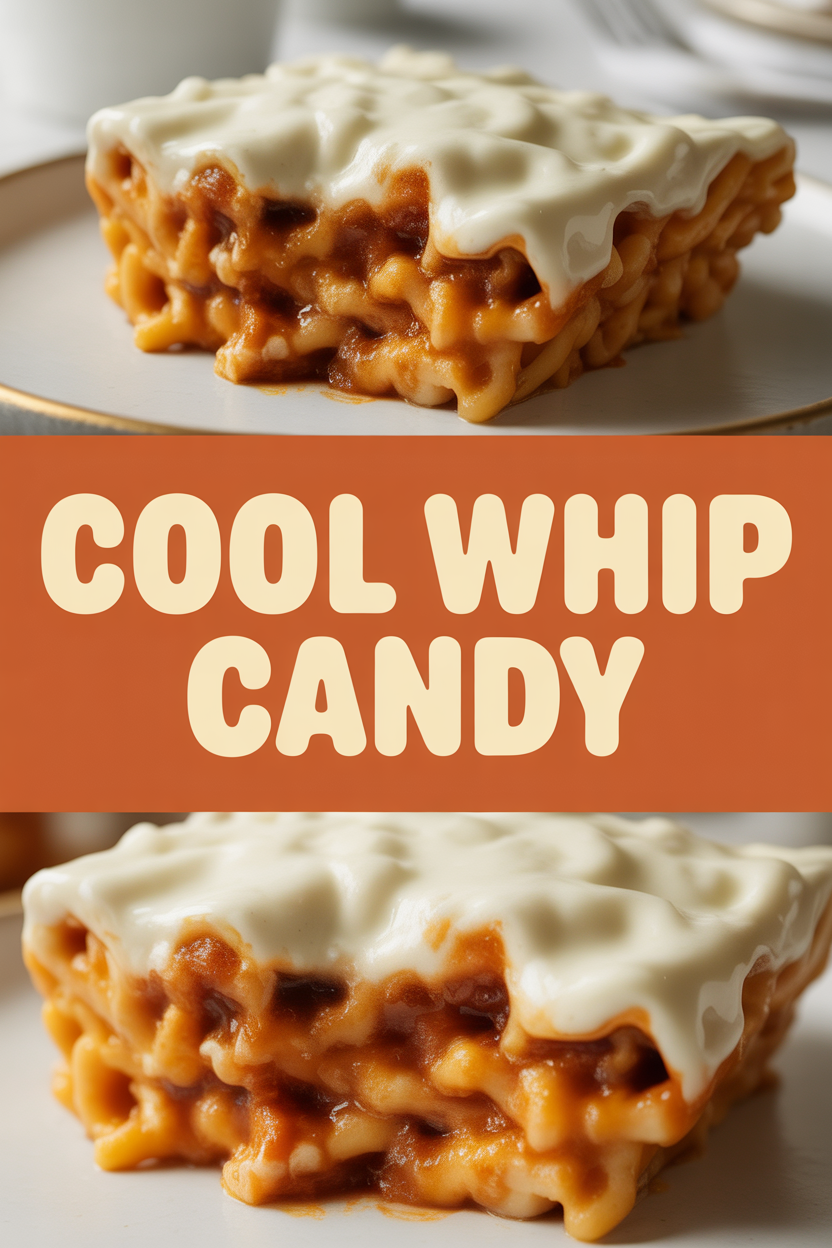
Okay, confession time: I once tried to make candy with nothing but Cool Whip and guilt. Not my finest hour, but out of that glorious kitchen chaos came this ridiculously easy, slightly scandalous treat I now call Cool Whip Candy. Picture fluffy whipped topping meeting melty chocolate and a blanket of powdered sugar — it sounds wrong and tastes absolutely right. It takes about 20 minutes of hands-on time, a little patience in the fridge, and zero candy-making terror (no boiling sugar!). If you want something that looks homemade but feels like a party, this is your ticket. It’s sweet, pillowy, and dangerously simple — which is great unless you plan to hide it from housemates.
Quick Facts
- Yield: Serves 12–16
- Prep Time: 20 minutes
- Cook Time: 0 minutes
- Total Time: 2 hours 20 minutes (includes chilling)
Why This Recipe is Awesome
This recipe feels like a cheat code: airy Cool Whip gives candy a mousse-like lift, while melted chocolate and peanut butter make it rich and satisfying. Texture plays hero here — creamy center, slightly firmer edges, and a dusting of powdered sugar that gives a little crunch at first bite. It’s so easy even your oven can’t mess it up. Bring this to a potluck and watch people try to guess the secret ingredient.
Ingredients
For the Main Dish:
- 1 (8 oz) tub Cool Whip, thawed
- 3 cups semi-sweet chocolate chips (about 18 oz)
- 1/2 cup unsalted butter (1 stick)
- 1 cup creamy peanut butter (natural or regular)
- 3 cups powdered sugar (confectioners’ sugar), sifted
- 1 tsp vanilla extract
- Pinch of fine sea salt
For the Sauce / Garnish (if applicable):
- Optional: 1/4 cup chopped peanuts or sea salt flakes for garnish
- Optional drizzle: 2 tbsp melted white chocolate or additional peanut butter, warmed
How I Make It
Step 1:
Line an 8×8-inch pan with parchment and leave a little overhang for easy removal. In a medium saucepan over low heat, melt the chocolate chips and butter, stirring constantly until silky — the kitchen fills with that warm, chocolate-y smell that makes you sigh. Remove from heat and stir in the peanut butter and vanilla until smooth. Let the mixture cool for 5 minutes so it won’t flatten your Cool Whip.
Step 2:
In a large bowl, scoop the Cool Whip and fold in about a third of the powdered sugar to stabilize. Then pour the slightly cooled chocolate/peanut butter mixture into the whipped topping in three additions, folding gently with a rubber spatula. The key: fold, don’t whisk — folding keeps the candy airy. If you stir too vigorously, you’ll lose that pillow-y texture.
Step 3:
Once the mixture looks uniform and glossy, add the remaining powdered sugar and a pinch of salt. Fold until everything looks fluffy but thick enough to hold shape. You should hear a soft, sticky swoosh as you stir; the color turns a deep, inviting brown and the aroma gets rich and nutty.
Step 4:
Scrape the mixture into the prepared pan and smooth the top with an offset spatula. If you like texture, sprinkle chopped peanuts and a few sea salt flakes. Press them in lightly. Chill the pan in the refrigerator for at least 2 hours until firm — edges will set and the center will hold when you press it. That’s your doneness cue.
Step 5:
Lift the candy out using the parchment overhang and cut into squares. For clean lines, warm your knife under hot water, wipe dry, and slice. Store in an airtight container in the fridge. These keep well and make a lovely surprise after dinner — or a midday treat with coffee.
Pro Tips
- Use a good-quality chocolate. It makes the flavor sing without extra fuss.
- Cool the melted chocolate slightly before adding it to the Cool Whip to avoid deflating your topping.
- If your peanut butter separates, stir it briefly in the microwave for 10–15 seconds so it blends smoothly into the chocolate.
- Chill fully overnight for firmer bars and neater slices — chilling time matters more than techy techniques here.
Common Mistakes to Avoid
- Skipping preheating: Classic rookie move. It changes texture and bake time.
- Overmixing: Leads to dense or chewy results. Mix until just combined.
- Guessing cook time: Always use visual cues or a timer, not just vibes.
- Overcrowding pans: Give your food some breathing room to crisp properly.
Alternatives & Substitutions
- Swap peanut butter for almond butter or sunflower seed butter (nut-free) — the texture stays similar but flavor shifts slightly.
- For dairy-free: use a dairy-free whipped topping (look for coconut-based brands) and vegan chocolate chips. Note: texture will be a touch softer.
- Make it lower-sugar by using a sugar-free powdered sugar alternative, but expect a firmer, less fluffy result.
- Gluten-free? This recipe naturally contains no wheat, but always check labels on chocolate and powdered sugar for cross-contamination warnings.
Variations & Tips
- Chocolate Raspberry: Fold in 1/2 cup freeze-dried raspberry powder for a bright, tart twist.
- Salted Caramel: Swirl 1/4 cup room-temperature caramel into the top before chilling.
- Espresso Kick: Add 1 tbsp instant espresso granules to the melted chocolate for a mocha note.
- Nut-Free: Use sunflower seed butter and top with toasted seeds instead of peanuts.
- White Chocolate Raspberry: Use white chocolate chips and fold in a few tablespoons of raspberry jam for a marbled effect.
- Party Mix: Top with mini M&Ms or crushed pretzels for color and crunch.
FAQ (Frequently Asked Questions)
- Can I make this ahead of time?
- Yes! Make it up to 5 days ahead and store in an airtight container in the fridge. For longer storage, freeze for up to 2 months and thaw in the fridge before serving.
- Can I double the recipe?
- Sure thing. Use a 9×13-inch pan and increase chilling time to ensure it sets completely — plan for 3–4 hours or overnight.
- Can I substitute butter with oil?
- Technically yes, but you’ll miss that buttery magic. Use ¾ the amount of oil.
- How do I know it’s done?
- You’ll see the edges become firmer and slightly shiny; the center should feel set but still slightly soft when pressed. A clean cut with a warm knife gives the best slices.
- What if I don’t have ingredient X?
- If you don’t have peanut butter, swap in almond or sunflower seed butter. No Cool Whip? Use stabilized whipped cream (whip heavy cream with 1 tsp cornstarch) — it won’t be quite the same but still tasty.
How I Like to Serve It
I love serving these squares chilled on a small dessert plate with a dusting of extra powdered sugar and a few whole roasted peanuts for crunch. They pair beautifully with an afternoon coffee or a glass of cold milk for kids. For potlucks, arrange them on a pretty platter with a small sign that says “mystery ingredient — guess and win!” They work equally well as a light summer dessert or a holiday cookie swap alternative.
Notes
- Store in the refrigerator for up to 5 days or freeze for 2 months. Thaw in the fridge before serving.
- This recipe doesn’t require any hot sugar work, so it keeps things safe and easy for home cooks of all levels.
Final Thoughts
Closing: Go make a batch — hide half if you must, but share at least a few. Now go impress someone — or just yourself — with your homemade masterpiece!