
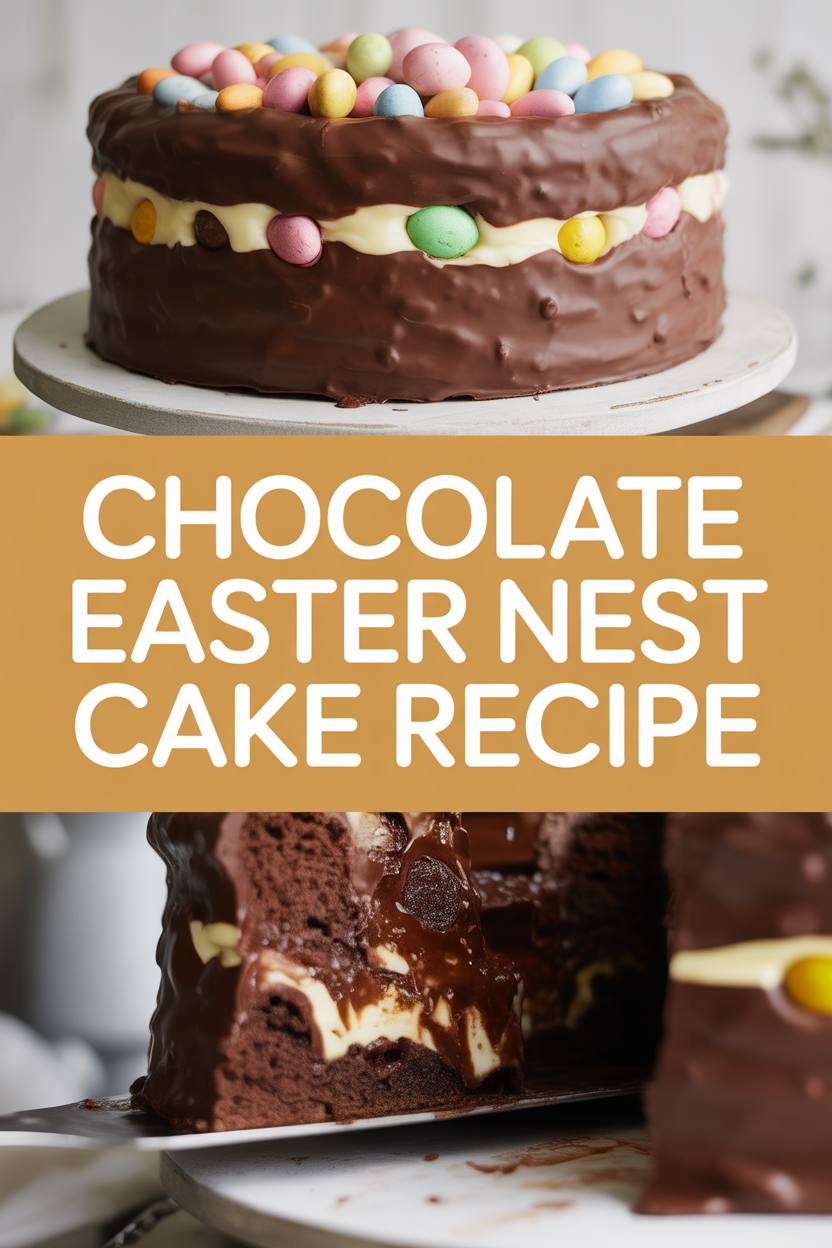
I swear I only wanted to hide the Easter candy from myself for a week, but somehow that little hoard turned into a giant chocolate cake crowned with crunchy little nests. Yes, this is the dessert that started as a guilty snack stash and became our family’s favorite Easter centerpiece — admittedly because every bite involved chocolate, crunch, and a tiny sugar egg surprise. I promise this cake looks fancier than it tastes to make: you get a moist, deeply chocolatey crumb, a glossy chocolate frosting, and the most fun part — crispy chocolate nests that crackle when you bite them. If you like playing with textures and making people grin, you’ll love this.
Quick Facts
- Yield: Serves 8–10
- Prep Time: 30 minutes
- Cook Time: 30–35 minutes
- Total Time: 60–70 minutes (plus chilling time for nests)
Why This Recipe is Awesome
This cake gives you rich, moist chocolate in every forkful and a playful crunchy contrast on top. The frosting stays pillowy-soft, the crumbs sing chocolate, and those nests add a satisfying snap — plus the mini eggs make everyone smile. It’s elegant enough for a holiday table and forgiving enough for weeknight bakers. Honestly, it’s so easy even your oven can’t mess it up (but I’ll still give you tips so it doesn’t).
Ingredients
For the Main Dish:
- 1 3/4 cups all-purpose flour
- 3/4 cup unsweetened cocoa powder
- 2 cups granulated sugar
- 1 1/2 tsp baking powder
- 1 1/2 tsp baking soda
- 1 tsp salt
- 2 large eggs, room temperature
- 1 cup milk (or dairy-free milk)
- 1/2 cup vegetable oil
- 2 tsp vanilla extract
- 1 cup boiling water (or hot coffee for deeper chocolate)
For the Frosting:
- 1/2 cup (1 stick) unsalted butter, softened
- 2/3 cup unsweetened cocoa powder
- 3 cups powdered sugar, sifted
- 1/3 cup milk (add more if needed)
- 1 tsp vanilla extract
- Pinch of salt
For the Nests / Garnish:
- 10 oz semi-sweet chocolate chips or chopped chocolate
- 2 tbsp butter or coconut oil
- 3 cups cornflakes (or chow mein noodles for extra crunch)
- About 20–30 mini chocolate eggs (Cadbury, Robin Eggs, etc.)
- Optional: sprinkles or toasted shredded coconut
How I Make It
Step 1:
Preheat the oven to 350°F. Grease two 8-inch round pans and line the bottoms with parchment. In a large bowl, whisk together the flour, cocoa, sugar, baking powder, baking soda, and salt until evenly blended. Your kitchen will already smell faintly of cocoa — that’s a very good sign.
Step 2:
In another bowl, beat the eggs, milk, oil, and vanilla until smooth. Pour the wet into the dry and stir until just combined. Slowly add the boiling water (or coffee) and whisk until the batter gets thin and glossy — that’s normal and what gives a moist crumb. Don’t fret if the batter looks more like lava than cake batter.
Step 3:
Divide the batter between the two pans and smooth the tops. Bake for 30–35 minutes or until a toothpick comes out with a few moist crumbs and the edges pull away slightly. You’ll smell intense chocolate and see a slight doming on top. I tap the pans once: if the center springs back, it’s done. Let the cakes cool in the pans for 10 minutes, then turn them out onto a rack and let them cool completely before frosting.
Step 4:
Make the frosting by creaming the butter and cocoa together, then alternate adding the powdered sugar and milk until you reach a spreadable consistency. Stir in vanilla and a pinch of salt. If the frosting feels stiff, add a teaspoon of milk at a time until silky.
Step 5:
For the nests, melt the chocolate chips and butter in 20–30 second bursts in the microwave, stirring between bursts until glossy. Fold in the cornflakes until coated. Spoon small rounds onto a parchment-lined tray and use the back of the spoon to press a shallow well in each — form nest shapes while the chocolate is still warm. Chill the nests for 10–15 minutes to set, then press a few mini eggs into each nest.
Pro Tips
- Use hot coffee instead of water for the batter if you want a deeper chocolate flavor — you won’t taste coffee, just richer chocolate.
- Cool the cakes completely before frosting; warm cake melts buttercream and makes a mess. I usually chill layers for 15 minutes to firm them up.
- If your nests soften on the cake, chill the assembled cake for 10 minutes so the chocolate sets — then it travels better.
- For smoother frosting, sift the powdered sugar and add milk teaspoon by teaspoon until you hit the texture you like.
Common Mistakes to Avoid
- Skipping preheating: Classic rookie move. It changes texture and bake time.
- Overmixing: Leads to dense or chewy results. Mix until just combined.
- Guessing cook time: Always use visual cues or a timer, not just vibes.
- Overcrowding pans: Give your food some breathing room to crisp properly.
Alternatives & Substitutions
- Swap all-purpose flour with a 1:1 gluten-free flour blend — texture stays similar, though the crumb might be a bit more tender.
- Use coconut oil and dairy-free chocolate chips for a dairy-free version; expect a slightly different mouthfeel and a hint of coconut.
- Replace butter in the frosting with vegan butter if needed; the flavor changes slightly but the structure holds.
Variations & Tips
- Make individual cupcakes and top each with a tiny nest for adorable single-serve treats.
- Try white chocolate nests with pastel candy-coated eggs for a lighter look and taste.
- Add a teaspoon of orange zest to the batter for a chocolate-orange twist that feels fancy.
- Drizzle salted caramel over the frosting and place nests around the edge for a salty-sweet combo.
- Mix in chopped toasted nuts to the nests for extra crunch and a nutty flavor.
- Use toasted shredded coconut in the nests for a “bird’s nest” vibe that smells amazing.
FAQ (Frequently Asked Questions)
- Can I make this ahead of time?
- Yes! Bake the layers a day ahead, wrap them tightly in plastic, and store at room temperature. Make the nests the day before and keep them in an airtight container in the fridge. Assemble the cake the same day you serve it for best texture.
- Can I double the recipe?
- Sure thing. Use two 9-inch pans or bake in batches. Double the batter and keep an eye on bake time — larger pans may need a little extra time. Rotate pans halfway through baking for even browning.
- Can I substitute butter with oil?
- Technically yes, but you’ll miss that buttery magic. Use ¾ the amount of oil.
- How do I know it’s done?
- Look for slightly pulled-away edges, a springy top when tapped, and a toothpick that comes out with a few moist crumbs. The cake keeps baking in the hot pan for a short bit after removal, so don’t overbake.
- What if I don’t have ingredient X?
- Swap cornflakes for crushed rice cereal or chow mein noodles. If you lack cocoa, use melted chocolate in the batter (about 4 oz chopped) and reduce sugar slightly.
How I Like to Serve It
I serve this cake at Easter brunch with strong coffee and a light fruit salad to cut the chocolate richness. It works great as a finish to a spring dinner — sliced thin, with a scoop of vanilla ice cream. Kids adore the nests, so let them help place the eggs for instant pride and sticky fingers.
Notes
- Store leftover cake covered at room temperature for 2 days, or refrigerate for up to 5 days. Bring to room temp before serving for the best flavor.
- Freeze unfrosted layers wrapped tightly for up to 2 months; thaw overnight in the fridge before frosting.
Final Thoughts
Closing: Now go impress someone — or just yourself — with your homemade Chocolate Easter Nest Cake. It tastes better than it looks (and it looks pretty great), so dig in and enjoy those crunchy, chocolatey bites!