
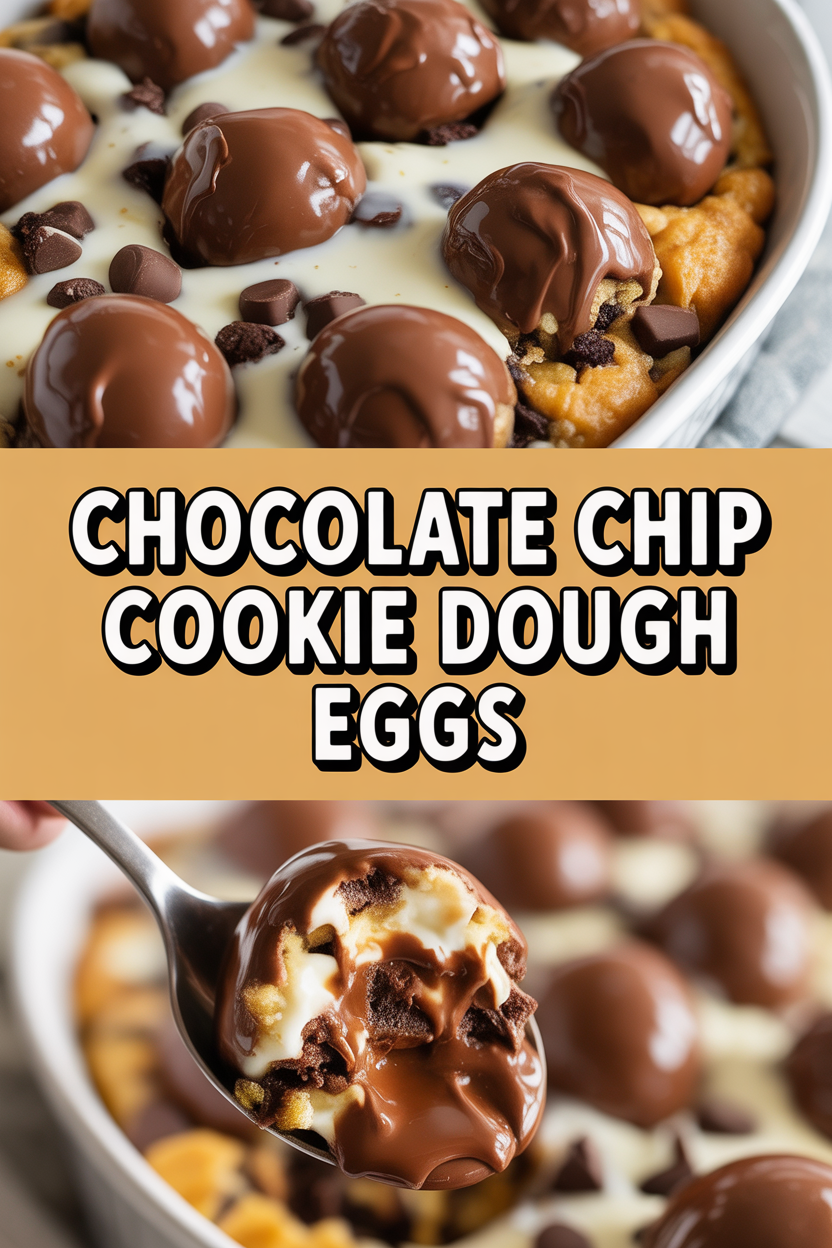
Okay, confession time: I made these Chocolate Chip Cookie Dough Eggs because I wanted cookie dough that behaved like candy. Picture this — sneaking spoonfuls of raw cookie dough at midnight, then thinking, “What if this were portable, egg-shaped, and covered in chocolate?” These little bites hit that sweet spot: raw-cookie-dough flavor without the sketchy raw-egg part, a crisp chocolate shell that snaps pleasingly, and a soft, buttery center that practically sighs when you bite it. They feel playful, perfect for Easter baskets or just an excuse to plate something adorable and totally snackable. Warning: your friends will ask for the recipe, and you’ll have to decide if you share or hoard.
Quick Facts
- Yield: Serves 12 (makes about 12 egg-shaped treats)
- Prep Time: 25 minutes
- Cook Time: 10 minutes (mostly heat-treating flour + melting chocolate)
- Total Time: 1 hour (including chilling)
Why This Recipe is Awesome
Why make these? Because they taste like cookie dough and look like candy. You get a soft, sweet interior studded with melty chocolate chips and a shiny chocolate exterior that snaps when you bite it — hello contrast in textures! They’re easy, no baking required (except heat-treating the flour), and surprisingly satisfying. It’s so simple even your sweet tooth will high-five you.
Ingredients
For the Main Dish:
- 1 cup (2 sticks) softened unsalted butter
- 3/4 cup packed brown sugar
- 1/4 cup granulated sugar
- 2 tsp pure vanilla extract
- 2 tbsp milk (plus extra if needed)
- 2 cups all-purpose flour (heat-treated to be edible)
- 1/2 tsp fine sea salt
- 1 cup mini chocolate chips
- 12 oz good-quality semi-sweet chocolate or candy melts for coating
- Nonstick spray or parchment for shaping
For the Sauce / Garnish (if applicable):
- Optional: melted white chocolate or colored candy melts for drizzling
- Optional: sprinkles or chopped nuts for decoration
How I Make It
Step 1:
First, heat-treat the 2 cups all-purpose flour so it’s safe to eat. Spread the flour on a baking sheet and toast at 350°F for about 5–7 minutes, stirring once, until the flour reaches 165°F on an instant-read thermometer. The flour will smell slightly toasty — that’s good. Let it cool completely before using.
Step 2:
Cream the softened butter with the brown sugar and granulated sugar in a bowl until pale and fluffy — about 2–3 minutes with a hand mixer. Add the vanilla and milk, then stir in the cooled, heat-treated flour and salt until just combined. Fold in the mini chocolate chips. The dough should feel soft and a touch crumbly; add a teaspoon of milk if it seems dry.
Step 3:
Roll the dough into egg shapes about 1 1/4–1 1/2 inches long. If the dough gets sticky, chill it for 10 minutes or lightly flour your hands. Place shaped eggs on a parchment-lined tray and freeze for 15–20 minutes until firm — you want them cold so the chocolate coating sets cleanly.
Step 4:
Melt the 12 oz chocolate slowly in a microwave in 20–30 second bursts, stirring between each, until smooth. Alternatively, use a double boiler. Test one egg: dip it using a fork, tap off excess chocolate, and set on parchment. The chocolate should snap within a few minutes at room temperature; if it stays tacky, chill the tray for 10 minutes. You’ll hear a satisfying little snap when you bite into one.
Step 5:
Once coated, drizzle with melted white chocolate or add sprinkles before the shell sets. Let the eggs rest at room temperature until fully set, or pop them in the fridge for 10–15 minutes if you’re impatient (I totally am). Store in an airtight container in the fridge for up to 1 week or in the freezer for up to a month.
Pro Tips
- Use an instant-read thermometer when toasting flour to hit 165°F — don’t guess. It keeps the dough safe without changing flavor.
- If your dough is too soft to shape, chill it for 10–15 minutes so it firms up. Cold dough holds egg shapes better.
- Favor mini chocolate chips so the texture stays even inside small eggs; regular chips overpower mini bites.
- When melting chocolate, add a teaspoon of neutral oil for extra shine and smoother dipping.
Common Mistakes to Avoid
- Skipping preheating: Classic rookie move. It changes texture and bake time.
- Overmixing: Leads to dense or chewy results. Mix until just combined.
- Guessing cook time: Always use visual cues or a timer, not just vibes.
- Overcrowding pans: Give your food some breathing room to crisp properly.
Alternatives & Substitutions
- Use coconut oil in place of butter for a dairy-free version — expect a slightly more tender, coconutty bite.
- Swap all-purpose flour for a 1:1 gluten-free blend; texture becomes a touch grittier, but it works well chilled.
- Replace semi-sweet chocolate with dark chocolate for a less sweet, richer shell.
- For vegan: use dairy-free butter and vegan chocolate; watch for texture differences and chill a bit longer before dipping.
Variations & Tips
- Make them PB&J: fold in 1/3 cup creamy peanut butter and drop a tiny dollop of jam in the center before sealing the dough around it.
- Cookies & Cream: fold in crushed sandwich cookies instead of chips for a crunchy surprise.
- Add a pinch of sea salt on top of each coated egg for a salted-chocolate contrast.
- Spice it up: add 1/2 tsp cinnamon or a pinch of cayenne for a warm-spicy twist.
- Mini truffle-style: roll in cocoa powder after chilling instead of coating in chocolate for a rustic look.
FAQ (Frequently Asked Questions)
- Can I make this ahead of time?
- Yes! Shape the eggs and freeze them on a tray, then transfer to a freezer bag. Dip straight from frozen when you need them; they’ll set quickly. Store finished eggs in the fridge for up to 1 week.
- Can I double the recipe?
- Sure thing. Work in batches when shaping and dipping so the dough stays cold and the chocolate doesn’t get messy. You’ll need more bowl space and probably an extra baking sheet.
- Can I substitute butter with oil?
- Technically yes, but you’ll miss that buttery magic. Use ¾ the amount of oil.
- How do I know it’s done?
- Look for a cool, smooth, shiny chocolate shell that snaps when you bite it and a soft, uniform interior with no raw flour taste. If the interior tastes flour-y, you skipped heat-treating the flour or didn’t bake it long enough.
- What if I don’t have ingredient X?
- Swap mini chips with finely chopped chocolate bars or add raisins/nuts for texture. If you lack vanilla, a pinch of almond extract works too (start with 1/4 tsp).
How I Like to Serve It
I love arranging these on a small platter with pastel napkins for brunch or tucking a few into Easter baskets. They pair perfectly with a cup of strong coffee or cold milk. For parties, I make extra and garnish some with colored drizzles to make them look festive — they disappear fast!
Notes
- Store in an airtight container in the refrigerator for up to 1 week; freeze for up to 1 month.
- No meat temperatures apply here, but always follow safe food-handling practices when serving to kids or immune-compromised guests.
Final Thoughts
Closing: Now go impress someone — or just yourself — with your homemade Chocolate Chip Cookie Dough Eggs! They look fancy, taste like cheating, and feel surprisingly wholesome when you tell people you heat-treated the flour.