
Funny thing: every time I smell cherries baking, I travel straight back to my college apartment where my oven doubled as a space heater and my life motto read, “If it tastes like fruit, it counts as breakfast.” I learned pie the hard way—by trial, error, and one explosive lattice that showered my kitchen with ruby jewels. This cherry pie recipe keeps the drama out and the joy in: flaky crust, jammy filling, and that cherry-sugar smell that makes neighbors peek over the fence. Follow my little fixes for soggy bottoms and runny filling, and you’ll have a pie that sings.
Quick Facts
- Yield: Serves 8
- Prep Time: 30 minutes (plus chilling)
- Cook Time: 45–50 minutes
- Total Time: About 1 hour 30 minutes (including a 30-minute chill)
Why This Recipe is Awesome
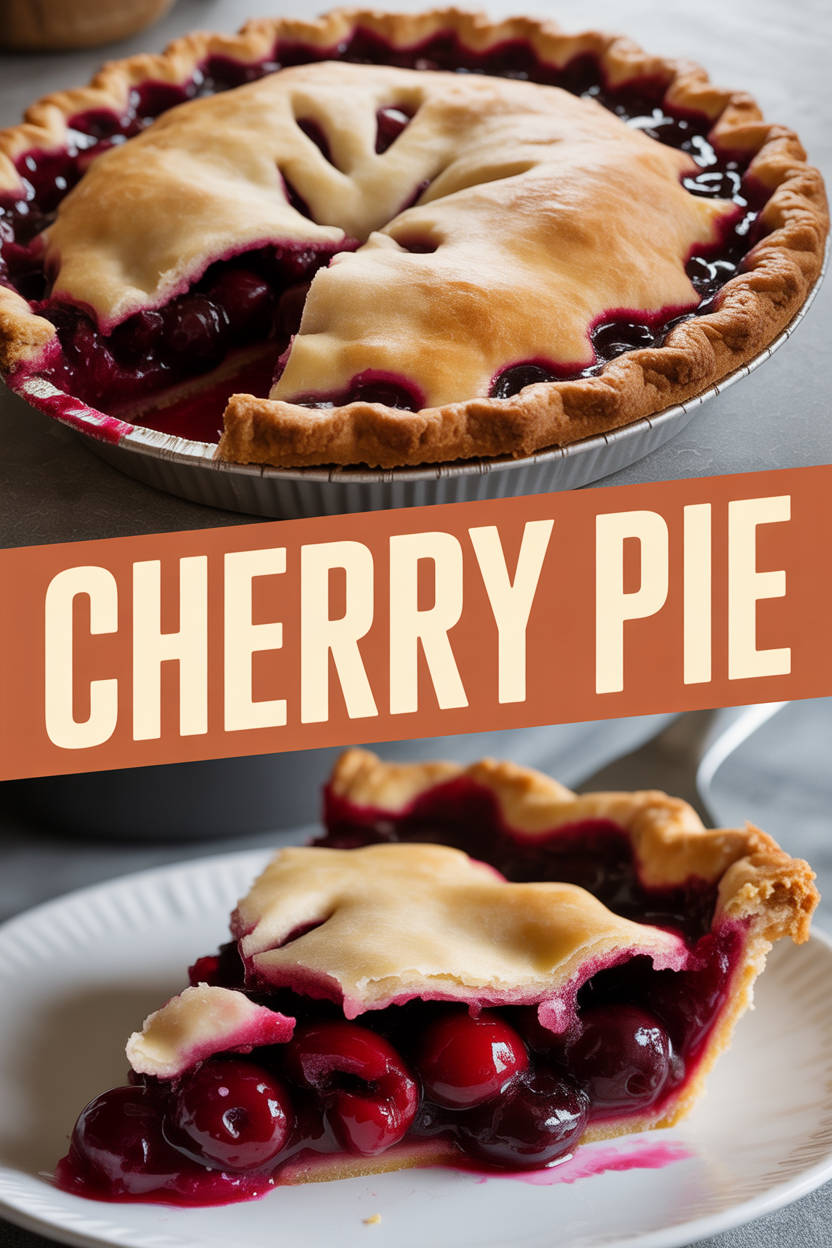
This cherry pie tastes like summer in a slice: a bright, tart-sweet filling that bursts, and a buttery, flaky crust that crackles when you cut into it. It stays reliably jammy (no soup on the plate) thanks to a simple cornstarch-thickener trick. It’s so user-friendly even your oven can’t mess it up—just follow the visual cues. Who doesn’t love crispy edges and bubbling ruby filling? I promise it smells like a bakery and eats like a hug.
Ingredients
For the Main Dish:
- For the crust: 2 ½ cups all-purpose flour
- 1 tsp salt
- 1 tbsp granulated sugar
- 1 cup (2 sticks) cold unsalted butter, cut into small cubes
- 4–6 tbsp ice water
- For the filling: 5 cups fresh or frozen pitted cherries (about 28 oz fresh)
- ¾ cup granulated sugar (increase to 1 cup if cherries are very tart)
- 2 tbsp cornstarch
- 1 tbsp lemon juice
- 1 tsp vanilla extract
- ¼ tsp almond extract (optional, but delightful)
- 1 tbsp unsalted butter, cut into small pats
- 1 egg, beaten with 1 tbsp water for egg wash
- 1 tbsp coarse sugar for sprinkling (optional)
For the Sauce / Garnish (if applicable):
- Vanilla ice cream or whipped cream for serving (optional)
How I Make It
Step 1:
I start with the crust because cold butter makes the flakiest layers. Combine 2 ½ cups flour, 1 tsp salt, and 1 tbsp sugar in a large bowl. Drop in the 1 cup cold butter cubes and use a pastry cutter or two forks to cut the butter into pea-sized bits. The mixture should look like coarse sand with tiny butter nuggets—when it bakes, those become flaky pockets. Add 4–6 tbsp ice water, a tablespoon at a time, until the dough holds when squeezed. Press into two disks, wrap, and chill for at least 30 minutes.
Step 2:
While the dough chills, prep the filling. Toss the 5 cups cherries with ¾ cup sugar, 2 tbsp cornstarch, 1 tbsp lemon juice, 1 tsp vanilla, and a pinch of salt in a bowl. Taste—if the cherries shout tartness, add up to ¼ cup more sugar. This step pulls juices out and lets the cornstarch mingle so the filling thickens nicely during baking.
Step 3:
Preheat the oven to 375°F. Roll one chilled dough disk into a 12-inch circle on a lightly floured surface and fit it into a 9-inch pie pan, letting excess hang. Pour the cherry filling into the crust and dot with little pats of 1 tbsp butter. Roll the top disk and either make a full top with vents or cut strips for a lattice. Crimp the edges to seal, brush with egg wash, and sprinkle 1 tbsp coarse sugar over the top for sparkle. The kitchen will smell bright and fruity—already delicious.
Step 4:
Bake at 375°F for 45–50 minutes, tenting with foil if the crust browns too quickly. Look for bubbling filling (especially through vents) and a deeply golden crust with crisp edges. I rotate my pie at 30 minutes to encourage even browning. If the center seems underdone but the edges are too brown, lower the oven to 350°F and continue until the filling bubbless—this tells you the cornstarch did its job.
Step 5:
Cool the pie at least 2 hours before slicing so the filling sets and you don’t get a runny slice. Serve warm with a scoop of vanilla ice cream that melts into that ruby goodness. If you can, wait—this pie tastes even better the next day when flavors have settled.
Pro Tips
- Use a mix of sweet and tart cherries (Bing + Rainier or Montmorency) for a balanced flavor.
- Freeze a second batch of dough disks for quick pies later—thaw in the fridge overnight.
- If your filling seems watery after mixing, add an extra 1 tsp cornstarch. Don’t overdo it—cornstarch turns glue-y when overused.
- For ultra-flaky crust, keep everything cold: even chill your mixing bowl and grater for butter if you have time.
Common Mistakes to Avoid
- Skipping preheating: Classic rookie move. It changes texture and bake time.
- Overmixing: Leads to dense or chewy results. Mix until just combined.
- Guessing cook time: Always use visual cues or a timer, not just vibes.
- Overcrowding pans: Give your food some breathing room to crisp properly.
Alternatives & Substitutions
- Use frozen cherries straight from the freezer—no need to thaw. Increase cornstarch by 1 tsp to account for extra juice.
- Swap cornstarch for 3 tbsp tapioca starch for a clearer, chewier filling.
- Make the crust dairy-free by using cold coconut oil (same amount) instead of butter; the texture changes slightly and gets a subtle coconut note.
- Use a gluten-free 1:1 flour blend in the crust; the texture will be slightly more crumbly but still delicious.
Variations & Tips
- Streusel-top Cherry Pie: Sprinkle a buttery streusel (¾ cup flour, ½ cup brown sugar, 6 tbsp butter) over the filling instead of a top crust.
- Cherry-Almond Twist: Add ½ tsp almond extract and top with sliced almonds for crunch.
- Mini Hand Pies: Use the same filling for 6–8 handheld pies—bake 20–25 minutes at 400°F.
- Spiced Cherry Pie: Add ½ tsp ground cinnamon and a pinch of ground clove for autumn vibes.
- Alcohol Boost: Stir 1 tbsp bourbon into the filling for grown-up warmth.
- Salted Caramel Drizzle: Finish slices with a drizzle of warm caramel and a pinch of flaked sea salt.
FAQ (Frequently Asked Questions)
- Can I make this ahead of time?
- Yes! Assemble the pie and cover before baking, then refrigerate up to 24 hours. Bake straight from the fridge, adding a few extra minutes to the bake time. You can also freeze unbaked pies for up to 2 months—thaw in the fridge overnight before baking.
- Can I double the recipe?
- Sure thing. Use two pie pans or a 10–11 inch deep-dish pan; bake time may increase by 10–15 minutes. Keep an eye on bubbling and crust color.
- Can I substitute butter with oil?
- Technically yes, but you’ll miss that buttery magic. Use ¾ the amount of oil and keep the dough cold—texture will be less flaky and more tender.
- How do I know it’s done?
- Watch for bubbling filling through vents, and a golden-brown crust with crisp edges. When the center bubbles and the juices thicken slightly, the pie is ready. If the top browns too fast, tent with foil.
- What if I don’t have ingredient X?
- Out of cornstarch? Use 3 tbsp tapioca starch. No fresh cherries? Use frozen—no thawing needed, just add a touch more thickener. No lemon? Use 1 tsp vinegar to brighten the flavors.
How I Like to Serve It
I serve this pie warm with a big scoop of vanilla ice cream and a cup of strong coffee or a fizzy glass of sparkling water. It shines at summer picnics, family dinners, or when you need a cozy dessert after a long week. Leftovers taste fantastic for breakfast—yes, I said it—on a cold morning with coffee. It makes guests grin and kids ask for seconds.
Notes
- Store leftover slices covered in the fridge for up to 4 days. Reheat slices in a 350°F oven for 8–10 minutes to refresh the crust.
- If you use meat in other recipes, remember safe cooking temps: poultry 165°F, pork 145°F. (Not directly relevant here, but good kitchen habits.)
Final Thoughts
Closing: Go bake this cherry pie—embrace the sticky fingers and the smell of baked cherries—and then sit back and enjoy every glorious, saucy bite. Now go impress someone — or just yourself — with your homemade masterpiece!