
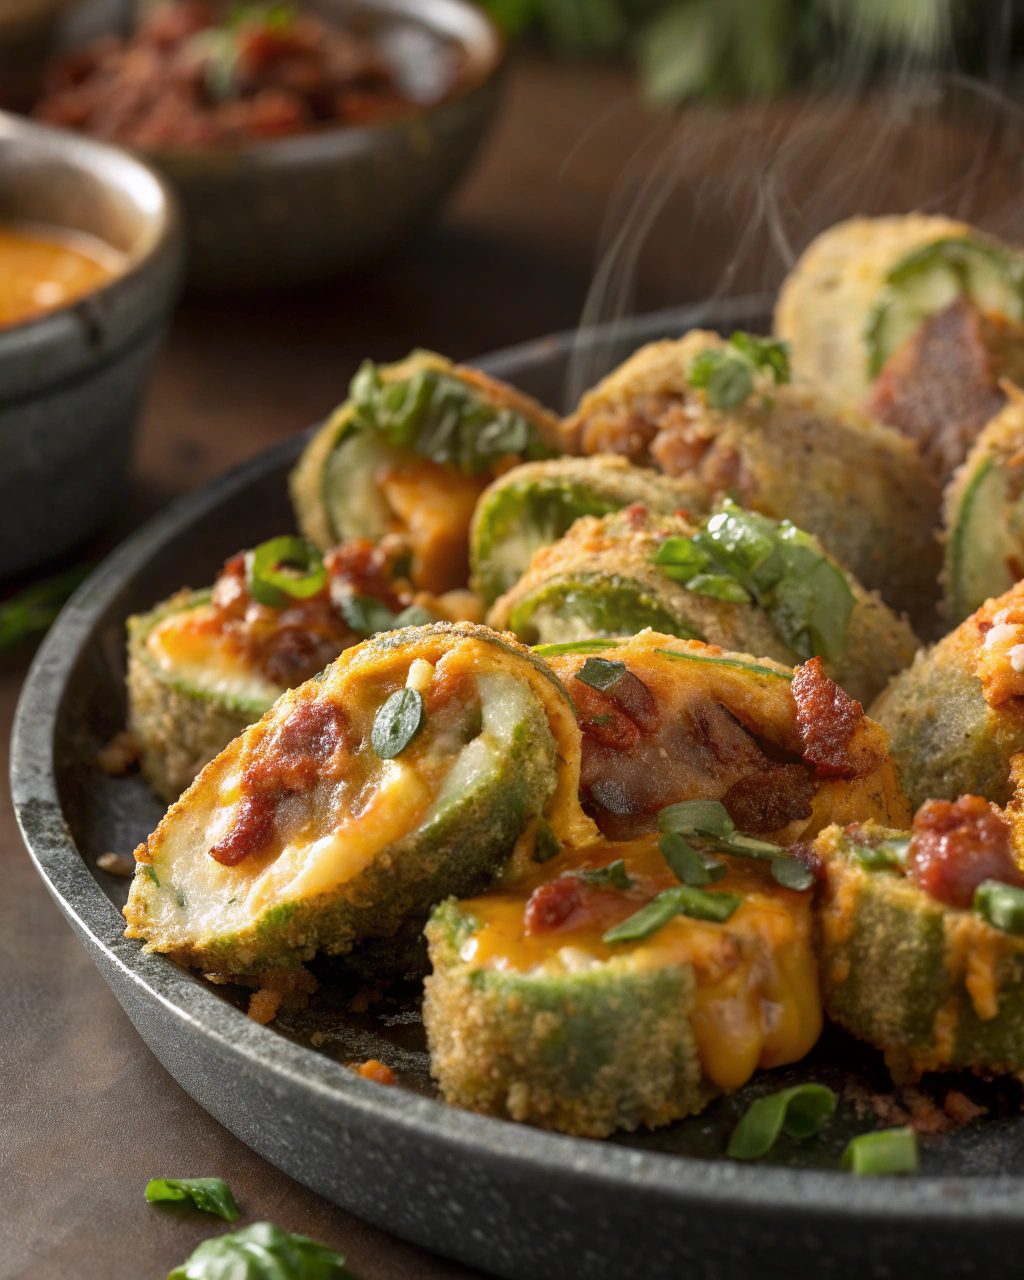
Cheesy Bacon Fried Pickles
Alright, picture this: the crunch of pickles meets crispy bacon goodness, all wrapped up in a golden, cheesy coat that practically shouts “party in your mouth!” I can’t even remember a time when fried pickles weren’t a total game changer at our family get-togethers—but adding that melty cheese and smoky bacon? That’s the secret that sends these over the top. Honestly, the sizzle when you drop these into hot oil is music to my ears, and the aroma? Oh, it’s downright irresistible. Trust me, once you try them, you’ll want to keep this indulgent snack recipe on speed dial for the next craving attack.
Quick Facts
- Yield: Serves 4 as an appetizer
- Prep Time: 20 minutes
- Cook Time: 10 minutes
- Total Time: 30 minutes
Ingredients
For the Main Dish:
- 16 dill pickle chips (thick sliced works best)
- 4 slices bacon, cooked crisp and chopped
- 1 cup shredded cheddar cheese
- 1 cup all-purpose flour
- 1 tsp garlic powder
- 1 tsp smoked paprika
- 1/2 tsp black pepper
- 1/2 tsp salt
- 2 large eggs
- 1/2 cup buttermilk
- 1 cup panko breadcrumbs
- Vegetable oil, for frying
How I Make It
Step 1:
First things first, get your bacon cooked until nice and crispy—then chop it into small pieces. This smoky crunch is what really takes these fried pickles up a notch. Set that aside and pat your pickle chips dry with paper towels to avoid sogginess.
Step 2:
In one bowl, whisk together the all-purpose flour, garlic powder, smoked paprika, salt, and black pepper. In another bowl, beat the eggs with the buttermilk. In a third bowl, mix the panko breadcrumbs with the shredded cheddar cheese and chopped bacon. This cheesy breadcrumb combo adds amazing flavor and extra crunch.
Step 3:
Now, it’s time to coat! Dip each pickle chip first into the flour mixture, shaking off the excess, then into the egg and buttermilk wash, and finally dredge in the cheesy breadcrumb and bacon mix. Press gently so the coating sticks well.
Step 4:
Heat your vegetable oil in a deep pan or fryer to about 350°F. You want enough oil so the pickles can float without touching the bottom. Fry the pickles in batches for about 2-3 minutes per batch, or until golden brown and crispy. Don’t crowd the pan—keep that oil temperature steady for best results.
Step 5:
Use a slotted spoon to carefully lift the fried pickles out and drain them on paper towels. Let them cool for a minute or two to avoid biting into a scorching mouthful of cheese, but not so long that the cheese starts to harden.
Step 6:
Serve immediately, ideally with a creamy dipping sauce like ranch or a spicy mayo for that perfect cool and kick combo.
Variations & Tips
- Swap cheddar for pepper jack or mozzarella for a different cheesy vibe.
- Try adding a pinch of cayenne or chili powder to the flour mix for a spicy kick.
- Use dill pickle spears instead of chips for a bigger, fun bite.
- If you don’t have buttermilk, mix 1 tbsp lemon juice or vinegar with 1/2 cup milk and let sit for 5 minutes.
- Oven-bake at 425°F for 15-20 minutes as a lighter alternative, flipping halfway through.
- Make extra breadcrumbs the day before by toasting panko with a little butter for extra flavor.
How I Like to Serve It
I love setting these out at casual game days or backyard barbecues where everyone can grab a handful. They’re gooey and crunchy fun that pairs amazingly with cold beer or a zesty lemonade. When the weather’s cooler, cheesy bacon fried pickles alongside a warm bowl of tomato soup? Instant comfort food win!
Notes
- Store any leftovers in an airtight container in the fridge for up to 2 days; crisp them back up in a hot oven for 5-7 minutes before serving.
- Make sure to dry pickles well before breading to keep your coating crispy and avoid oily spots.
Closing: This recipe nails the perfect balance of crispy, cheesy, and smoky every single time—making it my go-to crowd-pleaser for any occasion.