
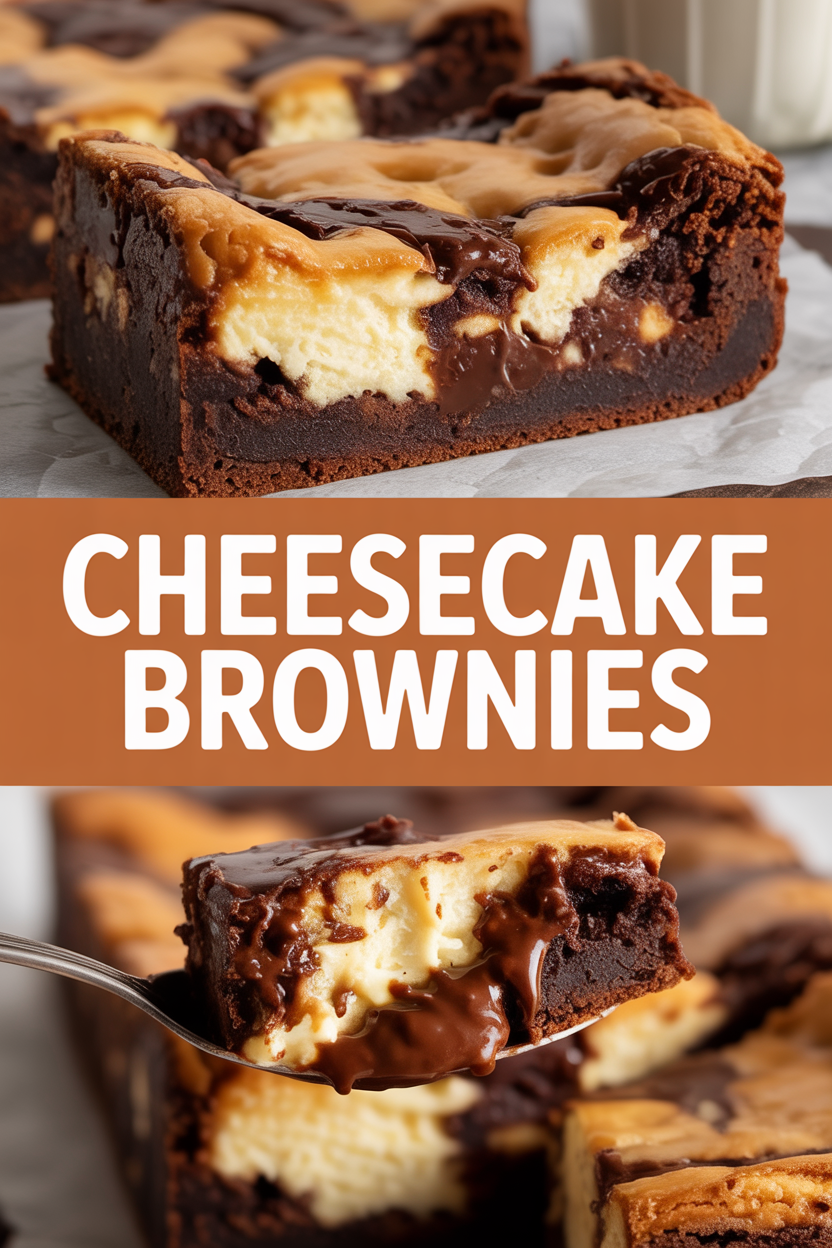
Okay, honest moment: I made these Cheesecake Brownies because I couldn’t decide between brownies and cheesecake for dessert — so I did what any reasonable person would do and smooshed them together. Picture a fudgy, crackly chocolate base with creamy, tangy cheesecake swirling on top; the house smells like a chocolate bakery and someone just opened a cream-cheese factory. I promise this recipe does that neat thing where edges get crisp and the center stays gloriously gooey. Bonus: you only need one pan, no elaborate piping, and a willingness to lick the spoon. If you like contrasts — sweet and tangy, fudgy and silky — you’ll love these. Let’s make a pan everyone will fight over.
Quick Facts
- Yield: Serves 9–12
- Prep Time: 15 minutes
- Cook Time: 30–40 minutes
- Total Time: 45–55 minutes
Why This Recipe is Awesome
This recipe gives you two desserts in one: dense, chocolatey brownies with a smooth, tangy cheesecake ripple. It’s simple enough for weeknights, special enough for potlucks. The textures play off each other — crunchy, crackly top, fudgy center, and a creamy swirl that brightens every bite. It’s so easy even your oven can’t mess it up (well, unless it’s on vacation).
Ingredients
For the Main Dish:
- 1/2 cup (1 stick) unsalted butter
- 8 oz semi-sweet chocolate chips or chopped chocolate
- 1 cup granulated sugar
- 2 large eggs, room temperature
- 1 tsp vanilla extract
- 3/4 cup all-purpose flour
- 1/4 cup unsweetened cocoa powder
- 1/4 tsp salt
- Optional: 1/2 cup chopped nuts or extra chocolate chips
For the Cheesecake Swirl:
- 8 oz cream cheese, room temperature
- 1/4 cup granulated sugar
- 1 large egg, room temperature
- 1/2 tsp vanilla extract
- 1 tbsp sour cream or heavy cream (optional — makes it silkier)
For the Sauce / Garnish (optional):
- Powdered sugar for dusting or flaky sea salt for contrast
- Warm salted caramel or chocolate drizzle
How I Make It
Step 1:
I preheat the oven to 350°F and line a 9×9-inch square pan with parchment, leaving an overhang to lift the brownies out later. I melt the butter and chocolate together in a double boiler or carefully in short bursts in the microwave, stirring until smooth — the smell of warm chocolate hits the room and you’ll want to dive in with a spoon. I set it aside to cool slightly.
Step 2:
In a bowl I whisk the eggs, 1 cup sugar, and 1 tsp vanilla until glossy. I pour the warm chocolate into the eggs in a slow stream while stirring — this tempers the eggs and keeps everything silky. I fold in the flour, cocoa, and salt just until combined. Don’t overmix; you want fudgy, not cakey.
Step 3:
For the cheesecake layer I beat the room-temperature cream cheese with 1/4 cup sugar until smooth, then add the egg, vanilla, and 1 tbsp sour cream if using. The texture should look glossy and pourable. Dollop about two-thirds of the brownie batter into the pan, then spoon the cheesecake mixture on top in blobs and finish by dropping the remaining brownie batter over it in a few spots.
Step 4:
I take a knife or skewer and swirl the two batters — gentle figure-eights or little circles — until you see a marbled pattern. Don’t overdo it; you want distinct swirls. I bake at 350°F for 30–40 minutes. Start checking at 30 minutes: edges should look set and slightly pulling away, while the center will still have a few glossy, moist crumbs. The top will have a faint crackle and the cheesecake will take on a pale golden hue. If you poke the center, it should wobble a bit but not be liquid.
Step 5:
I cool the pan on a rack for at least 1 hour — this helps the center set and makes slicing cleaner. For neat squares, I chill the whole pan for 30 minutes before slicing with a warm, dry knife. I finish with a light dusting of powdered sugar or a sprinkle of flaky sea salt to balance the sweetness. Serve slightly chilled or at room temperature; both are divine.
Pro Tips
- Use room-temperature cream cheese and eggs so the cheesecake swirl stays smooth and lump-free.
- Don’t overmix the brownie batter after adding flour — fold until just combined for the fudgiest texture.
- If the top browns too quickly, tent with foil after 20 minutes to prevent overbrowning while the center finishes baking.
- For cleaner slices, chill the brownies for 30–60 minutes and wipe your knife between cuts.
Common Mistakes to Avoid
- Skipping preheating: Classic rookie move. It changes texture and bake time.
- Overmixing: Leads to dense or chewy results. Mix until just combined.
- Guessing cook time: Always use visual cues or a timer, not just vibes.
- Overcrowding pans: Give your food some breathing room to crisp properly.
Alternatives & Substitutions
- Use gluten-free 1:1 flour to make these GF — texture stays fudgy but may be slightly more tender.
- Swap butter for coconut oil (use ¾ the amount) for a dairy-lite option; expect a mild coconut note.
- Replace cream cheese with a dairy-free cream cheese for a vegan-ish version (also use a flax egg) — flavor gets tangier and texture slightly softer.
- Use Greek yogurt (thicker) in the cheesecake swirl instead of sour cream for tangy richness; it thins the batter a little, so use 1 tbsp.
Variations & Tips
- Espresso Boost: Add 1 tbsp instant espresso to the melted chocolate for an intense mocha flavor.
- Salted Caramel Swirl: Drop spoonfuls of hot caramel over the batter and swirl for gooey pockets.
- Nutty Upgrade: Stir 1/2 cup toasted pecans or walnuts into the brownie batter for crunch.
- Triple Chocolate: Use dark chocolate in the base and white chocolate chips in the brownie batter for contrast.
- Mini Cheesecake Brownies: Bake in a muffin tin for portable single servings — reduce bake time to 18–22 minutes.
- Creative Twist: Add a thin layer of raspberry jam between the brownie and cheesecake dollops for a bright, fruity pop.
FAQ (Frequently Asked Questions)
- Can I make this ahead of time?
- Yes! Bake, cool completely, then cover and refrigerate up to 4 days. For the best texture, bring to room temperature before serving or microwave individual squares for 10–12 seconds to revive that fudgy center.
- Can I double the recipe?
- Sure thing. Use a 9×13-inch pan and bake for 40–50 minutes, checking doneness at 35 minutes. You’ll get thinner layers, so watch closely.
- Can I substitute butter with oil?
- Technically yes, but you’ll miss that buttery magic. Use ¾ the amount of neutral oil (like canola) and expect a slightly different mouthfeel.
- How do I know it’s done?
- Edges should look set and pull away slightly; the center should still have a few moist crumbs and a gentle wobble. A toothpick should come out with moist crumbs, not raw batter.
- What if I don’t have ingredient X?
- If you lack cocoa powder, use an extra 2 oz of melted chocolate and reduce flour by 1 tbsp. No cream cheese? Try ricotta or mascarpone for a different but tasty swirl.
How I Like to Serve It
I love these warm with a scoop of vanilla ice cream and a drizzle of hot caramel for Sunday-night comfort. They also travel well to potlucks and pair nicely with coffee for brunch. For summer, serve chilled with fresh berries; in winter, go warm and gooey with a mug of strong coffee or mulled wine. They fit any mood — celebratory or just “I deserve dessert.”
Notes
- Store covered in the fridge for up to 4 days. For longer storage, freeze squares in a single layer, then wrap — freeze up to 2 months.
- If reheating from frozen, thaw overnight in the fridge then warm briefly in the microwave. No meat temps to worry about here — just sweet success!
Final Thoughts
Closing: Go bake this. Slice it thick, share (or don’t), and savor the smug satisfaction of making two classics into one genius bar of joy.