
Okay, full disclosure: I make sliders like a tiny, delicious science experiment—only the lab smells like searing beef and melted cheese. I promise these little burgers bring that happy chaos into your kitchen with way less fuss than a full-size burger. They come together fast, smell like a backyard barbecue even when it’s raining, and everybody will fight over the extra pickles. If you’ve got a crowd, game night, or just a hunger emergency, these cheeseburger sliders hit all the right notes: crisp edges, gooey cheese, and a tangy sauce that makes you sigh. Let me show you how to make slider magic that actually tastes easier than it looks.
Quick Facts
- Yield: Serves 8 (makes about 16 sliders)
- Prep Time: 20 minutes
- Cook Time: 12 minutes
- Total Time: 32 minutes
Why This Recipe is Awesome
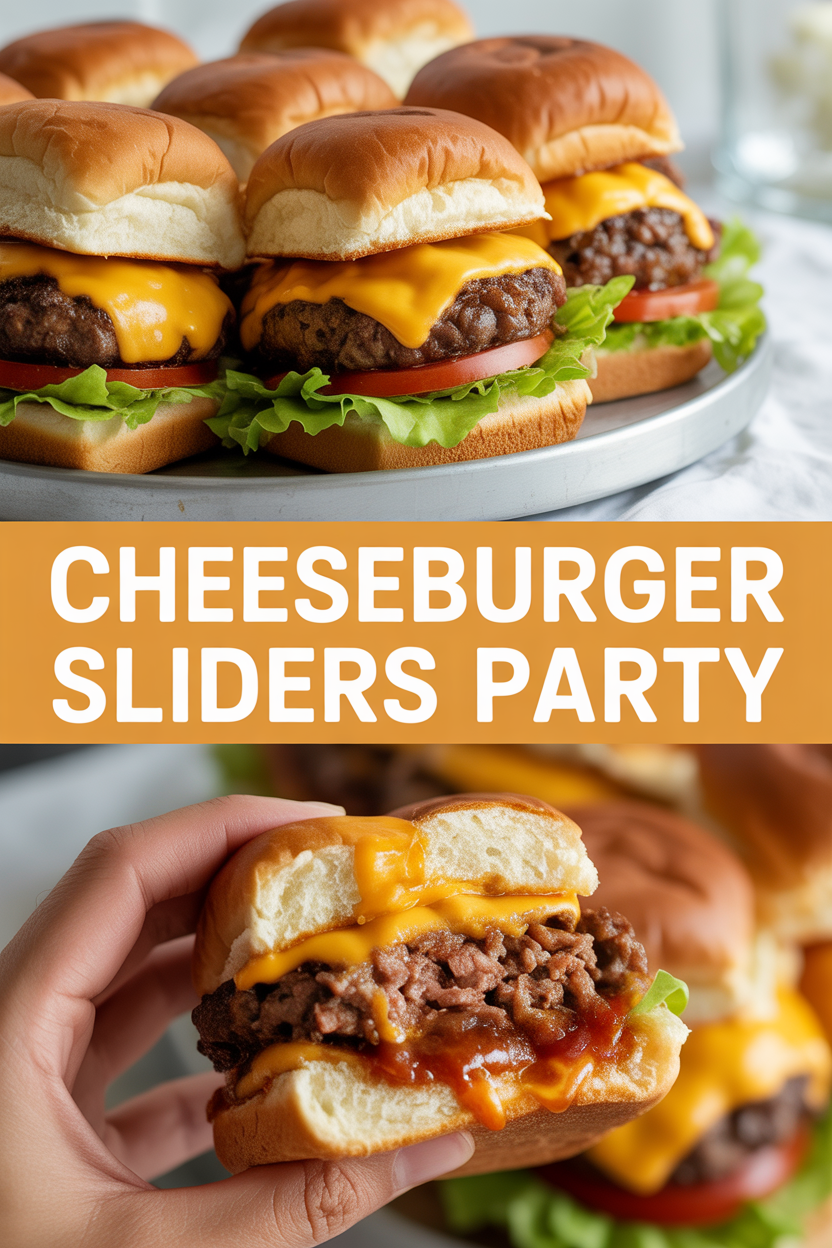
These sliders pack big burger flavor into bite-sized sandwiches. You get a crunchy, caramelized edge on the patty, a molten ribbon of cheese, and a tangy, creamy sauce that brightens everything. They cook fast, feed a group, and look adorable on a platter. Plus, they’re forgiving — burn the bun? Make extra. Over-season? Call it house style. It’s so easy even your oven can’t mess it up.
Ingredients
For the Main Dish:
- 2 lb ground beef (80/20 for juiciness)
- 1 tsp kosher salt
- 1 tsp black pepper
- 1 tbsp Worcestershire sauce
- 1/2 cup finely chopped yellow onion (optional, but I love the sweetness)
- 1 tsp garlic powder
- 16 slider buns (soft, like potato or Hawaiian)
- 8 oz cheddar cheese, sliced or shredded (cut into halves for each slider)
- 2 tbsp butter (for toasting buns)
- 1/2 cup dill pickles, sliced
For the Sauce / Garnish:
- 1/2 cup mayonnaise
- 2 tbsp ketchup
- 1 tbsp sweet pickle relish
- 1 tsp yellow mustard
- 1/4 tsp smoked paprika (optional)
- Salt and pepper to taste
How I Make It
Step 1:
I start by making the sauce: whisk together 1/2 cup mayonnaise, 2 tbsp ketchup, 1 tbsp relish, and 1 tsp mustard in a bowl. Taste and add a pinch of salt or a squeeze of lemon if you want brightness. Chill in the fridge while you work — it perks up the flavors and builds anticipation (and who doesn’t like anticipation?).
Step 2:
Mix the meat: put the 2 lb ground beef in a big bowl, add 1 tsp salt, 1 tsp black pepper, 1 tbsp Worcestershire, 1/2 cup chopped onion, and 1 tsp garlic powder. Gently toss with your hands until just combined — don’t overwork it or the patties will get dense. I form 16 small patties about 2 1/2 inches across and slightly thinner in the center so they cook evenly.
Step 3:
Heat a large cast-iron skillet or griddle over medium-high heat until it’s hot and shimmering. You want that moment when the pan whispers “sizzle.” Add a little oil if your pan needs it, then cook the patties in batches, giving each plenty of room. Cook about 2–3 minutes per side until you get a deep brown crust and the patties release easily. When you flip, you’ll hear that satisfying sear and smell caramelizing beef — my favorite kitchen perfume.
Step 4:
When patties reach about 140–145°F on an instant-read thermometer, top each with half a slice of cheddar. Slide the skillet (or transfer to a rimmed baking sheet) under a 400°F oven broiler for 1–2 minutes or until the cheese melts and bubbles. Watch closely — broilers move fast. The internal temp should reach 160°F for ground beef safety. Meanwhile, melt 2 tbsp butter and brush the insides of the buns; toast them in a pan or oven until golden and slightly crisp.
Step 5:
Assemble while hot: spread the sauce on both bun halves, add a patty, a pickle slice, and more sauce if you’re me. Press gently so the warm cheese glues everything together. Serve on a large platter, add napkins, and listen to the chorus of “More please!”
Pro Tips
- Use 80/20 ground beef for the best juicy texture; leaner meat dries out quickly.
- Make patties slightly thinner in the center so they puff evenly and don’t dome too much.
- Don’t crowd the pan — give each patty space to develop a proper crust.
- Check internal temp with an instant-read thermometer: aim for 160°F for ground beef.
Common Mistakes to Avoid
- Skipping preheating: Classic rookie move. It changes texture and bake time.
- Overmixing: Leads to dense or chewy results. Mix until just combined.
- Guessing cook time: Always use visual cues or a timer, not just vibes.
- Overcrowding pans: Give your food some breathing room to crisp properly.
Alternatives & Substitutions
- Swap ground turkey or chicken for beef; they cook faster and will be leaner — add a little olive oil for juiciness.
- Use veggie crumbles or a seasoned black bean patty for a vegetarian version; expect a different texture but similar assembly.
- For dairy-free, use a vegan mayo and a dairy-free cheese slice; the sauce keeps the sliders indulgent even without dairy.
Variations & Tips
- Spicy: stir 1 tsp sriracha into the sauce and add pepper jack instead of cheddar.
- BBQ: brush patties with BBQ sauce in the last minute of cooking and swap pickles for crispy onion rings.
- Breakfast sliders: top with a tiny fried egg and maple mayo for a sweet-savory twist.
- Kid-friendly: skip the onion in the patties and offer ketchup and pickles on the side.
- Gourmet twist: caramelize extra onions and swap cheddar for gruyère or smoked gouda.
- Make them party-sized: arrange sliders in a baking dish, cover with cheese and bake at 350°F for 8–10 minutes to melt together and serve family-style.
FAQ (Frequently Asked Questions)
- Can I make this ahead of time?
- Yes! Cook the patties and store them in an airtight container for up to 2 days. Toast buns and assemble just before serving for the best texture. Reheat patties in a skillet or in a 350°F oven for 6–8 minutes until warmed through.
- Can I double the recipe?
- Sure thing. Cook in batches and keep finished patties on a wire rack in a low oven (200–225°F) so they stay warm without overcooking.
- Can I substitute butter with oil?
- Technically yes, but you’ll miss that buttery magic. Use ¾ the amount of oil if you must (so 1 1/2 tbsp oil for 2 tbsp butter).
- How do I know it’s done?
- Look for a deep brown crust on the outside, melted cheese, and an internal temperature of 160°F. The patties will feel springy and juicy, not squishy or dry.
- What if I don’t have ingredient X?
- No pickle relish? Chop a dill pickle fine and stir into the mayo. Out of Worcestershire? A splash of soy sauce works in a pinch.
How I Like to Serve It
I love these sliders with crispy oven fries and a bright cabbage slaw to cut the richness. For game nights, I set them on a big board with toothpicks and labels — “spicy,” “plain,” “extra cheese.” They work at summer BBQs, cozy movie nights, or as a playful dinner for two. Pair with a cold lager or a simple iced tea and you’ve got joy on a plate.
Notes
- Store leftover patties in the fridge up to 2 days; freeze cooked patties up to 3 months. Reheat gently to avoid drying out.
- Safe cooking temp for ground beef: 160°F. Use an instant-read thermometer for confidence.
Final Thoughts
Closing: Now go impress someone — or just yourself — with your homemade cheeseburger sliders. They disappear fast, so don’t blink!