
I love a good kitchen secret, so here’s one I stash in my back pocket for when I want something that tastes extravagant but feels effortless: candied pineapple. I stumbled on this method during a rushed summer when I wanted dessert that smelled tropical and looked like I’d spent hours fussing — without actually fussing. I’ll show you how to get translucent, jewel-like pineapple pieces with a sticky, caramel-kissed glaze using just a skillet and the oven. Think sizzling sugar, warm pineapple perfume, and glossy golden edges that crack slightly when you bite them. I promise the results make you look like you know what you’re doing — chef’s honor.
Quick Facts
- Yield: Serves 6
- Prep Time: 15 minutes
- Cook Time: 25 minutes
- Total Time: 40 minutes
Why This Recipe is Awesome
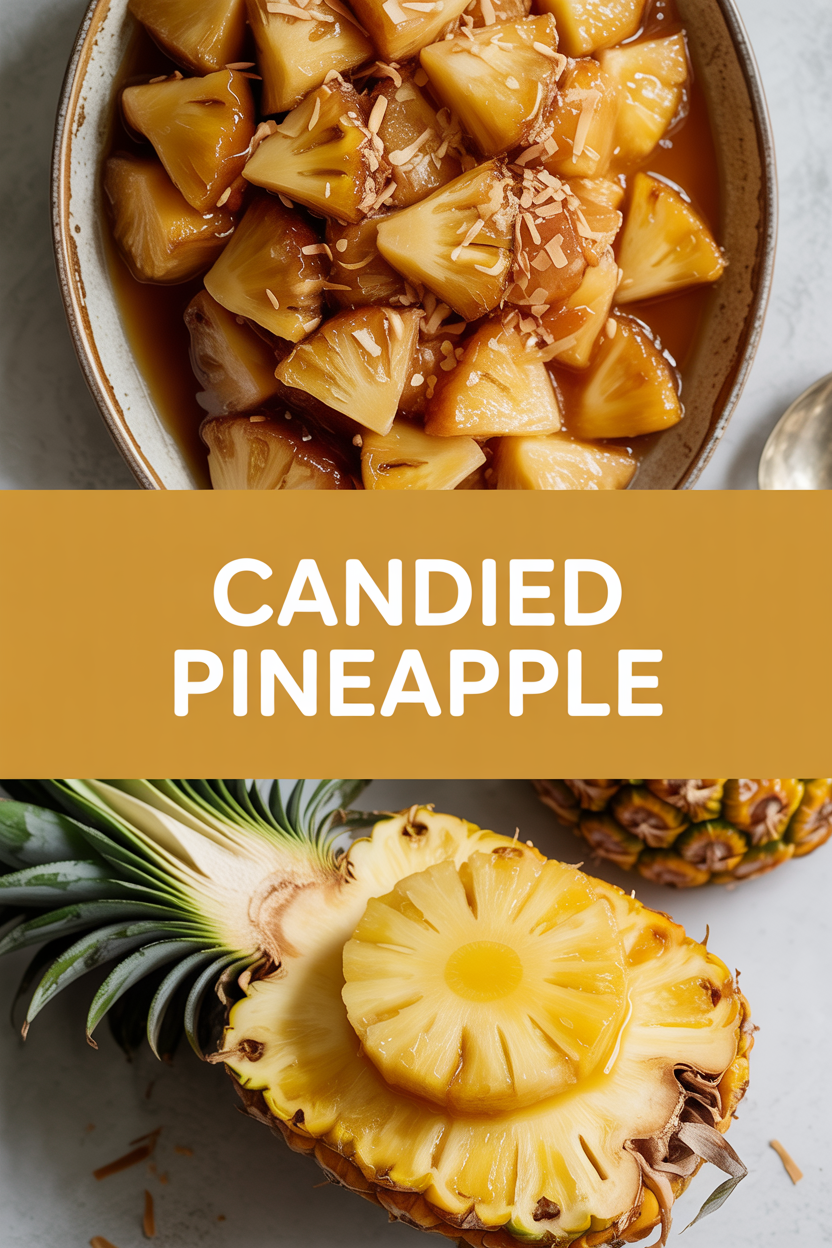
This candied pineapple recipe tastes like sunshine and holiday parties rolled into one. It delivers sweet, slightly tangy fruit with a sticky, caramelized exterior and tender, juicy center. It’s fancy enough for guests but easy enough for a weeknight treat — and it smells like warm sugar and tropical fruit as it cooks. It’s so straightforward even your oven can’t mess it up, and the texture contrast (crackly edges, melt-in-your-mouth interior) keeps you coming back for another slice.
Ingredients
For the Main Dish:
- 1 medium fresh pineapple (about 3–4 pounds), peeled, core removed, cut into 1/2-inch rings or 1-inch wedges
- 1/2 cup granulated sugar
- 1/4 cup packed light brown sugar
- 3 tbsp unsalted butter
- 2 tbsp water
- 1 tsp vanilla extract
- Pinch of fine sea salt
- Optional: 1 tbsp dark rum or 1 tsp ground cinnamon for flavor variations
For the Sauce / Garnish (if applicable):
- Optional drizzle: 2 tbsp honey mixed with 1 tsp lemon juice
- Optional garnish: chopped fresh mint or toasted coconut flakes
How I Make It
Step 1:
I start by cutting the pineapple into rings or wedges — rings look pretty, wedges feel rustic. Keep the pieces about 1/2–1 inch thick so they hold shape and caramelize evenly. Pat them dry with a paper towel; excess moisture prevents that gorgeous, sticky glaze from forming.
Step 2:
In a heavy skillet over medium heat I melt the 3 tbsp butter with the 1/2 cup granulated sugar and 1/4 cup brown sugar. Stir until the sugar dissolves and the mixture starts to shimmer — you’ll smell warm caramel notes. Add 2 tbsp water if the sugar looks too grainy, then stir in the pinch of salt and 1 tsp vanilla extract. Watch the sugar closely; it goes from syrup to too-dark quickly. If you want a boozy lift, stir in 1 tbsp dark rum right before you add the pineapple.
Step 3:
Lay the pineapple pieces in the skillet in a single layer. They should sizzle gently; that sound tells you the caramel is doing its work. Cook undisturbed for about 2–3 minutes per side until the bottoms develop golden-brown, slightly sticky edges. Flip carefully with tongs — the glaze will cling and pull.
Step 4:
Once both sides look caramel-kissed, transfer the skillet to a preheated oven at 350°F (use an ovenproof skillet; if you don’t have one, move everything to a baking sheet lined with parchment). Roast for 10–15 minutes to let the fruit become tender and the sugars set into a glossy coating. You’ll smell sweet, warm pineapple bathing the kitchen; the edges should start to darken and bubble. Check at 10 minutes to avoid burning — you want deep golden, not bitter black.
Step 5:
Remove the pineapple and let it rest for 5 minutes so the glaze firms slightly — this makes handling easier and keeps the exterior glossy. Serve warm or at room temperature with a drizzle of the honey-lemon mix, a sprinkle of toasted coconut, or a spoonful of vanilla ice cream. I like finishing with a scattering of fresh mint for a bright contrast.
Pro Tips
- Use ripe but firm pineapple. If it’s too soft you’ll get mushy pieces; too green and the flavor won’t pop.
- Pat the pineapple dry before cooking to encourage caramelization, not steaming.
- Keep a close eye on the sugar stage. It moves fast — swirl the pan instead of stirring when you can, and lower the heat if it darkens too quickly.
- If you don’t have an ovenproof pan, transfer to a lined baking sheet and roast; scraping the pan helps capture every sticky bit for a drizzle.
Common Mistakes to Avoid
- Skipping preheating: Classic rookie move. It changes texture and bake time.
- Overmixing: Leads to dense or chewy results. Mix until just combined.
- Guessing cook time: Always use visual cues or a timer, not just vibes.
- Overcrowding pans: Give your food some breathing room to crisp properly.
Alternatives & Substitutions
- If you don’t have fresh pineapple, use canned pineapple rings (drained well) — they caramelize faster but become softer.
- Swap unsalted butter for coconut oil for a dairy-free version; expect a subtle coconut flavor and slightly less rich mouthfeel.
- Replace brown sugar with maple syrup for a different caramel note; reduce other liquids slightly to compensate.
- For a gluten-free dessert, everything here already fits — just confirm any add-ins (like toasted toppings) remain gluten-free.
Variations & Tips
- Spicy kick: add a pinch of cayenne or a splash of chili syrup to the glaze for sweet-heat contrast.
- Kid-friendly: omit the rum and cinnamon for a simple sweet caramel pineapple that kids adore.
- Tropical parfait: layer candied pineapple with yogurt and granola for a breakfast-worthy twist.
- Grill it: cook the glazed pineapple on a hot grill for smoky char marks instead of finishing in the oven.
- Chocolate-dipped: chill the cooled pieces, then dip half in melted dark chocolate and chill again until set.
FAQ (Frequently Asked Questions)
- Can I make this ahead of time?
- Yes! Cook the pineapple, cool completely, then store in an airtight container in the fridge for up to 3 days. Reheat gently in a 350°F oven for 5–7 minutes or warm in a skillet until the glaze loosens.
- Can I double the recipe?
- Sure thing. Use a larger skillet or two pans so the pineapple stays in a single layer. You may need to cook in batches to maintain caramelization and even browning.
- Can I substitute butter with oil?
- Technically yes, but you’ll miss that buttery magic. Use ¾ the amount of coconut or neutral oil and expect a slightly different flavor and less silky glaze.
- How do I know it’s done?
- Look for glossy, golden-brown edges and a tender center when you press a fork — not mushy, but yielding. The caramel will bubble and deepen in color; stop before it smells burnt.
- What if I don’t have ingredient X?
- No problem — sub light brown sugar with molasses + granulated sugar (1 tbsp molasses per 1/4 cup sugar) or use honey for a different sweetness profile.
How I Like to Serve It
I serve candied pineapple warm with a scoop of vanilla ice cream for a classic finish, or alongside grilled chicken for a sweet-savory dinner twist. It makes a great potluck dessert when sliced on a platter with toasted coconut and mint. In summer it feels bright and fresh; in winter it adds a tropical lift to cozy nights when you crave something cheery.
Notes
- Store leftovers in the fridge up to 3 days; reheat gently to revive the glaze.
- If serving with meat, remember safe cooking temps: cook poultry to 165°F (if you pair this with grilled chicken, check with a thermometer).
Final Thoughts
Closing: Now go impress someone — or just yourself — with these glossy, caramel-kissed pineapple jewels. They taste like effort and feel like a treat, and I guarantee you’ll smile when you hear that first satisfying caramel crack.