
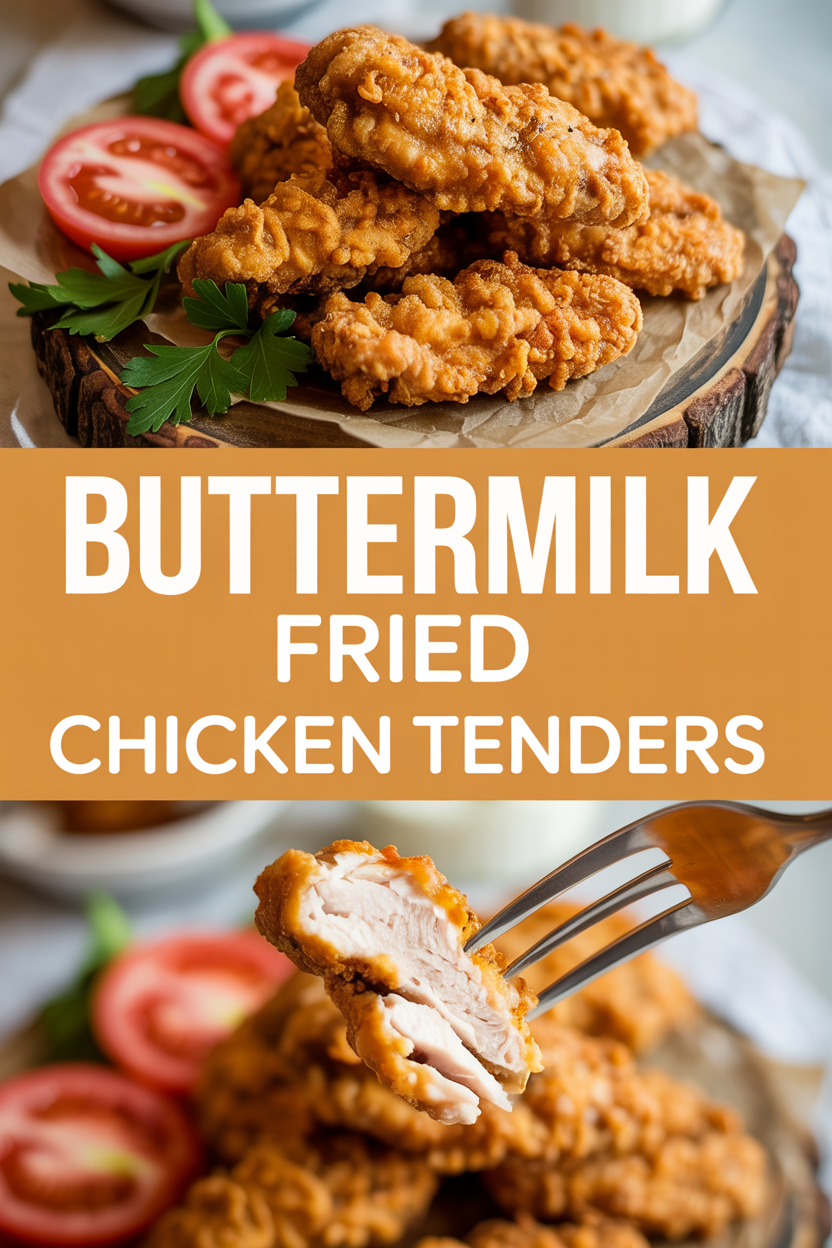
Okay, confession time: I once tried to impress a date by making “fancy” chicken and accidentally served rubbery mystery meat. Lesson learned — crispy, trustworthy fried chicken wins every time. This recipe for Buttermilk Fried Chicken Tenders fixes all of that: juicy inside, ridiculously crunchy outside, and impossible to mess up even if you’re juggling a phone and a frying thermometer. You get tangy buttermilk, a little heat if you want it, and that addictive crackle when each tender hits the oil. Let’s get the house smelling like golden comfort and make something everyone will fight over (politely, I hope).
Quick Facts
- Yield: Serves 4
- Prep Time: 15 minutes (plus 1 hour marinating)
- Cook Time: 12 minutes
- Total Time: 87 minutes (including marinate)
Why This Recipe is Awesome
This recipe gives you a crunchy, golden crust that sings when you bite it and a juicy, tender interior that actually tastes like chicken should. The tang from the buttermilk brightens the meat, the seasoned flour gives you deep flavor, and the quick fry keeps things family-friendly (and faster than a full bird). It’s simple, forgiving, and so satisfying — it’ll have your kitchen smelling buttery, savory, and slightly spicy (if you add the cayenne). Who doesn’t love crunchy edges and tender middles? Not me.
Ingredients
For the Main Dish:
- 1 1/2 lbs boneless, skinless chicken tenders (or chicken breasts cut into strips)
- 1 cup buttermilk
- 1 tbsp hot sauce (optional — cuts the tang and adds depth)
- 1 1/4 cups all-purpose flour
- 1/3 cup cornstarch (for extra crunch)
- 1 tbsp paprika
- 1 tsp garlic powder
- 1 tsp onion powder
- 1 tsp kosher salt
- 1/2 tsp freshly ground black pepper
- 1/4 tsp cayenne pepper (optional, for zip)
- 2 large eggs
- Vegetable oil or peanut oil, for frying (about 2–3 cups, enough for a 2–3 inch deep fry)
For the Sauce / Garnish (optional):
- 1/2 cup mayonnaise
- 2 tbsp honey
- 1 tbsp Dijon mustard
- Chopped parsley and lemon wedges for serving
How I Make It
Step 1:
Whisk together 1 cup buttermilk and 1 tbsp hot sauce in a bowl. Add the chicken tenders, toss so each piece gets coated, and let them sit in the fridge for at least 1 hour — overnight if you want a deeper tang. The buttermilk tenderizes and gives a pleasantly puckery smell that hints at the juicy meat to come.
Step 2:
Mix the dredge: in a shallow bowl or rimmed plate, combine 1 1/4 cups flour, 1/3 cup cornstarch, 1 tbsp paprika, 1 tsp garlic powder, 1 tsp onion powder, 1 tsp salt, 1/2 tsp black pepper, and 1/4 tsp cayenne if using. Beat the 2 eggs in a separate bowl. Working one or two tenders at a time, shake off excess buttermilk, dip in egg, then press into the flour mixture so each tender gets a good, even coat.
Step 3:
Pour oil into a heavy skillet or Dutch oven to a depth of about 2 inches and heat to 350°F. Use a thermometer — you want a steady sizzle, not a frantic roar. Fry the tenders in batches so they don’t crowd the pan; they should sizzle and turn a deep, appetizing golden brown in about 3 minutes per side. You’ll hear that wonderful crackle and smell warm, seasoned breading turning perfect.
Step 4:
Transfer cooked tenders to a wire rack set over a baking sheet to drain — that keeps the bottom crisp. If your oven’s handy, keep them warm at 200°F while you finish the rest. Check one by slicing into it: juices should run clear and the internal temp should reach 165°F. The center should feel springy and tender, not dry.
Step 5:
Whisk together the honey-mustard sauce if using: 1/2 cup mayo, 2 tbsp honey, and 1 tbsp Dijon. Serve the tenders stacked with lemon wedges and chopped parsley. The contrast between the creamy sauce and the crackling coating makes people smile — and lick their fingers.
Pro Tips
- Use a thermometer to keep oil at 350°F. If it drops too low, the breading soaks oil; too hot and the crust burns before the middle cooks.
- Add 1/3 cup cornstarch to the flour for an irresistibly crunchy shell — it’s a tiny miracle worker.
- Don’t overcrowd the pan. Give each tender room to fry and make that glorious sizzle sound.
- If your tenders brown too fast, lower heat to 325°F and finish in the oven at 375°F for a few minutes to reach 165°F inside.
Common Mistakes to Avoid
- Skipping preheating: Classic rookie move. It changes texture and bake time.
- Overmixing: Leads to dense or chewy results. Mix until just combined.
- Guessing cook time: Always use visual cues or a timer, not just vibes.
- Overcrowding pans: Give your food some breathing room to crisp properly.
Alternatives & Substitutions
- Use chicken thighs cut into strips if you want juicier meat — they add more flavor but slightly more fat.
- For dairy-free, swap buttermilk with 1 cup unsweetened almond milk + 1 tbsp white vinegar and skip any dairy-based sauce.
- For gluten-free, replace flour with a 1:1 gluten-free flour blend and keep the cornstarch; check the blend’s salt content.
- To make this vegetarian, use extra-firm tofu pressed, sliced into strips, and marinated/crumbed the same way — it soaks flavor nicely but changes texture.
Variations & Tips
- Spicy: Add 1 tsp cayenne to the dredge and a dash to the buttermilk.
- Garlic-Parmesan: Stir 1/4 cup grated Parmesan into the flour and finish with minced garlic tossed in melted butter (or oil) for a saucy gloss.
- Oven-baked: Spray the crust with oil and bake at 425°F for 12–15 minutes, flipping once — less oil, slightly different crunch.
- Kid-friendly: Skip the cayenne and serve with ketchup or a mild honey-mustard dip.
- Creative twist: Add a pinch of smoked paprika and a teaspoon of brown sugar to the flour for sweet-smoky layers.
FAQ (Frequently Asked Questions)
- Can I make this ahead of time?
- Yes! Marinate the chicken in buttermilk up to 24 hours and keep refrigerated. Dredge right before frying. Cooked tenders store in the fridge for up to 3 days. Reheat in a 375°F oven on a rack to restore crispness.
- Can I double the recipe?
- Sure thing. Fry in extra batches and don’t overcrowd. You may need a larger pot or two pans; maintain oil temp between batches.
- Can I substitute butter with oil?
- Technically yes, but you’ll miss that buttery magic. Use ¾ the amount of oil if a recipe calls for butter in a sauce or finishing step.
- How do I know it’s done?
- Look for a deep golden-brown crust, a clear juice when you cut it, and an internal temperature of 165°F. The tender should feel springy, not rubbery.
- What if I don’t have ingredient X?
- Out of paprika? Use smoked paprika, chili powder, or a mix of cumin and turmeric. No cornstarch? Use an extra 2 tablespoons of flour — you’ll lose a touch of crispness but still end up delicious.
How I Like to Serve It
I love piling these tenders on a big board with fries or a crisp slaw and a bowl of honey-mustard for dunking — perfect for weeknight wins or backyard casual dinners. They work at picnics, game days, and cozy Sunday suppers. Pair with an ice-cold soda or a crisp lager in summer, and a warm, malty beer when it’s cooler outside.
Notes
- Store cooked tenders in an airtight container in the fridge for up to 3 days. Re-crisp in a 375°F oven for 8–10 minutes.
- Chicken safe internal temp: 165°F. Always check the thickest piece with a thermometer.
Final Thoughts
Closing: Now go impress someone — or just yourself — with your homemade masterpiece! Don’t forget to save a tender for me (or at least a picture).