
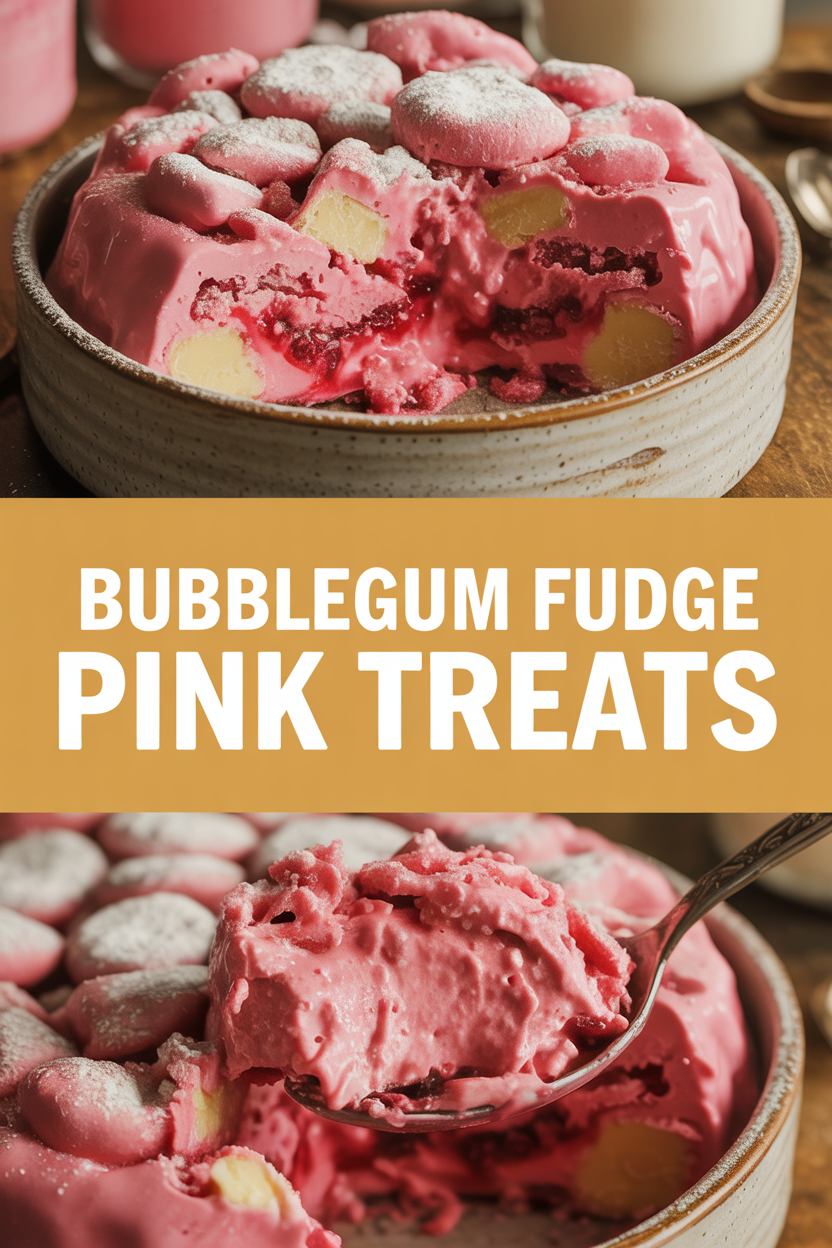
I picked up a nostalgic bubblegum-scented candy at the fair and immediately thought, “Why not turn that childhood joy into something a little more grown-up and a lot more fudge-y?” I’ll be honest: this recipe started as a sugar-fueled experiment in my tiny kitchen at midnight, with pink splatters on the counter and a grin on my face. This **Bubblegum Fudge Pink Treats** recipe tastes like cotton-candy dreams and gym-class memories, but with the creamy, buttery goodness that only real fudge can deliver. It takes simple pantry staples—plus a little pink magic—and turns them into glossy, sliceable squares that smell like bubblegum and look like a party. Trust me, you’ll want a napkin and a camera.
Quick Facts
- Yield: Serves 24 small squares
- Prep Time: 15 minutes
- Cook Time: 5 minutes (melting)
- Total Time: 2 hours 20 minutes (including chill)
Why This Recipe is Awesome
This fudge hits all the fun notes: creamy, slightly chewy, and perfectly sweet with a playful bubblegum twist. It looks adorable in pink, smells like a childhood carnival, and slices into shiny, dense bars. It’s so easy even your microwave can’t mess it up (but read my tips—microwaves have moods). Who doesn’t love thick, glossy edges and a soft center? Make this for a party, a silly gift, or a midnight snack when you crave sugar and nostalgia.
Ingredients
For the Main Dish:
- 14 oz can sweetened condensed milk (about 1 1/2 cups)
- 12 oz white chocolate chips (about 2 cups)
- 2 tbsp unsalted butter
- 1 tsp vanilla extract
- 1 tsp bubblegum extract (or cotton candy extract)
- Pink gel food coloring, a few drops (adjust to taste)
- 1/2 cup chopped pink candy pieces or crushed candy canes (optional for texture)
- Pinch fine sea salt
For the Sauce / Garnish (if applicable):
- 2 tbsp pink sanding sugar or sprinkles for topping (optional)
- 2 tbsp mini marshmallows or chopped white chocolate to scatter on top (optional)
How I Make It
Step 1:
Line an 8×8-inch pan with parchment paper, leaving an overhang for easy removal. In a medium microwave-safe bowl, combine the white chocolate chips, sweetened condensed milk, and butter. Microwave in 20–30 second bursts, stirring between each, until the mixture becomes silky and glossy. You’ll smell the sweet, buttery aroma—don’t worry, that’s the good stuff.
Step 2:
Stir in the vanilla, bubblegum extract, and a pinch of sea salt. Add pink gel food coloring a drop at a time until you reach a cheerful bubblegum pink. If you overdo the color, add a touch more white chocolate or condensed milk to soften the hue. If your mixture seems grainy, heat it for another 10–15 seconds and stir vigorously.
Step 3:
Fold in the optional chopped pink candies for pops of texture. Pour the warm fudge into the prepared pan and spread it with a spatula so the surface looks smooth and glossy. The surface should gleam like a tiny pink mirror—give it a little wave with the spatula for texture if you like.
Step 4:
Sprinkle the top with sprinkles or mini marshmallows, pressing them gently into the soft fudge. Chill the pan in the refrigerator for at least 2 hours, or until the fudge sets firm to the touch. The smell will mellow and the texture will turn dense and sliceable—like velvet captured in a square.
Step 5:
Use the parchment overhang to lift the fudge from the pan. Slice into 24 squares with a sharp knife (wipe the knife clean between cuts for neat edges). Let the pieces sit at room temperature for 5–10 minutes before serving so they soften slightly and the flavors open up.
Pro Tips
- Heat gently: microwave in short bursts to avoid scorching the white chocolate. Overheating causes graininess.
- If your fudge seizes, stir in 1 tsp warm vegetable oil to smooth it out—works like a charm.
- Use gel food coloring for a bright color without thinning the fudge; liquid coloring can make it too soft.
- Want neat squares? Chill until fully firm, then run a sharp knife under hot water, dry it, and slice for cleaner edges.
Common Mistakes to Avoid
- Skipping preheating: Classic rookie move. It changes texture and bake time.
- Overmixing: Leads to dense or chewy results. Mix until just combined.
- Guessing cook time: Always use visual cues or a timer, not just vibes.
- Overcrowding pans: Give your food some breathing room to crisp properly.
Alternatives & Substitutions
- If you can’t find bubblegum extract, use 1 tsp cotton candy extract or a mix of 1/2 tsp almond extract + 1/2 tsp vanilla for a similar sweetness. Flavor changes slightly but stays fun.
- For dairy-free, use dairy-free white chocolate chips and a dairy-free condensed milk alternative; the texture turns slightly softer but still delicious.
- For gluten-free, ensure your sprinkles and candies state “gluten-free.” Fudge base stays naturally gluten-free.
- If you want a stronger chew, stir in 1/3 cup mini marshmallows or chopped soft candies.
Variations & Tips
- Strawberry swirl: fold 2 tbsp strawberry jam into half the batch before pouring for a marbled look.
- Chocolate ripple: drizzle melted dark chocolate on top and swirl with a toothpick for contrast.
- Adult twist: add 1 tbsp espresso liqueur or raspberry liqueur for a grown-up flavor.
- Crunch edition: fold in 1/2 cup crushed pretzels or cookies for texture contrast.
- Mini bites: press the mixture into silicone mini muffin cups for bite-sized candy gifts.
- Creative twist: add edible glitter or pearl dust to the top for an over-the-top party piece.
FAQ (Frequently Asked Questions)
- Can I make this ahead of time?
- Yes! Make the fudge up to 5 days ahead and store it in an airtight container in the refrigerator. Let it sit at room temperature for 10–15 minutes before serving so it softens slightly.
- Can I double the recipe?
- Sure thing. Use a 9×13-inch pan for a doubled batch and increase chill time to about 3 hours to ensure it sets firmly.
- Can I substitute butter with oil?
- Technically yes, but you’ll miss that buttery magic. Use ¾ the amount of oil and expect a slightly different mouthfeel—still tasty, just less rich.
- How do I know it’s done?
- When the fudge firms to the touch and a knife leaves a clean edge, it’s done. It should slice cleanly and feel dense, not gooey, after chilling.
- What if I don’t have ingredient X?
- Swap simple pantry items: no white chocolate? Use good-quality milk chocolate but expect a tan/pink hue. No bubblegum extract? Use cotton candy or vanilla + almond. Keep flavors balanced and taste as you go.
How I Like to Serve It
I serve these pink squares on a small platter with a cup of strong coffee in the morning or a bubbly cocktail at a party. They brighten a kids’ birthday spread and make a cheeky hostess gift wrapped in parchment. For a cozy night in, pair them with a vanilla chai or a cold glass of milk—both highlight the candy notes beautifully.
Notes
- Store fudge in an airtight container in the fridge for up to 7 days, or freeze for up to 2 months (thaw in the fridge overnight).
- Not relevant here, but remember safe cooking temps: poultry should reach 165°F if you ever adapt this idea to savory dishes.
Final Thoughts
Closing: Go make something pink and ridiculous—then taste it, share it, and laugh a little. Dessert doesn’t have to be serious to be delicious. Now go impress someone — or just yourself — with your homemade masterpiece!