
I’ll be honest: I once tried to pass these off as “healthier” brownies by hiding spinach in them. The idea sounded noble; the reality smelled like a school cafeteria. But the third time I made these, without the leafy nonsense, my kitchen smelled like chocolate heaven and my neighbors started knocking. I call them Brownie Cupcakes because they come out fudgy in the middle with crisp, crackly edges — all the lovable brownie traits, but tidy and portable like cupcakes. They take less than an hour from start to finish, use pantry staples, and, crucially, they forgive a distracted baker (like me) who might have been reading a text while stirring. If you crave intense chocolate without the drama, welcome home.
Quick Facts
- Yield: Serves 12–14
- Prep Time: 15 minutes
- Cook Time: 18–22 minutes
- Total Time: 35–40 minutes
Why This Recipe is Awesome
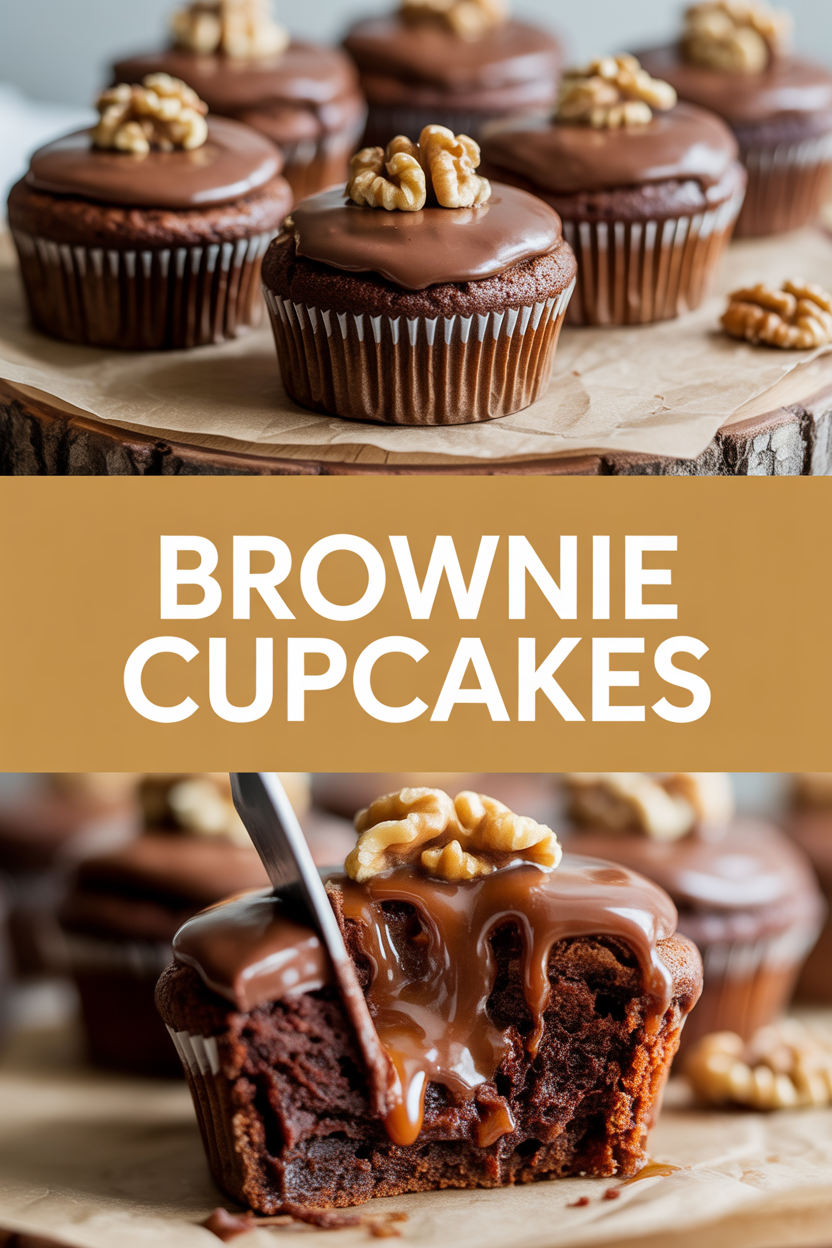
This recipe gives you brownies with gooey, fudgy centers and slightly crisp tops — basically the best parts of any brownie experience but in neat little portions. It’s forgiving, fast, and makes a kitchen smell like a cozy bakery: warm chocolate notes, a hint of caramel from the sugars, and that nostalgic crackly crust sound when you tap the top. It’s so easy even your oven can’t mess it up — unless it’s set to broil, so don’t do that.
Ingredients
For the Main Dish:
- 1 stick (8 tbsp) unsalted butter, melted
- 4 oz semisweet chocolate (chopped or chocolate chips)
- 1 cup granulated sugar
- 1/2 cup packed brown sugar
- 2 large eggs
- 1 tsp vanilla extract
- 3/4 cup all-purpose flour
- 1/2 cup unsweetened cocoa powder
- 1/2 tsp salt
- 1/2 tsp espresso powder (optional — brightens chocolate)
- Optional mix-ins: 1/2 cup chopped nuts or chocolate chips
For the Sauce / Garnish (if applicable):
- Powdered sugar for dusting, or
- Chocolate ganache: 1/2 cup heavy cream + 4 oz chocolate chips — heat, stir, drizzle
How I Make It
Step 1:
I preheat the oven to 350°F and line a 12-cup muffin tin with liners or spray lightly. I chop the 4 oz semisweet chocolate if needed and melt it with the 1 stick unsalted butter in a heatproof bowl set over simmering water, stirring until glossy. The kitchen will smell like warm cocoa and butter — seriously comforting.
Step 2:
Off the heat, I whisk in the 1 cup granulated sugar and 1/2 cup brown sugar until the mix looks shiny and a little syrupy. Then I add the 2 large eggs one at a time, whisking vigorously so the batter becomes smooth and slightly thick. Add the 1 tsp vanilla and stir. If you skip vigorously whisking, you’ll lose that glossy top — so give it some elbow grease.
Step 3:
I fold in the dry ingredients: sift together 3/4 cup all-purpose flour, 1/2 cup unsweetened cocoa powder, 1/2 tsp salt, and the optional 1/2 tsp espresso powder. I fold until I see no streaks of flour — a few small lumps are fine. At this point I drop in any mix-ins like chocolate chips or chopped nuts. The batter should look thick, glossy, and rich — imagine molten chocolate waiting to set.
Step 4:
I spoon the batter into the prepared cups, filling each about 3/4 full. Bake at 350°F for 18–22 minutes. Watch for shiny, crackly tops and slightly jiggly centers when you gently shake the pan — that tells me the insides stayed fudgy. If you prefer cakier cupcakes, add 2–3 minutes. Do not rely only on time; trust those visual cues.
Step 5:
I let cupcakes cool in the pan for 10 minutes, then move them to a rack to cool completely. If I want them fancy, I drizzle warm ganache over each or dust with powdered sugar. Serve slightly warm so the centers stay gooey, or at room temperature if you like a firmer bite.
Pro Tips
- For extra gloss on top, whisk eggs and sugars until slightly thick before adding flour — that creates the crackly crust.
- Use room-temperature eggs so the batter emulsifies faster and stays shiny.
- If you don’t have espresso powder, skip it — it intensifies chocolate but won’t make it taste like coffee.
- To freeze: wrap cooled cupcakes individually and freeze up to 3 months; thaw overnight in the fridge.
Common Mistakes to Avoid
- Skipping preheating: Classic rookie move. It changes texture and bake time.
- Overmixing: Leads to dense or chewy results. Mix until just combined.
- Guessing cook time: Always use visual cues or a timer, not just vibes.
- Overcrowding pans: Give your food some breathing room to crisp properly.
Alternatives & Substitutions
- Swap butter for coconut oil 1:1 for a dairy-free option — expect a slight coconut note and slightly softer edges.
- Use 2 flax eggs (2 tbsp ground flax + 6 tbsp water) for an egg-free version, but the top won’t be as glossy.
- Substitute up to half the sugar with maple syrup or honey — reduce wet ingredients slightly and expect a moister, denser crumb.
- To make gluten-free, use a 1:1 gluten-free baking flour blend; texture stays fudgy but may be a touch crumblier.
Variations & Tips
- Add 1/2 cup peanut butter swirled into the batter for PB-chocolate lovers.
- Fold in 1/2 cup mini marshmallows and 1/4 cup chopped graham crackers for a s’mores twist.
- Sprinkle coarse sea salt on top right after baking for a sweet-salty contrast.
- Stir in a pinch of cayenne or chili powder for a subtle spicy kick — adults will love it.
- Top with salted caramel and toasted pecans for a decadent dessert cupcake.
FAQ (Frequently Asked Questions)
- Can I make this ahead of time?
- Yes! Bake the cupcakes, cool completely, and store in an airtight container at room temperature for 2 days or in the fridge for up to 5 days. For longer storage, freeze wrapped cupcakes up to 3 months; thaw in the fridge and warm briefly in a 300°F oven for 5–7 minutes to revive the gooey center.
- Can I double the recipe?
- Sure thing. Use two muffin tins or bake in batches so you don’t overcrowd the oven. If you double and use two pans at once, rotate the pans halfway through baking for even heat. Timing stays similar; start checking at 18 minutes.
- Can I substitute butter with oil?
- Technically yes, but you’ll miss that buttery magic. Use ¾ the amount of oil (so 6 tbsp oil for 1 stick butter) and expect slightly softer edges and a less pronounced crust.
- How do I know it’s done?
- I look for shiny, crackly tops and a gentle jiggle in the center when I shake the pan. A toothpick will come out with a few moist crumbs — that means fudgy. If it comes out clean, you baked it a touch too long and you’ll get cakier texture.
- What if I don’t have ingredient X?
- No chocolate? Use 1 cup of cocoa and add 2–3 tbsp extra butter or oil for richness. Out of brown sugar? Use the same amount of granulated sugar plus 1 tsp molasses to mimic flavor.
How I Like to Serve It
I love these warm with a scoop of vanilla ice cream and a drizzle of hot fudge for lazy weekend dessert duty. They also pair wonderfully with strong coffee or milk for afternoon treats. I bring them to potlucks because people always assume I bought them — little victory. In summer, serve with berries; in winter, add a cinnamon-sugar dusting.
Notes
- Store in an airtight container at room temperature up to 2 days, or refrigerate up to 5 days. Rewarm at 300°F for 5–7 minutes for a freshly-baked feel.
- This recipe doesn’t involve meat, so no internal meat temperatures apply.
Final Thoughts
Closing: Go on — bake a batch, crack that shiny top, and enjoy the ridiculous joy of fudgy, portable brownie cupcakes. Now go impress someone — or just yourself — with your homemade masterpiece!