
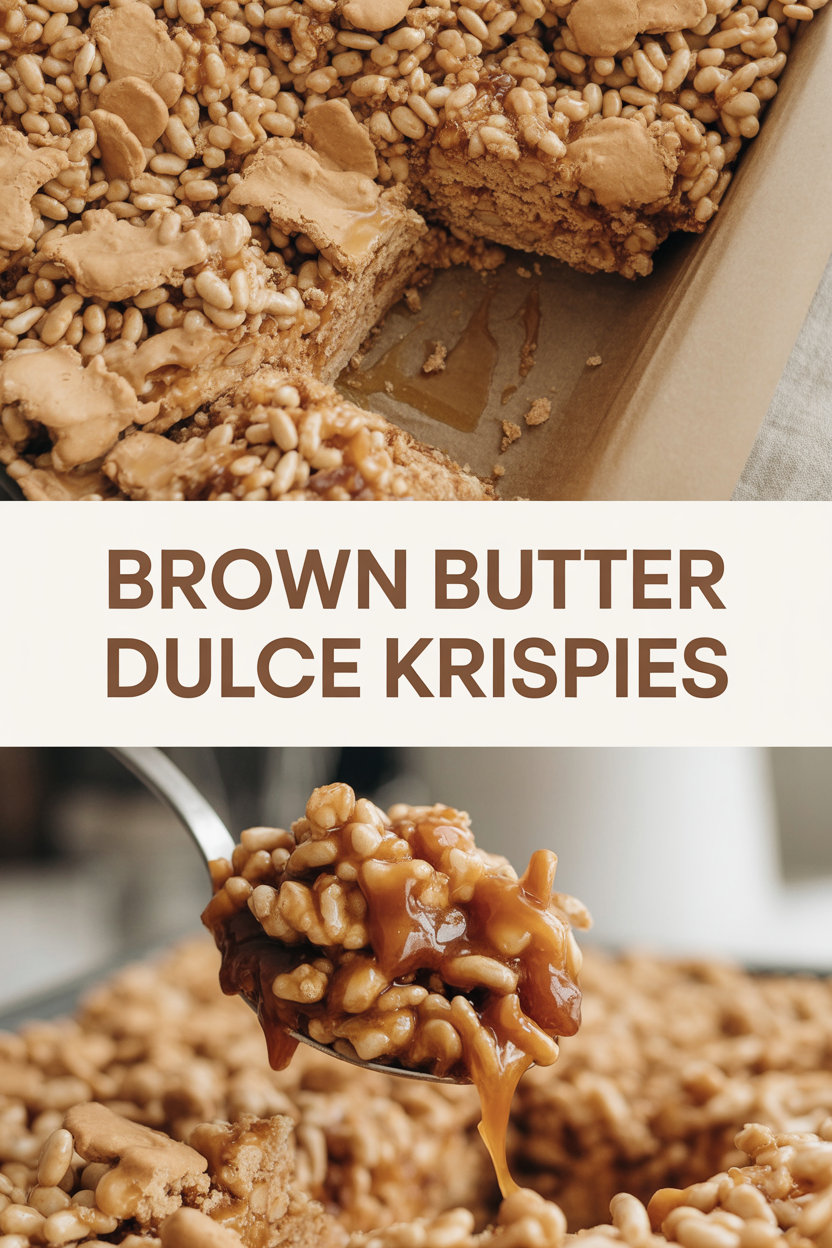
I love sharing little kitchen secrets, so I’ll cut right to it: brown butter turns ordinary Rice Krispie treats into something dangerously adult and chewy, and adding a swirl of dulce de leche makes them downright decadent. I stumbled on this combo the night I couldn’t decide between cookies and caramel—so I browned some butter, whispered sweet nothings to a marshmallow bag, and boom: Brown Butter Dulce Krispies. They smell like toasted nuts and caramelized sugar, and that first crisp, slightly chewy bite makes everyone raise an eyebrow (in the best way). Keep a towel handy—these get sticky, and you’ll want to lick the spatula. No judgment here.
Quick Facts
- Yield: Serves 9
- Prep Time: 15 minutes
- Cook Time: 10 minutes
- Total Time: 55 minutes (including 30 minutes chill)
Why This Recipe is Awesome
This recipe takes the childhood comfort of cereal-and-marshmallow treats and elevates it with nutty, caramelized browned butter and silky dulce de leche. You get crispy, glossy edges, chewy centers, and a hit of caramel sweetness that keeps you reaching for one more. It’s flaky sea salt, toasted aroma, and sticky-good texture all in one pan — so easy even your most skeptical friend will ask for the recipe.
Ingredients
For the Main Dish:
- 6 tbsp (3 oz) unsalted butter (for browning)
- 1/2 tsp fine sea salt (plus more for garnish)
- 10 oz mini marshmallows (about 4 cups)
- 6 cups crispy rice cereal (Rice Krispies)
- 1 tsp vanilla extract
- Nonstick spray or 1 tbsp softened butter to grease the pan
For the Sauce / Garnish (if applicable):
- 3/4 cup dulce de leche (store-bought or homemade)
- Flaky sea salt, for finishing
- Optional: 1/2 cup chopped toasted pecans or a handful of mini chocolate chips
How I Make It
Step 1:
Grab a medium saucepan and melt 6 tbsp unsalted butter over medium heat. Stir constantly with a wooden spoon or heatproof spatula as the butter foams, then clears, then starts to brown. Watch closely—about 5–7 minutes—and sniff for a warm, nutty aroma. When you see tiny brown bits and the smell turns toasty, immediately pull the pan off the heat. That scent? That’s your golden ticket.
Step 2:
Return the pan to very low heat and add the marshmallows to the browned butter. Stir constantly until the marshmallows melt into a glossy, golden pool—about 2–3 minutes. Add 1 tsp vanilla and 1/2 tsp salt and stir. Tip: if the marshmallows start to seize or clump, lower the heat; scorch marks ruin the flavor fast.
Step 3:
Pour the melted marshmallow mixture over 6 cups of cereal in a large bowl. Fold with a spatula until every flake gets coated. You want thorough coating but don’t pulverize the cereal—gentle, confident folds keep things airy and crunchy. If you’re adding chopped nuts or chocolate, fold them in now.
Step 4:
Lightly grease a 9×9-inch pan with nonstick spray or softened butter. Transfer half the cereal mixture into the pan and press gently to an even layer with a buttered spatula. Spoon 3/4 cup dulce de leche in blobs across the layer and use a knife to swirl it slightly. Top with the remaining cereal mix and press again—don’t pack it too tight; the treats should stay slightly pillowy. Let the pan sit at room temperature for 30 minutes or pop it in the fridge to firm faster.
Step 5:
Once set, lift the slab from the pan, place it on a cutting board, and sprinkle lightly with flaky sea salt. Cut into 9 squares with a sharp knife (wipe the blade between cuts for clean edges). Serve immediately, or wrap individually for a sweet snack later. The dulce streaks look gorgeous and the surface should shimmer slightly where the marshmallow met the butter.
Pro Tips
- Brown the butter in a light-colored pan so you can see the color change and the tiny brown specks. They signal flavor perfection.
- Don’t over-press the cereal into the pan; press just enough to form a stable slab. Overpacking makes dense, tough bars.
- If your dulce de leche is too thick, microwave it for 10–15 seconds to loosen for easier swirling.
- Want extra caramel flavor? Stir 1/2 tsp of sea salt into the melted marshmallow for a salted-caramel kick.
Common Mistakes to Avoid
- Skipping preheating: Classic rookie move. It changes texture and bake time.
- Overmixing: Leads to dense or chewy results. Mix until just combined.
- Guessing cook time: Always use visual cues or a timer, not just vibes.
- Overcrowding pans: Give your food some breathing room to crisp properly.
Alternatives & Substitutions
- Use gluten-free crispy rice cereal to make these gluten-free; texture stays similar.
- Swap dulce de leche for warmed peanut butter for a nutty twist (adds richness and a firmer set).
- For dairy-free: use vegan butter or 3 tbsp coconut oil + vegan marshmallows—expect a different, slightly fruitier fat note.
- Replace mini marshmallows with 9 oz regular marshmallows if you don’t have minis; measure by weight.
Variations & Tips
- Spicy: add a pinch of cayenne with the salt for a chili-caramel surprise.
- Nutty: fold in 1/2 cup toasted pecans or almonds for crunch and toasty flavor.
- Chocolate-drizzle: melt 1/2 cup chocolate chips and drizzle over cooled bars for a candy-bar vibe.
- Kiddie-friendly: skip the sea salt and dark chocolate; add sprinkles during the press for party bars.
- Espresso: stir 1/2 tsp instant espresso into the browned butter for a mocha nuance.
- Creative twist: sprinkle crushed pretzels on top before chilling for salty crunch and texture contrast.
FAQ (Frequently Asked Questions)
- Can I make this ahead of time?
- Yes! Store airtight at room temperature for up to 3 days. For longer storage, freeze in a sealed container with parchment between layers for up to 1 month. Thaw at room temperature.
- Can I double the recipe?
- Sure thing. Use a 9×13 pan and increase cereal to 12 cups and marshmallows to 20 oz. You’ll still brown the butter in the same way; just use a larger pan or two batches to avoid crowding.
- Can I substitute butter with oil?
- Technically yes, but you’ll miss that buttery magic. Use ¾ the amount of oil (4.5 tbsp) and expect less nutty, toasted notes.
- How do I know it’s done?
- Look for a glossy, evenly coated surface that dulls slightly as it cools, and edges that hold shape when touched. The center should feel set but still slightly springy, not gooey.
- What if I don’t have ingredient X?
- If you lack dulce de leche, warm 1/2 cup brown sugar with 2 tbsp heavy cream in a saucepan for a quick caramel substitute. If you lack vanilla, skip it—the bars still taste great.
How I Like to Serve It
I love these on a coffee table with a pot of strong coffee or a glass of cold milk. They brighten a lunchbox and look fancy on a dessert tray at potlucks. In winter, I tuck them into cookie boxes for neighbors; in summer, I pair them with big iced lattes. They work for weekday treats and weekend show-offs alike.
Notes
- Store at room temperature in an airtight container for up to 3 days.
- If you make a savory version with nuts, remember nuts toast quickly—watch them at 350°F if you roast separately (about 6–8 minutes).
Final Thoughts
Closing: Now go impress someone — or just yourself — with your homemade masterpiece!