
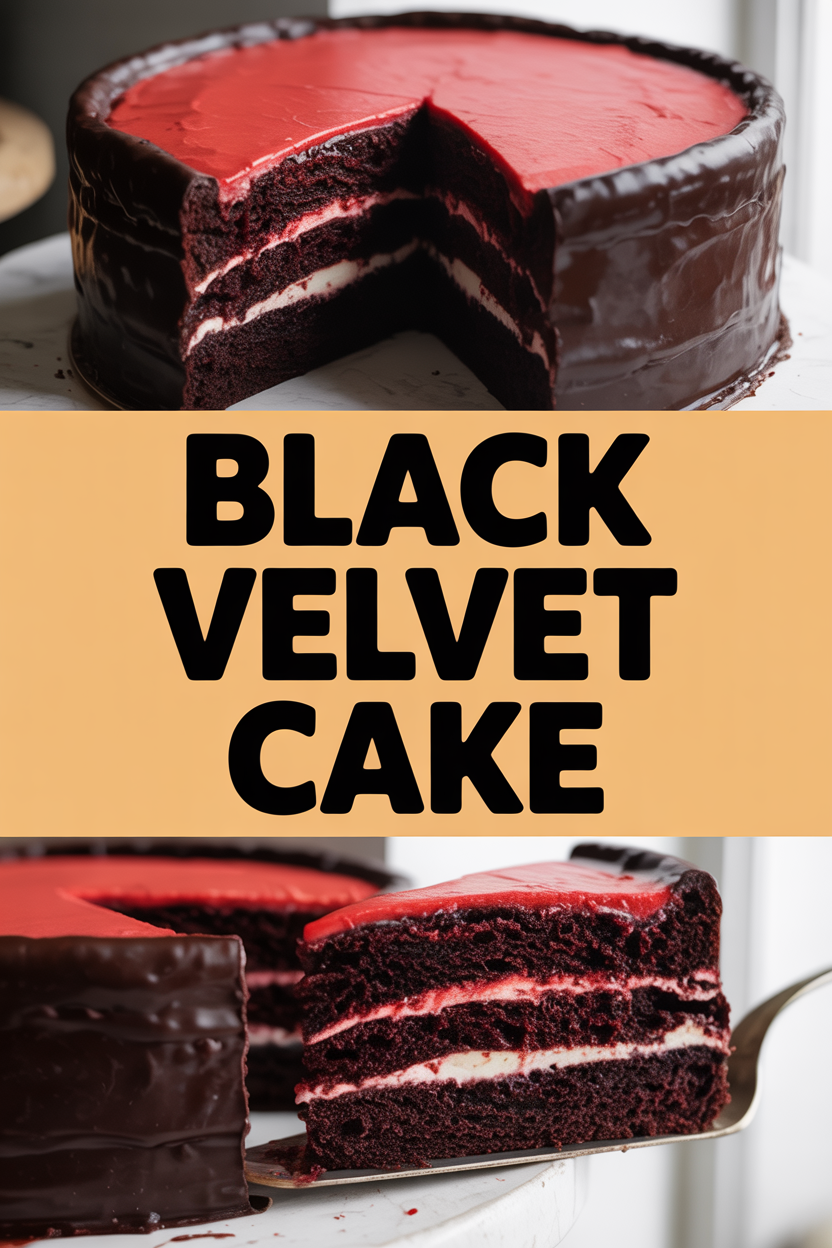
When I think of Black Velvet Cake, I picture my grandmother’s tiny kitchen where the light turned everything a little golden and the whole house smelled like cocoa and butter. She loved dramatic desserts — the darker, the better — so she called this her “midnight party” cake and made it for birthdays and rainy afternoons. I still remember the way the batter looked almost ink-black as I stirred it, and how the first slice revealed a moist, tender crumb that tasted like a cozy campfire wrapped in chocolate. Making this cake feels like passing along a little ritual: deep color, velvet texture, and a frosting that makes people stop mid-conversation.
Quick Facts
- Yield: Serves 10–12
- Prep Time: 20 minutes
- Cook Time: 28–32 minutes per 9-inch layer
- Total Time: 1 hour 30 minutes (including cooling and frosting)
Why This Recipe is Awesome
This cake gives you that show-stopping, almost-black color without complicated ingredients. It delivers a tender, velvety crumb, a deep cocoa flavor with a hint of espresso, and a frosting that balances sweet and tangy perfectly. It’s dramatic enough for a party and cozy enough for a Tuesday night — plus it’s so forgiving even your oven can’t mess it up if you follow a couple of simple cues.
Ingredients
For the Main Dish:
- 2 cups all-purpose flour
- 2 cups granulated sugar
- 3/4 cup unsweetened cocoa powder (Dutch-process for darkest color)
- 2 tsp baking powder
- 1 1/2 tsp baking soda
- 1 tsp fine salt
- 1 cup buttermilk, room temp (or 1 cup milk + 1 tbsp lemon juice, rested 5 minutes)
- 3/4 cup vegetable oil
- 2 large eggs, room temp
- 2 tsp pure vanilla extract
- 2 tbsp espresso powder dissolved in 2 tbsp hot water (optional — perks up chocolate)
- 2 tbsp black cocoa powder or 1 tbsp black food coloring (optional for extra black)
For the Frosting:
- 1 cup unsalted butter, softened
- 8 oz cream cheese, softened
- 4 cups powdered sugar, sifted
- 1/4 cup unsweetened cocoa powder (optional for mocha frosting)
- 2 tsp vanilla extract
- Pinch of fine salt
- 2–3 tbsp heavy cream or milk to loosen if needed
How I Make It
Step 1:
Preheat the oven to 350°F. Grease two 9-inch round pans and line the bottoms with parchment. Whisk together the flour, sugar, cocoa, baking powder, baking soda, and salt in a large bowl until the mix looks uniform and the cocoa breaks up into fine flecks. That dry-chocolate scent already starts to lift your mood — I swear it does.
Step 2:
In a separate bowl, whisk the buttermilk, oil, eggs, vanilla, and the dissolved espresso. Pour the wet ingredients into the dry and fold gently with a spatula. Stop when the batter looks smooth but still a little loose — overmixing will rob the cake of its velvet texture. The batter should fall off the spatula in thick ribbons and gleam a deep, glossy black.
Step 3:
Divide the batter between the pans and tap them lightly on the counter to release air bubbles. Slide the pans into the oven and bake for 28–32 minutes, rotating halfway if your oven runs hot. You’ll smell chocolate and see the tops crack just a hair when they near done. Stick a toothpick in the center — when it comes out with a few moist crumbs, the cake has reached that perfect tender stage. If the toothpick comes out wet, bake another 2–4 minutes and check again.
Step 4:
Cool the cakes in the pans for 10 minutes, then run a knife around the edges and transfer to a wire rack to cool completely. While the cakes cool, beat the butter and cream cheese until fluffy, then add the powdered sugar, cocoa (if using), vanilla, and salt. Add cream a tablespoon at a time until the frosting spreads like silk. Taste and adjust sweetness — this frosting mellows the deep chocolate and adds a little tang that keeps things from feeling cloying.
Step 5:
Set one layer on a plate, spread a thick, even layer of frosting, then top with the second layer and crumb-coat the outside. Chill 15 minutes, then finish frosting smoothly or swirl with a spatula for a rustic look. Let the cake rest at least 30 minutes before slicing so the frosting sets and the flavors settle. When you cut a slice, you should see a moist, velvet crumb and smell concentrated cocoa — almost like walking into a cozy chocolate shop.
Pro Tips
- Room-temp eggs and buttermilk help the batter emulsify — cold ingredients give you uneven texture.
- If you want the deepest black without food coloring, use Dutch-process cocoa plus a spoon of black cocoa for drama.
- Use espresso (even a little) to amplify chocolate flavor without tasting like coffee.
- Chill the frosted cake briefly for cleaner slices — a warm slice smears frosting everywhere.
Common Mistakes to Avoid
- Skipping preheating: Classic rookie move. It changes texture and bake time.
- Overmixing: Leads to dense or chewy results. Mix until just combined.
- Guessing cook time: Always use visual cues or a timer, not just vibes.
- Overcrowding pans: Give your food some breathing room to crisp properly.
Alternatives & Substitutions
- Buttermilk substitute: 1 cup milk + 1 tbsp lemon juice, wait 5 minutes — still tender and tangy.
- Butter for oil: swap for the same amount melted butter for a richer flavor (will brown more). Expect slightly firmer crumb.
- Make it gluten-free: use a 1:1 gluten-free flour blend with xanthan gum; the crumb may be a touch more crumbly but still delicious.
- Dairy-free: use plant-based cream cheese and vegan butter; the frosting changes texture slightly but keeps great flavor.
Variations & Tips
- Add a layer of raspberry jam between the cakes for a bright, tart contrast.
- Stir in 1/2 cup chopped toasted pecans for a nutty crunch in the batter.
- Make cupcakes instead: bake 20–22 minutes in a 12-cup muffin tin.
- Turn it into a molten center cake: press a piece of chocolate ganache into the center before baking (reduce bake time slightly).
- For a kid-friendly twist, top with colorful sprinkles or mini marshmallows instead of a dark finish.
- Decorate with cocoa-dusted strawberries for an elegant finish.
FAQ (Frequently Asked Questions)
- Can I make this ahead of time?
- Yes! Bake the layers a day ahead, wrap tightly, and keep at room temp. Frost the next day for the freshest look. You can also freeze unfrosted layers for up to 2 months; thaw overnight in the fridge before frosting.
- Can I double the recipe?
- Sure thing. Use two sets of pans or bake in batches. If you double and use a 9×13 pan, check after 35–45 minutes — larger pans need longer, lower heat sometimes helps avoid burnt edges.
- Can I substitute butter with oil?
- Technically yes, but you’ll miss that buttery magic. Use ¾ the amount of oil if you swap, and expect a slightly different mouthfeel (oil gives a moister crumb).
- How do I know it’s done?
- When the top springs back slightly, the edges pull away from the pan just a bit, and a toothpick comes out with a few moist crumbs, the cake is ready. Don’t wait for a completely dry toothpick — that overbakes the cake.
- What if I don’t have ingredient X?
- No drama: swap black cocoa for extra Dutch-process cocoa, or skip the espresso and add an extra teaspoon of vanilla. A little lemon in place of buttermilk (see above) works perfectly in a pinch.
How I Like to Serve It
I serve this cake with a cup of strong coffee or a dollop of vanilla ice cream on the side. It shines at birthdays, book clubs, and holiday tables — when people want a dessert that looks fancy but tastes like home. During holidays, I add candied orange zest on top; in summer, fresh berries brighten every bite.
Notes
- Store frosted cake at room temp for up to 24 hours, then refrigerate; bring to room temp before serving for best texture.
- To reheat individual slices, warm for 8–10 seconds in the microwave for a slightly molten center.
Final Thoughts
Closing: You’ve got the recipe, the tips, and the little kitchen memories — now go bake something beautifully midnight-dark and share it with people who appreciate dramatic desserts. Go impress someone — or just yourself — with your homemade masterpiece!