
Chef’s secret time: I found this trick the hard way after too many dry chicken dinners—coat the breasts in a little melted butter, press on a crunchy panko-ranch crust, and bake at a hot temperature so the outside crisps while the inside stays juicy. I promised myself I’d never serve sad chicken again, and this recipe became my go-to when I need something fast, flavorful, and reliably comforting. I’ll share the tiny technique that made my oven behave like a pro chef: high heat, a buttery bind for the crumbs, and patience to let the chicken rest. You’ll smell garlic and herbs and think you’re in a cozy bistro, not your own kitchen.
Quick Facts
- Yield: Serves 4
- Prep Time: 10 minutes
- Cook Time: 22 minutes
- Total Time: 32 minutes
Why This Recipe is Awesome
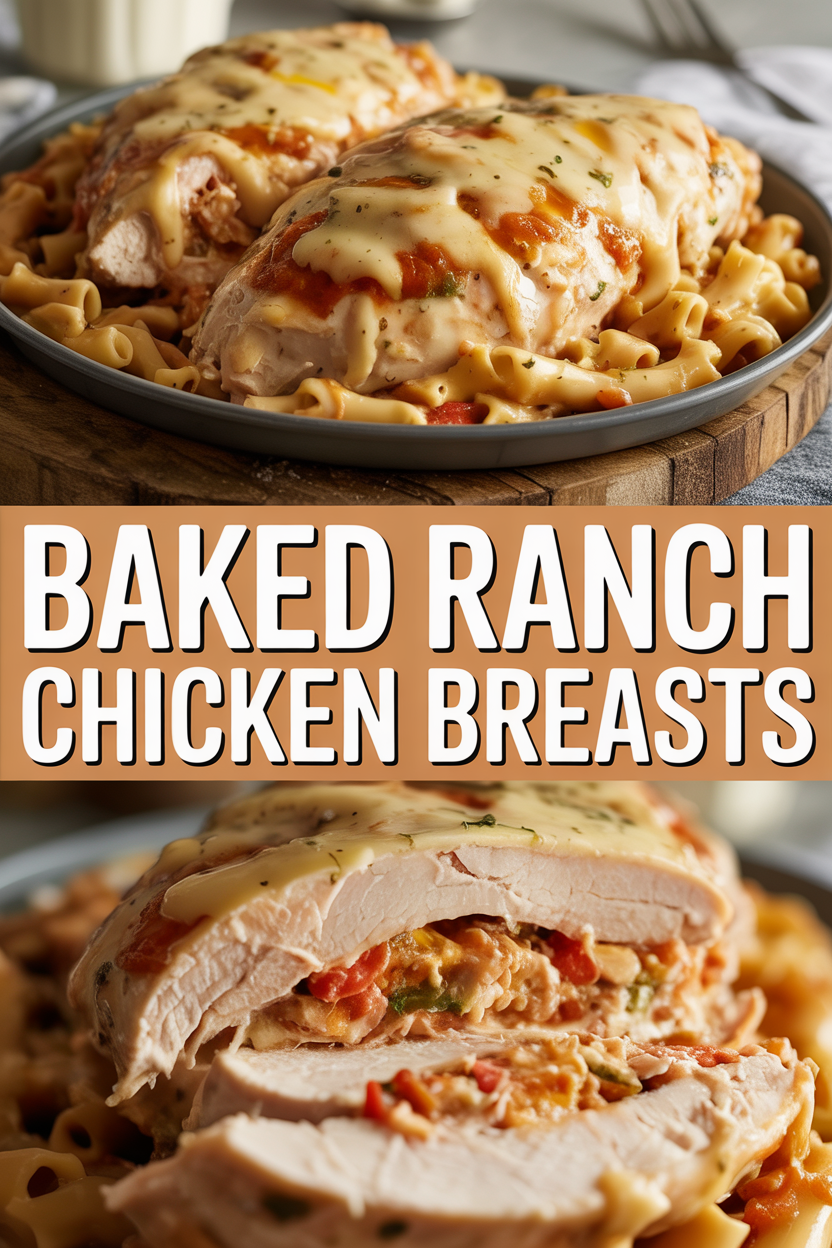
This baked ranch chicken delivers a crispy, golden exterior and a juicy, tender interior every time. It tastes bright from the herbs, a little tangy from the ranch, and ridiculously comforting thanks to a buttery crunch. It’s so easy even your oven can’t mess it up, and it makes dinner feel like you actually planned something impressive. Who doesn’t love crispy edges and a juicy center? Plus, you can toss it in salads, shred it for wraps, or serve it as the main event.
Ingredients
For the Main Dish:
- 4 boneless, skinless chicken breasts (about 6–7 oz each)
- 1 packet (1 oz) ranch seasoning mix
- 3/4 cup panko breadcrumbs
- 2 tbsp olive oil
- 2 tbsp melted butter
- 1 tsp garlic powder
- 1 tsp paprika (smoked paprika if you like smoky notes)
- 1/2 tsp salt and 1/4 tsp black pepper (adjust to taste)
- Cooking spray or a little extra olive oil for the pan
For the Sauce / Garnish (optional):
- 1/2 cup ranch dressing for serving
- 1 tbsp chopped fresh parsley or chives
- 1 lemon, cut into wedges (optional, for squeezing)
How I Make It
Step 1:
I preheat the oven to 400°F so it comes up hot and ready; that heat gives me a crisp exterior while keeping the inside juicy. I pat the chicken dry with paper towels (dry meat browns better), then season both sides with a sprinkle of salt and pepper.
Step 2:
In a shallow bowl I mix panko, the ranch seasoning, garlic powder, and paprika. In another small bowl I whisk together the melted butter and olive oil. I brush each breast lightly with the butter-oil mix—this helps the crumbs stick and adds that lovely browned flavor.
Step 3:
I press each buttered chicken breast into the panko-ranch mix, coating firmly so the crumbs adhere. You’ll hear a faint crackle when the crust hits the hot pan—music to my ears. I spray a rimmed baking sheet with cooking spray (or drizzle a little oil) and place the breasts spaced apart so the air can circulate.
Step 4:
I slide the tray into the oven and bake for about 20–25 minutes, depending on thickness. I start checking at 18 minutes. I use an instant-read thermometer and pull the chicken when it hits 165°F in the thickest part. Look for golden-brown edges and a crunchy top—if you see that, you’re golden.
Step 5:
I let the chicken rest for 5 minutes before slicing so the juices redistribute. I sprinkle chopped parsley for color and serve with lemon wedges and extra ranch on the side for dipping. That first cut releases steam and smells heavenly—herbs, butter, and that toasted panko aroma.
Pro Tips
- If breasts vary in thickness, gently pound them to an even 3/4–1 inch so they cook evenly and you avoid dry edges.
- Use an instant-read thermometer—I trust it more than time alone. Aim for 165°F in the center, then rest 5 minutes to let it finish.
- For extra crunch, broil for 1–2 minutes at the end (watch closely) until the top bubbles and browns.
- Low on panko? Use crushed cornflakes or gluten-free breadcrumbs for a crisp alternative.
Common Mistakes to Avoid
- Skipping preheating: Classic rookie move. It changes texture and bake time.
- Overmixing: Leads to dense or chewy results. Mix until just combined.
- Guessing cook time: Always use visual cues or a timer, not just vibes.
- Overcrowding pans: Give your food some breathing room to crisp properly.
Alternatives & Substitutions
- Swap chicken for firm tofu (press it dry first). Tofu absorbs flavors differently and yields a firmer bite—good for vegetarians.
- Use Greek yogurt in a thin smear under the panko for tang and moisture (cuts calories versus butter). It give a creamier bite and slightly tangy crust.
- For dairy-free: replace butter with olive oil and use dairy-free ranch seasoning and dressing. The crust stays crispy but loses that buttery magic.
- For gluten-free: use certified gluten-free panko or crushed rice cereal instead of regular panko.
Variations & Tips
- Spicy: Add 1/2 tsp cayenne or swap paprika for chipotle powder for a smokier heat.
- Kid-friendly: Skip the lemon and serve with honey mustard or extra ranch for dipping—the crispy texture wins kids over.
- Herb-forward: Fold 1 tbsp chopped fresh dill or basil into the panko for a bright, herbal flavor.
- Cheesy top: Sprinkle 1/3 cup shredded cheddar or Parmesan over the crust in the last 5 minutes of baking for melty goodness.
- Sheet-pan meal: Roast baby potatoes and broccoli alongside the chicken (keep space between items) for an all-in-one dinner.
- Creative twist: Mix some honey and Dijon into the melted butter before brushing for a sweet-savory glaze that caramelizes beautifully.
FAQ (Frequently Asked Questions)
- Can I make this ahead of time?
- Yes! You can prep the crumb mixture and brush the breasts ahead of time, then cover and refrigerate for up to 24 hours. Bake from chilled and add a few extra minutes if needed. Store cooked chicken in an airtight container for up to 3 days and reheat gently in a 350°F oven to keep the crust from getting soggy.
- Can I double the recipe?
- Sure thing. Use two baking sheets or bake in batches so you don’t overcrowd the pan; crowded pans steam instead of crisp, so timing may vary slightly.
- Can I substitute butter with oil?
- Technically yes, but you’ll miss that buttery magic. Use 3/4 the amount of oil and consider adding a touch of lemon zest to mimic brightness.
- How do I know it’s done?
- You’ll see a golden, crunchy top and the juices will run clear when you slice slightly. The best test: an instant-read thermometer at the thickest part reads 165°F.
- What if I don’t have ingredient X?
- Out of panko? Crush plain potato chips, cornflakes, or use regular breadcrumbs. No ranch packet? Use 1 tbsp dried parsley + 1 tsp onion powder + 1/2 tsp dried dill + a pinch of salt and garlic powder as a quick swap.
How I Like to Serve It
I love this chicken on a bed of buttery mashed potatoes with steamed green beans for a cozy weeknight meal. It also shines sliced over a crisp salad with extra ranch and a squeeze of lemon for lunch. For casual entertaining, I slice it and lay it out on a platter with roasted veggies and crusty bread — guests always go back for seconds.
Notes
- Store leftovers in the fridge up to 3 days. Reheat in a 350°F oven for 8–10 minutes to refresh the crust.
- Safe cooking temp for chicken: 165°F. Rest 5 minutes before slicing.
Final Thoughts
Closing: Now go impress someone — or just yourself — with your homemade masterpiece!