
Okay, confession time: I get a little giddy about donuts. When I smell warm yeast and frying oil, I practically hear a childhood soundtrack — the glazed ones from the drive-thru that made Saturday mornings feel sacred. Today I’m sharing my take on those pillowy, mirror-glazed beauties so you can make Homemade Krispy Kremes in your own kitchen. I promise they’ll puff up, turn a gorgeous golden hue, and get that first-sugar-shock glaze that makes you close your eyes and grin. These are soft, slightly chewy, and so sweet they practically beg for a coffee companion. Grab your apron—this is going to be fun.
Quick Facts
- Yield: Serves 6 (makes 12 donuts)
- Prep Time: 30 minutes
- Cook Time: 20 minutes (frying, in batches)
- Total Time: 1 hour 40 minutes (including rises)
Why This Recipe is Awesome
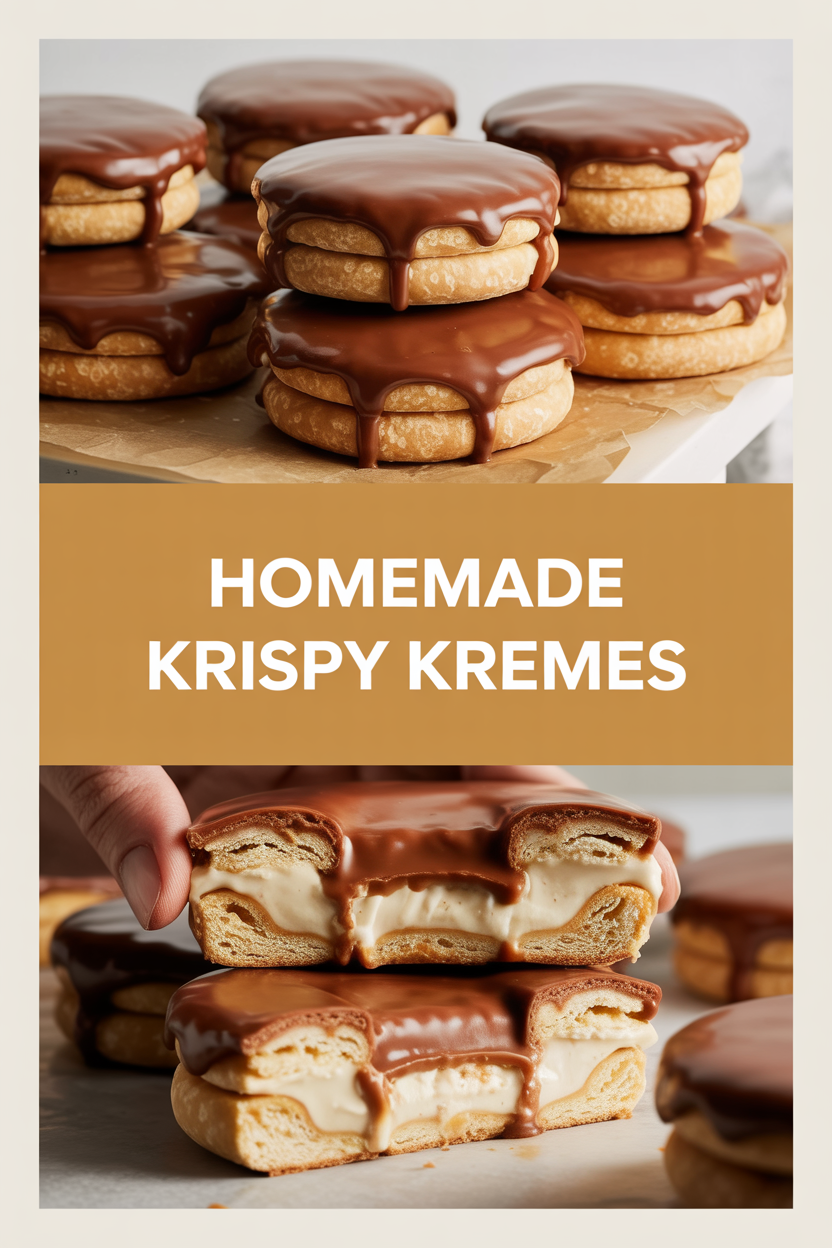
This recipe gives you light, airy yeast donuts with a glossy, crackly glaze that snaps when you bite into it. The texture walks a sweet line between pillowy and slightly chewy, and the glaze soaks into the top just enough to make a buttery sugar halo. It’s homey but impressive—so easy even your impatient cousin can’t ruin it. Expect warm, yeasty smells, the sizzle of oil, and a kitchen that smells like a bakery by the time you finish.
Ingredients
For the Main Dish:
- 4 cups all-purpose flour (plus extra for dusting)
- 1/4 cup granulated sugar
- 1 tsp fine salt
- 2 1/4 tsp active dry yeast (one envelope)
- 1 cup whole milk, warmed to 110–115°F
- 2 large eggs, room temperature
- 4 tbsp unsalted butter, softened
- 2 tbsp vegetable oil (for the dough)
- Neutral frying oil (vegetable, canola, or peanut), about 4 cups depending on your pot
- 1 tsp vanilla extract
For the Glaze:
- 3 cups powdered sugar, sifted
- 1/3 cup whole milk (more if needed)
- 1 tsp vanilla extract
- Pinch of salt
How I Make It
Step 1:
Warm the milk to 110–115°F (it should feel like a warm bath). Sprinkle the yeast over the milk and let it sit for 5 minutes until frothy. In a bowl, whisk together 4 cups flour, 1/4 cup sugar, and 1 tsp salt. Add the yeasted milk, 2 eggs, 2 tbsp oil, and 1 tsp vanilla. Stir until a shaggy dough forms.
Step 2:
Turn the dough onto a lightly floured surface and knead in 4 tbsp softened butter until smooth and elastic, about 8–10 minutes by hand (or 5–6 minutes with a stand mixer). The dough should feel soft and slightly tacky but not sticky. Place it in a lightly oiled bowl and cover with plastic wrap or a kitchen towel.
Step 3:
Let the dough rise in a warm spot until it doubles, about 45–60 minutes. You’ll smell sweet yeast and see big, pillowy bubbles—those are your cues. Gently punch the dough down and roll it to about 1/2-inch thickness. Use a 3-inch cutter for the donut and a 1-inch cutter for the hole, saving scraps to re-roll. Lay the cut donuts on parchment and let them rise again for 20–30 minutes until puffy.
Step 4:
Heat oil to a steady 350°F in a heavy pot or deep fryer. Fry the donuts in batches, flipping once, for about 60–90 seconds per side or until golden brown. Use a slotted spoon and drain on a wire rack set over a sheet pan. The kitchen will fill with a warm, buttery-sweet aroma—proceed with napkins and self-control.
Step 5:
Whisk together 3 cups powdered sugar, 1/3 cup milk, 1 tsp vanilla, and a pinch of salt until smooth. Dip warm donuts into the glaze, flipping to coat, then set back on the rack to let the glaze harden just slightly. The glaze will crackle and harden into a glossy shell—perfect for that classic first-bite crackle.
Pro Tips
- Use an instant-read thermometer to keep the oil at 350°F. Too hot browns the outside before the inside cooks; too cool makes greasy donuts.
- If your dough feels sticky, chill it briefly for 10 minutes. Sticky dough leads to misshapen donuts.
- Don’t overcrowd the fryer. Fry in small batches so the oil temperature returns to 350°F quickly.
- Want perfectly round donuts? Freeze cut donuts for 10 minutes before frying so they hold their shape.
Common Mistakes to Avoid
- Skipping preheating: Classic rookie move. It changes texture and bake time.
- Overmixing: Leads to dense or chewy results. Mix until just combined.
- Guessing cook time: Always use visual cues or a timer, not just vibes.
- Overcrowding pans: Give your food some breathing room to crisp properly.
Alternatives & Substitutions
- Use 1:1 gluten-free all-purpose flour blend for a gluten-free option—texture changes slightly (more crumbly), so handle gently.
- Swap whole milk for unsweetened almond milk for a dairy-free glaze; the donut dough benefits from whole milk but still works with plant milk.
- Replace butter with ¾ the amount of neutral oil in the dough if needed—your texture will change a bit.
- Use instant yeast in place of active dry by reducing by 25% (follow package directions); rise times may shorten.
Variations & Tips
- Chocolate-glazed: Add 1/2 cup cocoa and 2 tbsp melted butter to the glaze for a chocolate mirror coat.
- Cinnamon sugar: Toss hot donuts in a mix of 1/2 cup sugar and 2 tsp cinnamon instead of glazing.
- Filled donuts: Use a piping bag to fill cooled donuts with pastry cream, jam, or chocolate ganache.
- Mini donuts: Use a small cutter and fry for 30–45 seconds per side for adorable bite-sized treats.
- Maple glaze twist: Replace vanilla with 1 tbsp maple syrup in the glaze for a cozy flavor bump.
FAQ (Frequently Asked Questions)
- Can I make this ahead of time?
- Yes! You can make the dough the night before and refrigerate after the first rise; bring it to room temp and finish the second rise before cutting. Store glazed donuts in an airtight container at room temperature for 1–2 days. Reheat briefly in a warm oven (300°F) for 3–4 minutes if you want them warm again.
- Can I double the recipe?
- Sure thing. Use a larger bowl and split the dough into two pans for rising so it heats evenly. Fry in more batches to avoid temperature drop in the oil.
- Can I substitute butter with oil?
- Technically yes, but you’ll miss that buttery magic. Use ¾ the amount of oil.
- How do I know it’s done?
- Donuts should be golden brown and puffed. They’ll feel light when you lift them and the internal texture will be airy—not dense. When you press the top lightly, it should spring back.
- What if I don’t have ingredient X?
- No yeast? Try baking powder for quick fried donuts (they’ll be denser). No milk? Use water with a splash of melted butter or plant milk for richness.
How I Like to Serve It
I love these warm with a strong cup of black coffee or a sweet latte. Serve them on a weekend brunch board with fresh fruit and scrambled eggs for contrast. Bring them to potlucks and watch them disappear—everyone goes for the shiny glaze first. They make Saturday mornings feel a little more celebratory, honestly.
Notes
- Store leftovers in an airtight container at room temperature up to 2 days; refresh in a 300°F oven for 3–4 minutes.
- If making with meat fillings (not typical for this recipe), cook until internal temp reaches 165°F for safety. (Not applicable to classic glazed donuts.)
Final Thoughts
Closing: Now go impress someone — or just yourself — with your homemade masterpiece!