
I still remember the thick, sweet smell that used to fog up my mom’s kitchen every December when she made fudge. We’d crowd around the counter, cheeks pink from the oven’s leftover heat, and I’d press my nose near the pot as the sugar bubbled and the chocolate melted into a glossy, velvet river. Old-fashioned fudge feels like that—simple, ceremonious, and somehow magical. I learned to stir slowly, watch for the telltale roiling boil, and listen for the change in the sound of the bubbling. This recipe captures that nostalgia with straightforward ingredients and the classic soft-ball finish. Grab a wooden spoon, an 8×8 pan, and let’s make something that’ll smell like home.
Quick Facts
- Yield: Serves 24–36 (about 2 lbs, depending on square size)
- Prep Time: 10 minutes
- Cook Time: 10–15 minutes (to soft-ball stage)
- Total Time: ~30 minutes active + 2 hours cooling
Why This Recipe is Awesome
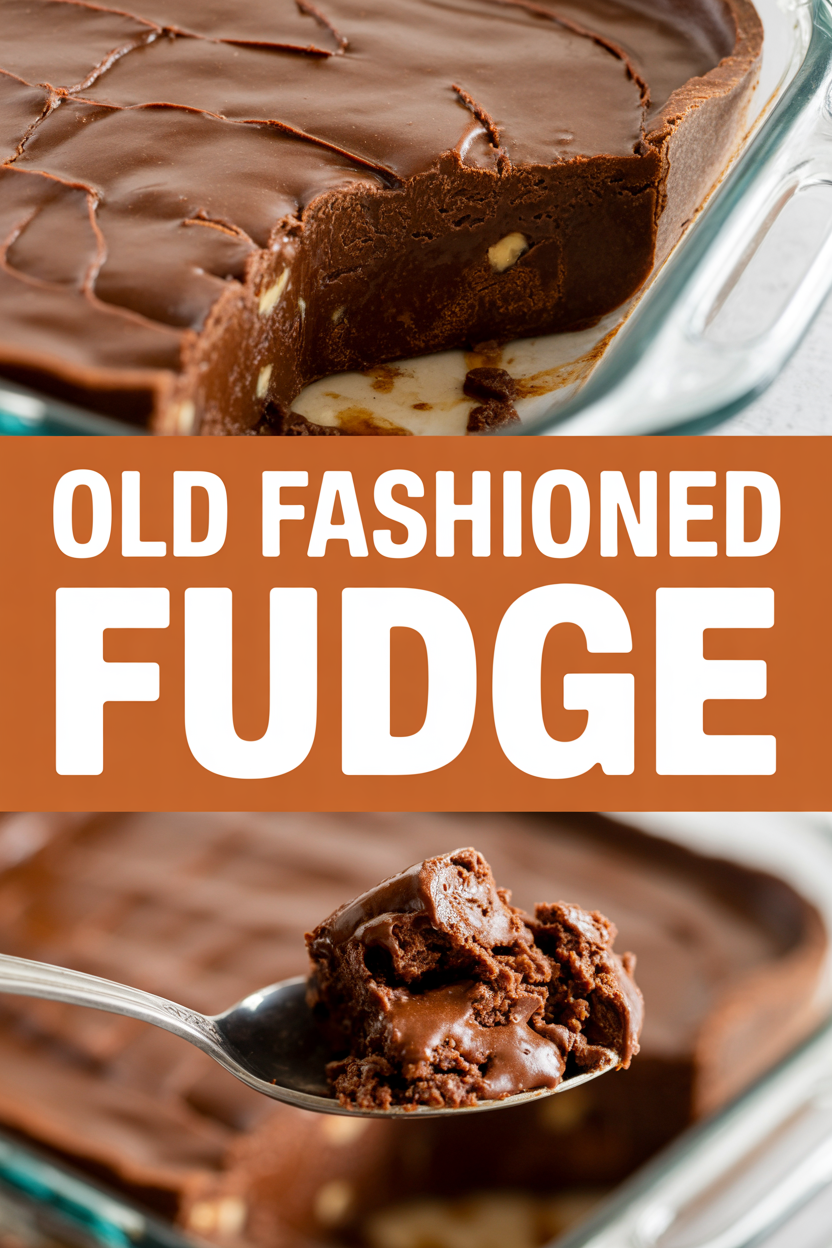
This old-fashioned fudge tastes like a warm kitchen memory—rich chocolate, a buttery mouthfeel, and that slightly grainy, melt-in-your-mouth texture only real fudge delivers. It’s forgiving for home cooks, uses pantry staples, and rewards patience with glossy, sliceable squares. It’s so easy even your oven can’t mess it up (there’s no oven involved). Who doesn’t love biting into a little square of nostalgia?
Ingredients
For the Main Dish:
- 3 cups granulated sugar
- 1 cup evaporated milk
- 1/2 cup whole milk
- 1/2 cup (1 stick) unsalted butter
- 2 tbsp light corn syrup (helps prevent graininess — optional but recommended)
- 12 oz semisweet chocolate chips (or chopped bittersweet chocolate)
- 1 tsp vanilla extract
- 1/2 tsp fine salt
- 1/2 cup chopped pecans or walnuts (optional)
For the Sauce / Garnish (if applicable):
- Optional: flaky sea salt for sprinkling or a swirl of peanut butter for a twist
How I Make It
Step 1:
Line an 8×8-inch pan with foil and butter the foil. In a heavy-bottomed saucepan, combine the **3 cups granulated sugar**, **1 cup evaporated milk**, **1/2 cup whole milk**, **1/2 cup butter**, and **2 tbsp corn syrup**. I heat on medium and stir just until the butter melts and the sugar dissolves. The smell will go from sweet to toasty—trust me, that’s when you pay attention.
Step 2:
Turn the heat up slightly so the mixture reaches a rolling boil. Clip a candy thermometer to the pan and boil, stirring occasionally, until the mixture reaches the soft-ball stage, 234–240°F. This usually takes about 10–15 minutes. Watch for the way the boil changes—the bubbles grow bigger and slower, and the sound deepens. Don’t wander off; sugar can go from perfect to burnt fast.
Step 3:
Remove the pan from heat immediately when it hits 234–240°F. Stir in **12 oz chocolate chips**, **1 tsp vanilla**, and a pinch of **salt**. The chocolate will melt into the hot syrup and brighten the aroma—think warm cocoa and caramel. If you’re adding **nuts**, fold them in now.
Step 4:
Beat the mixture with a wooden spoon or a heavy-duty stand mixer on low until it thickens and loses a glossy sheen—about 5–10 minutes by hand. You’ll feel the texture change: it goes from syrupy to fudgy and holds a trail on the spoon. That’s your “ready” cue. Quickly scrape it into the prepared pan and smooth the top with a spatula. Sprinkle with flaky sea salt or an extra handful of chopped nuts if you like.
Step 5:
Let the fudge cool at room temperature until set, about 2 hours. Don’t refrigerate immediately; cold will toughen the texture. Once firm, lift the foil out, peel it back, and cut into squares. Store in an airtight container layered with parchment between squares.
Pro Tips
- Use a candy thermometer: The soft-ball stage at 234–240°F makes or breaks texture. I don’t guess this one.
- A heavy pan helps: Use a thick-bottomed saucepan to prevent hot spots and burning.
- Beat until it changes texture: Don’t stop too early. When the mixture thickens and loses shine, you’ll know it’s ready to set.
- No thermometer? Do the water test: Drop a small amount in cold water—if it forms a soft ball you can shape with your fingers, you hit soft-ball stage.
Common Mistakes to Avoid
- Skipping preheating: Classic rookie move. It changes texture and bake time.
- Overmixing: Leads to dense or chewy results. Mix until just combined.
- Guessing cook time: Always use visual cues or a timer, not just vibes.
- Overcrowding pans: Give your food some breathing room to crisp properly.
Alternatives & Substitutions
- Swap **evaporated milk** for full-fat coconut milk to go dairy-free—expect a slight coconut aroma and creamier texture.
- Replace **butter** with coconut oil (use ¾ the amount) for a dairy-free option; you’ll lose a bit of that buttery magic.
- Use dairy-free chocolate chips to make the recipe vegan-friendly; texture stays similar but flavor shifts subtly.
- Fudge is naturally gluten-free, so no wheat swaps needed.
Variations & Tips
- Stir in **1/2 cup peanut butter** after removing from heat for a peanut-butter swirl.
- Add **1 tsp instant espresso** to the chocolate for a mocha fudge with depth.
- Mix in **1/2 cup dried cherries** and toasted almonds for a fruity, nutty version.
- Make salted caramel fudge: Pour a thin layer of caramel into the pan, add half the fudge, swirl, and top with the rest; sprinkle sea salt.
- For a kid-friendly treat, stir in **mini marshmallows** and colorful sprinkles after beating.
- Try dark-chocolate and orange zest for a fancy holiday spin.
FAQ (Frequently Asked Questions)
- Can I make this ahead of time?
- Yes! Make it up to two weeks ahead. Store in an airtight container at cool room temperature or in the fridge (bring to room temp before serving for best texture).
- Can I double the recipe?
- Sure thing. Use a larger (9×13) pan and a heavy, wide pot so the candy cooks evenly. You might need a few extra minutes to reach 234–240°F.
- Can I substitute butter with oil?
- Technically yes, but you’ll miss that buttery magic. Use ¾ the amount of oil and expect a slightly different mouthfeel.
- How do I know it’s done?
- Look for thickened, non-glossy fudge that holds a trail on your spoon. The candy thermometer should read **234–240°F** (soft-ball stage). The texture will firm as it cools.
- What if I don’t have ingredient X?
- If you don’t have corn syrup, skip it—your fudge may be a touch grainier but still delicious. No nuts? No problem—fudge tastes great plain or with chocolate chips stirred in.
How I Like to Serve It
I slice generous squares and pile them on a small plate with a steaming cup of coffee or a mug of cocoa. Fudge makes a perfect little after-dinner indulgence, a holiday neighbor gift, or a desk-side treat. It travels well to potlucks and brightens cookie trays in winter. For celebrations, I stack bite-sized cubes on a wooden board with fresh fruit and nuts for contrast.
Notes
- Store fudge in an airtight container at room temperature for up to 2 weeks, or refrigerate up to 3 weeks. Let come to room temp before serving for the best melt.
- If you happen to work with meat in the same session, remember safe temps: poultry cooks to 165°F. (Not relevant here, but good kitchen hygiene.)
Final Thoughts
Closing: Give this old-fashioned fudge a try—you’ll get rich, nostalgic flavor with a little bit of kitchen theater. Now go impress someone—or just yourself—with your homemade masterpiece!