
My grandma used to light the backyard fire pit every summer and hand out graham crackers like they were golden tickets. I remember the sticky thrill of toasted marshmallow strings clinging to my fingers and the way the chocolate melted into a glossy puddle between two warm crackers. These S’mores Ice Cream Sandwiches bottle that exact nostalgia — cold and creamy inside, slightly charred and chewy on the outside. I made these the first time on a rainy afternoon when a campfire felt impossible, and they instantly became my go-to comfort dessert for when I want summer in my mouth but winter outside.
Quick Facts
- Yield: Serves 8 (makes 8 sandwiches)
- Prep Time: 30 minutes (plus chilling)
- Cook Time: 12 minutes (cookies)
- Total Time: 3 hours 42 minutes (includes freezing)
Why This Recipe is Awesome
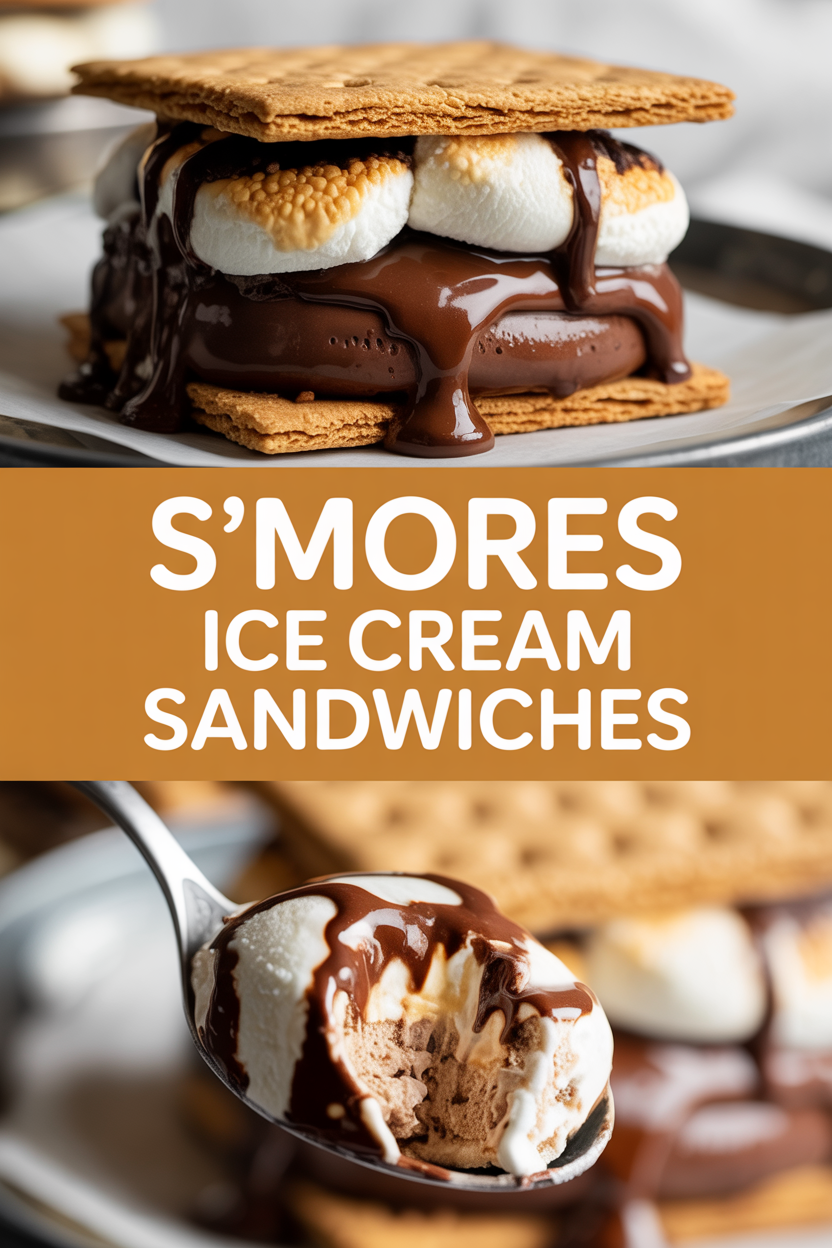
This recipe pairs warm, slightly crisp homemade chocolate cookies with cold, dreamy ice cream studded with buttery graham crumbs and pillowy marshmallows. The contrast of hot and cold, crunchy and melty, makes every bite feel like a backyard bonfire in your mouth. It’s easy enough for a weeknight treat but special enough for a party. And honestly? It’s so forgiving that even if your cookies spread a little, the flavors more than make up for it.
Ingredients
For the Main Dish:
- 1 cup (2 sticks) unsalted butter, softened
- 1 cup granulated sugar
- 1/2 cup brown sugar, packed
- 2 large eggs, room temperature
- 2 tsp vanilla extract
- 1 3/4 cups all-purpose flour
- 3/4 cup unsweetened cocoa powder
- 1 tsp baking soda
- 1/2 tsp salt
- 1 pint good-quality vanilla ice cream (about 2 cups), slightly softened
- 1 cup graham cracker crumbs (about 8 full crackers, crushed)
- 1 cup mini marshmallows
- 4 oz dark chocolate, chopped into small pieces or use chocolate squares
For the Sauce / Garnish (if applicable):
- Optional: extra mini marshmallows and chocolate shavings for topping or torching
How I Make It
Step 1:
Preheat your oven to 350°F. In a large bowl, cream 1 cup butter with 1 cup granulated sugar and 1/2 cup brown sugar until light and fluffy — watch the mix turn pale and smell buttery and sweet. Beat in the eggs one at a time, then stir in the vanilla. In another bowl, whisk together flour, cocoa, baking soda, and salt. Fold the dry mix into the wet until just combined; don’t overmix or the cookies lose their tender chew.
Step 2:
Scoop tablespoon-sized balls of dough onto a parchment-lined baking sheet, spaced about 2 inches apart. They spread happily, so give them room. Bake for 10–12 minutes until the edges look set and glossy centers dull slightly — you’ll hear a faint crackle when they cool. Let the cookies rest on the pan for 3 minutes, then transfer to a rack to cool completely. Pro tip: the cookies taste heavenly warm, but they must cool before sandwiching ice cream or they’ll melt everything.
Step 3:
While cookies cool, stir the softened vanilla ice cream with graham cracker crumbs, mini marshmallows, and the chopped dark chocolate. The ice cream should smell sweet and toasty from the grahams and show little flecks of chocolate. If the marshmallows stick together, toss them in a tablespoon of crumbs first to separate them.
Step 4:
Line a small baking sheet with parchment. Working quickly, scoop about 1/3 to 1/2 cup of the ice cream mixture onto the flat side of one cookie, then top with another cookie, pressing gently to spread the ice cream to the edges. You want a snug sandwich, not a smashed one. As you finish each sandwich, wrap it tightly in plastic wrap and arrange them on the tray. Freeze the tray for at least 3 hours until firm.
Step 5:
For the toasted-marshmallow finish, unwrap sandwiches just before serving. Drop a few extra mini marshmallows on top and use a kitchen torch to toast until golden and slightly charred (or place under a preheated broiler for 15–30 seconds while watching like a hawk). Serve immediately for ooey-gooey marshmallow tops, or keep them frozen and let sit 5 minutes before eating for easier slicing.
Pro Tips
- Freeze the wrapped sandwiches flat in a single layer first, then stack once solid — so they keep shape and don’t smear.
- If you don’t have a torch, use the broiler for quick toasting. Stay within arm’s reach — marshmallows burn fast.
- For firmer sandwiches, use slightly less ice cream per sandwich. For a soft, pillowy bite, add a touch more and press gently.
- Substitute graham crackers with crushed digestive biscuits or shortbread if you can’t find them; they change the flavor but keep the crunch.
Common Mistakes to Avoid
- Skipping preheating: Classic rookie move. It changes texture and bake time.
- Overmixing: Leads to dense or chewy results. Mix until just combined.
- Guessing cook time: Always use visual cues or a timer, not just vibes.
- Overcrowding pans: Give your food some breathing room to crisp properly.
Alternatives & Substitutions
- Swap the vanilla ice cream for chocolate or salted caramel for extra decadence; chocolate leans richer, caramel adds a buttery tang.
- Use store-bought chocolate chip cookies instead of baking — saves time but changes the chew and cocoa depth.
- Dairy-free option: use coconut milk-based vanilla ice cream and dairy-free chocolate; marshmallows often contain gelatin, so choose vegan marshmallows.
- Gluten-free option: use a 1:1 gluten-free flour blend for cookies and gluten-free graham crumbs; texture changes slightly but still delicious.
Variations & Tips
- Add chopped toasted pecans to the ice cream mix for a nutty crunch.
- Make mini versions using 2-inch cookies for bite-sized party snacks.
- Spice them up by stirring a pinch of cinnamon or cayenne into the ice cream — warms the flavor.
- Turn them into a sundae: place a sandwich on a plate, drizzle warmed chocolate sauce, and top with a torch-toasted marshmallow.
- Use peanut butter chips in place of chocolate for a nostalgic peanut-butter-s’mores twist.
- Create a “campfire” platter: arrange sandwiches with extra graham crackers, chocolate squares, and a jar of marshmallow fluff for dunking.
FAQ (Frequently Asked Questions)
- Can I make this ahead of time?
- Yes! Assemble and wrap the sandwiches, then freeze for up to 2 weeks. Thaw for 5–10 minutes before serving for easier biting and better texture.
- Can I double the recipe?
- Sure thing. Use two baking sheets when baking cookies, rotating halfway through baking so every cookie gets even heat. You may need an extra 5–10 minutes total if your oven gets crowded.
- Can I substitute butter with oil?
- Technically yes, but you’ll miss that buttery magic. Use ¾ the amount of oil (so ¾ cup oil for 1 cup butter) and expect slightly different texture — oil yields a softer edge.
- How do I know it’s done?
- Look for cookies with set edges and centers that lose their glossy sheen. For the sandwiches, freeze until the ice cream feels rock-solid to the touch, about 3 hours.
- What if I don’t have ingredient X?
- If you don’t have graham crackers, crush plain cookies or pretzels for texture. Short on chocolate? Use chocolate chips, Nutella, or even a drizzle of caramel as a delicious swap.
How I Like to Serve It
I love these straight from the freezer on a hot day with a tall glass of cold milk or a mug of coffee on a rainy afternoon. They make a fun finish for backyard BBQs, movie nights, or when you want to impress guests without fuss. For a kids’ party, skip the torching and let little hands assemble their own sandwiches — messy smiles guaranteed.
Notes
- Store wrapped sandwiches in the freezer for up to 2 weeks. Let sit 5 minutes at room temperature before eating for easier slicing.
- If serving hot, remember to watch the broiler or torch closely — marshmallows char quickly.
Final Thoughts
Closing: Now go impress someone — or just yourself — with your homemade S’mores Ice Cream Sandwiches. You’ll get warm cookie edges, crunchy graham, gooey marshmallow, and cold creamy bliss all in one bite.