
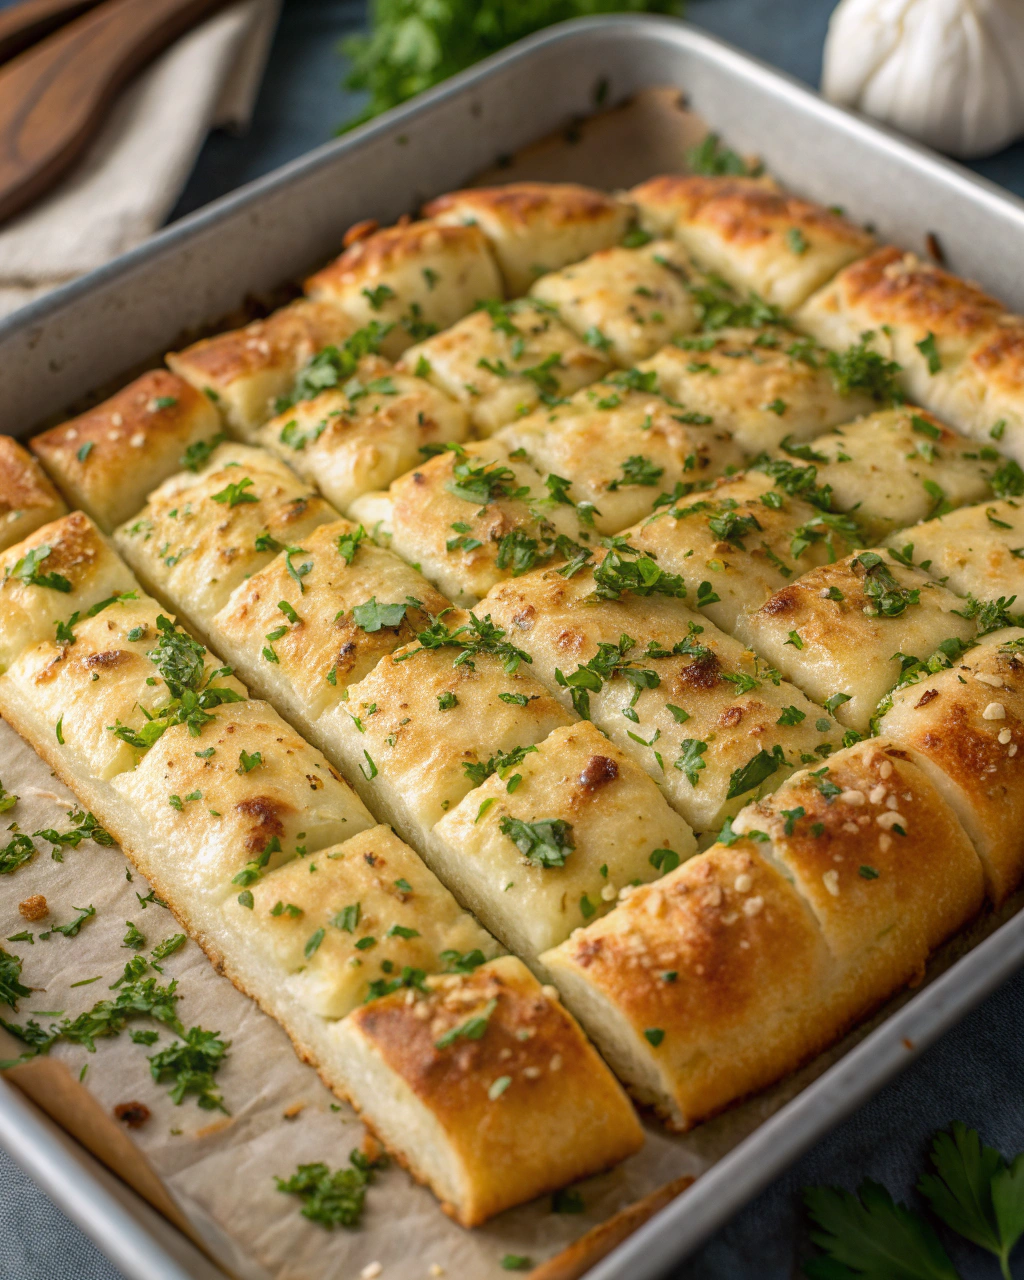
Okay, friends, let’s talk about the ultimate comfort sidekick: fluffy garlic breadsticks that basically scream “hug in carb form.” Imagine pulling these golden beauties out of the oven: soft, tender dough flecked with fragrant herbs, buttery garlic sauce soaking into every warm crevice, and just the right hint of crisp on the edges. They’re insanely easy to whip up, so even if you’ve never tackled homemade bread before, these will make you look like the kitchen star you are. Plus, the house smells like garlic heaven, which is honestly the best kind of home ambiance. Whether you’re dunking them into marinara, scooping up every last bit of cheesy dip, or just nibbling on their own (I won’t judge), these breadsticks are universally loved and ridiculously addictive. Ready to bake your way to carb bliss?
Quick Facts
- Yield: Serves 8
- Prep Time: 15 minutes
- Cook Time: 15 minutes
- Total Time: 1 hour (including rising time)
Why This Recipe is Awesome
This recipe is basically foolproof fluffy garlic breadsticks that come out soft, buttery, and just a tiny bit crispy where it counts. The dough is pillowy and tender, not dense or heavy, and the garlicky butter glaze seals the deal with rich aroma and flavor. Plus, it’s so easy your oven won’t even break a sweat. These bad boys pair perfectly with pasta, soup, or any time you crave that warm, garlic-scented deliciousness. Warning: once you taste them, you’ll be tempted to eat the whole batch yourself (don’t say I didn’t warn you!).
Ingredients
For the Main Dish:
- 2 ¼ tsp (1 packet) active dry yeast
- 1 cup warm water (about 110°F)
- 2 tbsp sugar
- 2 ½ cups all-purpose flour
- 1 tsp salt
- 3 tbsp olive oil (plus extra for greasing)
For the Garlic Butter Topping:
- 4 tbsp unsalted butter, melted
- 3 cloves garlic, minced
- 1 tsp dried Italian seasoning or a mix of oregano and basil
- 1 tbsp fresh parsley, chopped (optional but loved)
- Pinch of salt
How I Make It
Step 1:
Start by waking up your yeast: stir the yeast and sugar into the warm water. You want it warm but not hot—110°F is perfect. Let it sit for a good 5-10 minutes until it gets foamy on top. If it’s not bubbly, your yeast might be tired and throwing shade.
Step 2:
Grab a big bowl and whisk together the flour and salt. Pour in your foamy yeast mixture and olive oil, then stir everything with a wooden spoon or your hand until a shaggy dough forms. Don’t overwork it—mix just until the flour is soaked up.
Step 3:
Now, dump the dough onto a lightly floured surface and knead it for about 5-7 minutes until the dough is smooth and springy. It should feel like a soft, slightly tacky cloud between your fingers. If it sticks too much, dust a smidge more flour, but careful not to add too much or your breadsticks will be tough.
Step 4:
Pop the dough into a greased bowl, cover it with a damp towel or plastic wrap, and set it somewhere warm to rise for about 45-60 minutes. It’s ready when it’s doubled in size and looks all puffy and inviting—like your dough just woke up from a cozy nap.
Step 5:
Once risen, punch down the dough (gently!) and roll it out into a rectangle about 12×8 inches. Slice into 10-12 strips. Place the strips on a greased or parchment-lined baking sheet, spaced apart just a bit so they can puff up without squishing each other. Brush the tops generously with your garlic butter mixture, saving some to brush on again right after baking.
Step 6:
Bake at a preheated 375°F oven for 12-15 minutes or until the breadsticks are golden on the edges but still soft and pillowy inside. Hear that gentle crackle when you touch the edges? That’s your golden ticket.
Step 7:
Straight out of the oven, brush the breadsticks again with the remaining garlic butter while they’re still hot. Sprinkle with fresh parsley if you’re feeling fancy. Serve warm and watch them disappear!
Pro Tips
- Use warm but not hot water for activating yeast; hot water kills it, and cold water slows it down.
- If your dough isn’t rising, do a quick yeast test first — mix it with water and sugar and wait 10 minutes to see if it bubbles.
- For extra softness, add 1 tbsp of honey or swap olive oil for melted butter in the dough.
- Brush twice with garlic butter—before and right after baking—to maximize flavor and that irresistible sheen.
Common Mistakes to Avoid
- Skipping preheating: Classic rookie move. It changes texture and bake time.
- Overmixing: Leads to dense or chewy results. Mix until just combined.
- Guessing cook time: Always use visual cues or a timer, not just vibes.
- Overcrowding pans: Give your food some breathing room to crisp properly.
Alternatives & Substitutions
- Butter can be swapped with olive oil (for a lighter, dairy-free option) — use about 3 tbsp oil instead of 4 tbsp butter.
- For a gluten-free twist, use a gluten-free all-purpose blend, but add 1 tsp xanthan gum if your blend doesn’t already have it for better texture.
- Fresh rosemary or thyme can replace Italian seasoning for a different herbal twist.
- Swap sugar for honey or maple syrup for a subtle flavor change and slight sweetness.
Variations & Tips
- Spicy: Add ¼ tsp red pepper flakes to the garlic butter for a gentle kick.
- Cheesy: Sprinkle shredded mozzarella or parmesan on top before baking for melty, gooey goodness.
- Kid-friendly: Leave out spices and herbs; just use garlic butter for a classic, simple flavor that kids adore.
- Herb-loaded: Toss fresh chopped basil, thyme, or oregano into the garlic butter after melting.
- Everything Bagel Twist: Sprinkle everything bagel seasoning on top before baking for a savory crunch.
- Sweet option: Brush with cinnamon sugar butter instead of garlic for a dessert-style breadstick.
FAQ (Frequently Asked Questions)
- Can I make this ahead of time?
- Yes! You can make the dough, shape the breadsticks, then cover and refrigerate overnight. Let them come to room temperature and rise a bit before baking for best results. Leftover breadsticks reheat well in a 350°F oven for 5-7 minutes.
- Can I double the recipe?
- Sure thing. Use two baking sheets and possibly increase the rising time slightly. Keep an eye on baking time since more breadsticks can affect oven heat distribution.
- Can I substitute butter with oil?
- Technically yes, but you’ll miss that buttery magic. Use ¾ the amount of oil and consider adding a pinch of salt if using unsalted oil.
- How do I know it’s done?
- Look for golden-brown edges and a soft, pillowy center. If they sound hollow when tapped underneath, you’re in breadstick heaven.
- What if I don’t have ingredient X?
- No worries — Italian seasoning can be made from a combo of dried oregano, basil, and thyme you likely have on hand. If out of fresh parsley, just skip or sprinkle with dried instead.
How I Like to Serve It
These breadsticks are my go-to for everything from casual weeknight pasta dinners to game day snacks. I love dunking them into a big bowl of marinara or cozy tomato soup in chilly weather. Pair with a crisp salad and a glass of your favorite wine or a cold lemonade in summer. They’re perfect finger food for potlucks or family movie nights, too—somehow they make any meal feel a little more special and a lot more delicious.
Notes
- Store leftover breadsticks in an airtight container for up to 2 days; reheat in the oven to regain their fresh-baked texture.
- This recipe doesn’t involve meat, so no temperature rules for safety, but if pairing with chicken or meat, always cook those to their safe internal temps (165°F for poultry).
Final Thoughts
Closing: Now go impress someone — or just yourself — with your homemade masterpiece of fluffy, garlicky breadsticks that everyone will love!