
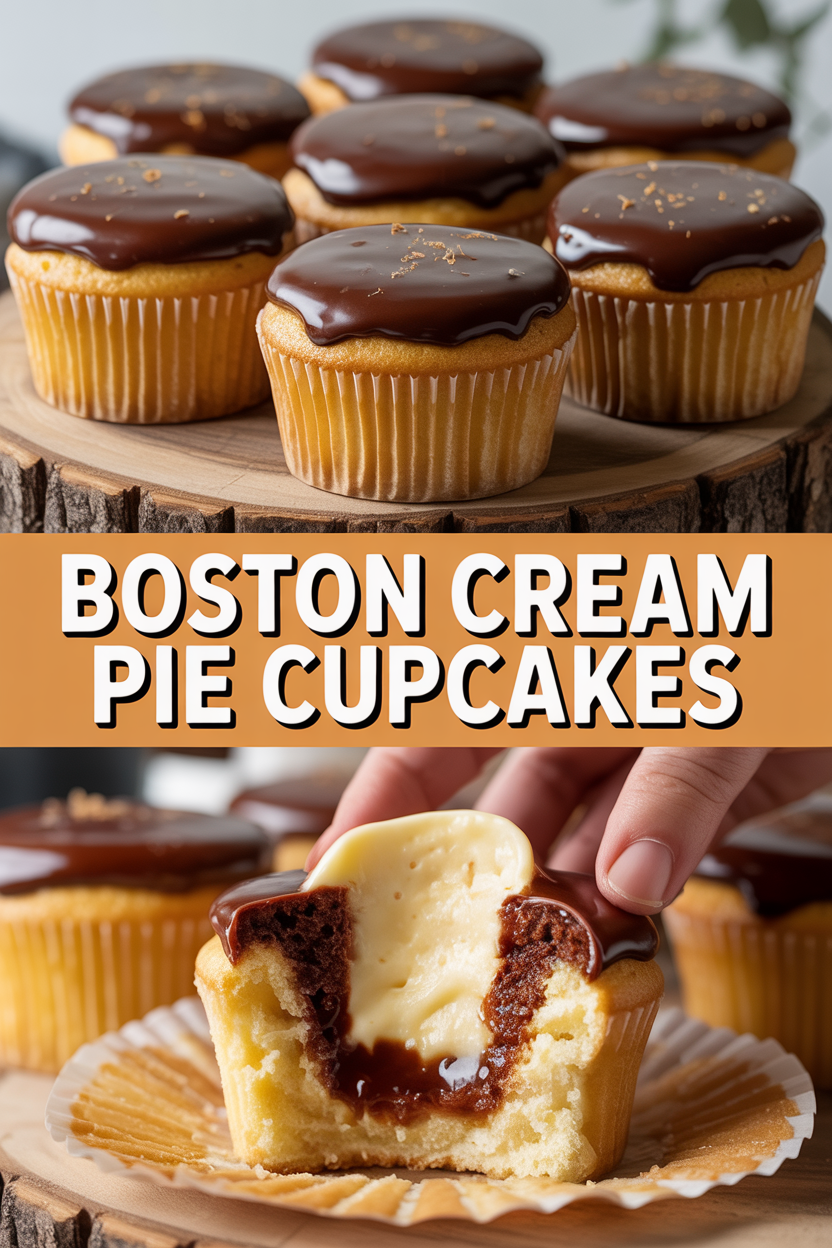
Chef’s Secret: I love telling people this one because it sounds fancy but it’s embarrassingly simple — Boston Cream Pie Cupcakes give you the dreamy custard-and-chocolate combo of a classic dessert without wrestling with layers of sponge and glaze. I discovered that a straight-forward vanilla cupcake, a quick stovetop pastry cream, and a glossy chocolate ganache make for the exact bite I craved after dinner — custardy center, pillowy cake, and a shiny chocolate hat. I’ll show you how to temper the custard so it stays silky, how to avoid a cracked ganache, and one tiny trick so every cupcake gets a perfect little cavity for filling. Trust me: your oven will look like a little bakery in your kitchen.
Quick Facts
- Yield: Serves 12 cupcakes
- Prep Time: 25 minutes
- Cook Time: 18–20 minutes
- Total Time: 1 hour 15 minutes (includes chilling pastry cream)
Why This Recipe is Awesome
Because it hits all the fun contrasts: a soft, buttery cupcake, a silken vanilla custard that sneaks into the center, and a glossy chocolate glaze that snaps slightly as you bite in. It’s basically dessert engineering with a reward at the end. Also? It’s forgiving — even if you overmix a little or forget to sift flour, these still turn out comforting and restaurant-worthy. Who doesn’t love a dessert that smells like warm vanilla and chocolate and looks like you worked for hours?
Ingredients
For the Main Dish:
- 1 1/4 cups all-purpose flour
- 1 1/4 tsp baking powder
- 1/4 tsp salt
- 1/2 cup unsalted butter, softened
- 3/4 cup granulated sugar
- 2 large eggs, room temperature
- 1 tsp pure vanilla extract
- 1/2 cup whole milk (or 2% if that’s what you have)
For the Pastry Cream:
- 1 1/4 cups whole milk
- 3 tbsp granulated sugar
- 3 large egg yolks
- 2 tbsp cornstarch
- 1 tbsp unsalted butter
- 1 tsp pure vanilla extract
For the Chocolate Glaze:
- 4 oz semi-sweet chocolate (about 2/3 cup chips or chopped)
- 3 tbsp heavy cream
- Pinch of salt
How I Make It
Step 1:
Preheat your oven to 350°F. Line a 12-cup muffin tin with liners. In a bowl, whisk together the flour, baking powder, and salt. In your mixer, beat the butter and sugar until light and fluffy — you’ll smell a sweet buttery aroma and see the mixture turn paler after about 2–3 minutes. Add the eggs one at a time, scraping down the bowl, then stir in the vanilla. Alternate adding the dry ingredients and milk, beginning and ending with the dry, mixing just until combined.
Step 2:
Spoon the batter into the cups, filling each about two-thirds full. Bake for 18–20 minutes until the tops spring back and the edges turn faintly golden. The kitchen will smell like vanilla clouds. Let the cupcakes cool in the tin for 5 minutes, then transfer to a rack to cool completely — you want them cool before filling.
Step 3:
While the cupcakes bake, make the pastry cream. Heat the milk in a saucepan until it steams and tiny bubbles form at the edges — don’t let it boil. In a separate bowl, whisk the egg yolks, sugar, and cornstarch until smooth. Temper the yolks by whisking in about a third of the hot milk, then pour everything back into the saucepan. Cook over medium heat, whisking constantly. The mixture will thicken and start to bubble; that’s the cue to keep whisking until you have a glossy, pudding-like custard. Remove from heat and stir in the butter and vanilla. Press plastic wrap directly onto the surface (no skin!) and chill until cool, about 30 minutes.
Step 4:
Core each cupcake with a small knife or melon baller to make a little well. Spoon the chilled pastry cream into a piping bag and gently fill each cupcake until you feel slight resistance. The texture should be velvety and cool against your lips when you taste a dab. For the glaze, microwave the chocolate and heavy cream in 15-second bursts, stirring between bursts, until silky. Stir in a pinch of salt to balance sweetness.
Step 5:
Dip the top of each filled cupcake into the glaze or spoon it over to form a shiny cap. Let the glaze set at room temperature for 10–15 minutes; it should form a slight sheen but still stay glossy when you cut into it. Serve at room temperature for the best texture — the custard will feel lush and the cake soft.
Pro Tips
- Use room-temperature eggs for batter that emulsifies smoothly — cold eggs make the batter seize and create tunnels.
- When making pastry cream, temper the yolks slowly to avoid scrambled bits. Whisk constantly when it starts to thicken.
- Press plastic wrap directly onto the custard to prevent a skin from forming — nobody likes gritty cream.
- If your glaze looks grainy after reheating, whisk in 1 tsp of warm cream to bring it back to glossy life.
Common Mistakes to Avoid
- Skipping preheating: Classic rookie move. It changes texture and bake time.
- Overmixing: Leads to dense or chewy results. Mix until just combined.
- Guessing cook time: Always use visual cues or a timer, not just vibes.
- Overcrowding pans: Give your food some breathing room to crisp properly.
Alternatives & Substitutions
- Use Greek yogurt (1:1 swap for heavy cream in the glaze) for a tangier finish — glaze will be slightly less glossy.
- Swap whole milk for almond milk in pastry cream, but add an extra 1 tbsp cornstarch for body.
- For a gluten-free option, replace flour with a 1:1 gluten-free baking blend — texture changes slightly but flavor stays great.
- For dairy-free, use a plant-based butter and coconut cream for the glaze; the coconut flavor will come through.
Variations & Tips
- Make lemon Boston Cream Cupcakes by adding 1 tbsp lemon zest to the batter and swapping vanilla pastry cream for lemon curd.
- For a grown-up twist, stir 1–2 tbsp of rum or coffee liqueur into the pastry cream.
- Top with toasted coconut or chopped toasted hazelnuts for crunch and extra depth.
- Turn them into mini Boston Cream tarts by baking in tartlet pans and brushing the crust with melted butter for extra flakiness.
- Kid-friendly version: use milk chocolate for the glaze and small sprinkles on top for a party-ready look.
FAQ (Frequently Asked Questions)
- Can I make this ahead of time?
- Yes! Make the pastry cream up to 2 days ahead and store in an airtight container. Bake the cupcakes the day before and keep them in a sealed container. Fill and glaze the day you serve for the freshest texture.
- Can I double the recipe?
- Sure thing. Use two muffin tins and rotate them in the oven if your oven heats unevenly. Baking time stays about the same, but check the cupcakes a minute or two earlier since oven load can change timing.
- Can I substitute butter with oil?
- Technically yes, but you’ll miss that buttery magic. Use ¾ the amount of oil and expect a slightly denser crumb.
- How do I know it’s done?
- Look for cupcakes with tops that spring back and light golden edges. For pastry cream, it should coat the back of a spoon and become thick and glossy. The glaze should set into a shiny top with no dry chalky spots.
- What if I don’t have ingredient X?
- No panic — for cornstarch, use 1 1/2 tbsp arrowroot. If you lack vanilla, try a tiny pinch (1/8 tsp) of almond extract for a different but nice flavor.
How I Like to Serve It
I serve these at casual dinners and fancy brunches alike. They look cute on a cake stand paired with coffee or a dessert wine. For potlucks, I box them individually so friends don’t have to wrestle a slice. In summer, I chill them briefly; in fall, I enjoy them warm with a scoop of vanilla ice cream on the side.
Notes
- Store leftover filled cupcakes in the fridge for up to 3 days. Bring to room temperature before serving for best texture.
- If reheating, warm gently in a 300°F oven for 5–7 minutes; don’t microwave or you’ll ruin the custard texture.
Final Thoughts
Closing: Now go impress someone — or just yourself — with your homemade Boston Cream Pie Cupcakes!