
My grandmother used to make Toll House cookies every Sunday, and the house would smell like warm caramel and toasted chocolate—so good that the dog would park himself under the cookie jar until she came back from the oven. Those cookies turned into my go-to comfort food, but when I need cookie flavor with less fuss and more square inches of happiness, I make these Toll House Cookie Bars. They give you the chewy, buttery center and golden, crispy edges of the cookie in an easy 9×13-inch pan, which means fewer rounds of shaping dough and more time licking the spoon. Serve them warm with a cold glass of milk or let them cool and pack them for lunchboxes—you’ll see why these are a permanent resident in my recipe rotation.
Quick Facts
- Yield: Serves 16 (about 24 bars)
- Prep Time: 15 minutes
- Cook Time: 25 minutes
- Total Time: 40 minutes
Why This Recipe is Awesome
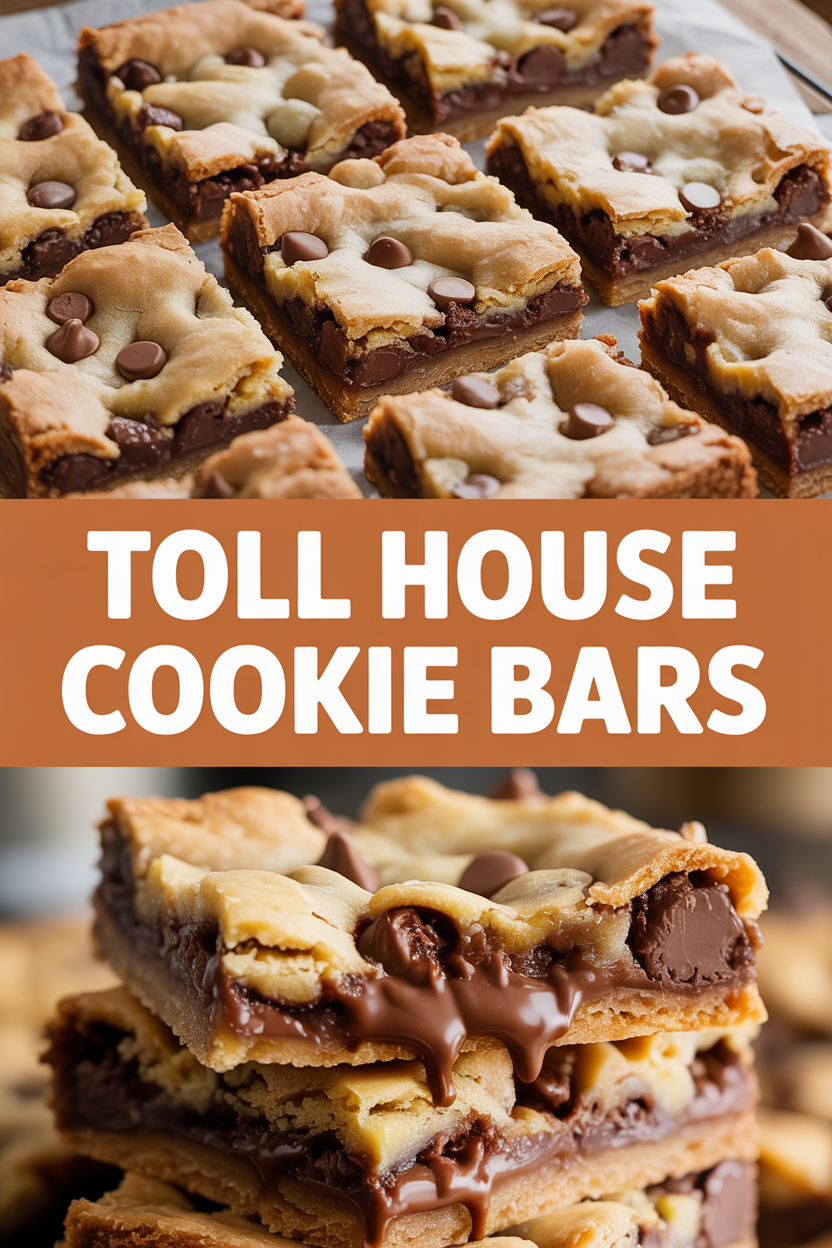
This recipe turns the classic Toll House cookie into a crowd-friendly bar with chewy centers, crisp, golden edges, and pockets of melted chocolate in every bite. It’s faster than scooping individual cookies, forgiving for home bakers, and so simple your oven practically bakes itself. The texture balances buttery richness and chewiness, and the aroma—the warm vanilla and toasted chocolate—will pull everyone into the kitchen like a delicious magnet. Who doesn’t love crispy edges and a soft middle?
Ingredients
For the Main Dish:
- 1 cup (2 sticks) unsalted butter, softened to room temperature
- 3/4 cup packed brown sugar (light or dark)
- 3/4 cup granulated sugar
- 2 large eggs, room temperature
- 2 tsp vanilla extract
- 2 1/4 cups all-purpose flour
- 1 tsp baking soda
- 1 tsp salt
- 2 cups (12 oz) semi-sweet chocolate chips
- 1 cup chopped nuts (walnuts or pecans) — optional
For the Sauce / Garnish (if applicable):
- Optional flaky sea salt for sprinkling (1/4 tsp)
How I Make It
Step 1:
I preheat the oven to 350°F and line a 9×13-inch pan with parchment, leaving an overhang so I can lift the bars out easily. I cream the softened 1 cup butter with the 3/4 cup brown sugar and 3/4 cup granulated sugar until the mixture looks light and slightly fluffy—about 2 minutes with a hand mixer. The kitchen smells like caramel and warm sugar already, and that little swoosh of the beaters always makes me smile.
Step 2:
Next I add the 2 large eggs one at a time, then stir in the 2 tsp vanilla. I scrape the bowl and you’ll still see streaks of butter; that’s okay. Then I whisk together the 2 1/4 cups flour, 1 tsp baking soda, and 1 tsp salt in a separate bowl and fold it into the butter mixture until just combined. Don’t overmix—overworked dough gives tough bars. A few streaks are fine; they bake out.
Step 3:
Now for the good part: I fold in the 2 cups chocolate chips and the optional 1 cup nuts. The dough feels slightly sticky and soft; it should hold together when pressed. I spread it evenly into the prepared pan and press gently with an offset spatula or the back of a spoon. The top looks slightly glossy from the butter; that shine signals a chewy interior after baking.
Step 4:
I bake at 350°F for about 25 minutes, rotating the pan halfway through if my oven runs hot. I watch for golden edges and a top that looks set but still slightly soft in the center—don’t wait for the center to firm completely or the bars will overbake. The bars continue to set as they cool, so pull them when they still jiggle a tiny bit.
Step 5:
I let the bars cool in the pan for about 10 minutes, then lift them out on the parchment and cool on a wire rack. If I want warm bars, I slice them after 15–20 minutes; for clean squares, I chill them for 30 minutes before cutting. A sprinkle of flaky sea salt over the warm surface amps the flavor and, trust me, that salty-sweet contrast sings.
Pro Tips
- Use room-temperature butter and eggs so they emulsify easily and your batter mixes smoothly.
- If your dough looks too soft to shape, chill it for 15–20 minutes—it firms up and spreads less in the oven.
- Swap half the chocolate chips for chopped dark chocolate for deeper flavor and bigger melty chunks.
- Line the pan with parchment and leave an overhang to lift the bars out cleanly—no awkward sawing needed.
Common Mistakes to Avoid
- Skipping preheating: Classic rookie move. It changes texture and bake time.
- Overmixing: Leads to dense or chewy results. Mix until just combined.
- Guessing cook time: Always use visual cues or a timer, not just vibes.
- Overcrowding pans: Give your food some breathing room to crisp properly.
Alternatives & Substitutions
- For dairy-free: use dairy-free butter sticks or coconut oil (use slightly less—about 3/4 cup coconut oil) and dairy-free chocolate chips; expect a slightly different mouthfeel.
- For gluten-free: swap to a 1:1 gluten-free baking flour blend; texture stays similar, but let the batter rest 10 minutes before baking to hydrate the flour.
- To reduce sugar: replace 1/4 cup granulated sugar with a natural sweetener like coconut sugar; bars will brown differently and taste a touch earthier.
Variations & Tips
- Peanut butter swirl: drop spoonfuls of peanut butter on top before baking and swirl with a knife for a peanut-buttery ribbon.
- Mint chocolate: stir in 1 tsp peppermint extract and use dark chocolate chips for a minty twist.
- Blondie-style: skip the chocolate and mix in dried fruit and white chocolate chips for a blondie bar.
- Oat crunch: replace 1/2 cup flour with 1/2 cup rolled oats for a heartier texture.
- Salted caramel: drizzle warm salted caramel over bars straight from the oven, then chill until set.
- Chunky surprise: toss in chopped pretzels or potato chips for a salty crunch contrast.
FAQ (Frequently Asked Questions)
- Can I make this ahead of time?
- Yes! Bake the bars, cool completely, then wrap tightly and store at room temperature for up to 3 days or in the fridge for up to 7 days. Reheat single squares in the microwave for 10–12 seconds for a warm, gooey bite.
- Can I double the recipe?
- Sure thing. Use two 9×13-inch pans or a single half-sheet pan. Baking time may increase slightly—check after 20 minutes and expect up to 30 minutes depending on depth.
- Can I substitute butter with oil?
- Technically yes, but you’ll miss that buttery magic. Use 3/4 the amount of oil (about 3/4 cup) and note the texture will be slightly less rich and a bit more cake-like.
- How do I know it’s done?
- Look for golden edges and a top that appears set with a slight give in the center. The bars should not look raw; they should retain a small jiggle that firms as they cool.
- What if I don’t have ingredient X?
- Swap granulated sugar for more brown sugar (slightly darker flavor) or use chopped chocolate if you lack chips. If you lack nuts, leave them out—those chocolate pockets carry the show.
How I Like to Serve It
I love them warm with a scoop of vanilla ice cream for an after-dinner treat, or sliced and packed with a thermos of coffee for a perfect office pick-me-up. They make a stellar potluck offering—cut them into small squares and watch them disappear. In summer I pair them with cold milk; in winter I serve them alongside a hot cup of cocoa.
Notes
- Store bars in an airtight container at room temperature for up to 3 days or in the fridge for up to 7 days.
- Reheat a single bar in the microwave for 10–15 seconds or warm a tray in a 325°F oven for 5–8 minutes.
Final Thoughts
Closing: Now go impress someone — or just yourself — with your homemade Toll House Cookie Bars! Bake them, eat them, and savor that perfect mix of crisp edge and gooey center.