
Okay, confession: I made these mini cheesecakes because I wanted a dessert that could be eaten in two bites but still feel like a decadent event. I’ll be honest — the first bite hits like a velvet curtain: tangy cheesecake, whisper of cocoa, then a chewy, slightly crunchy cookie dough crown that hides a surprise little Oreo center. I kept this recipe playful (and a little bit mischievous) so you can grin while you press cookie crumbs into tins and sneak taste-tests of the heat-treated flour. Warning: your kitchen will smell like cocoa and butter, and you will want to eat three. Don’t tell me I didn’t warn you.
Quick Facts
- Yield: Serves 12
- Prep Time: 30 minutes
- Cook Time: 22 minutes
- Total Time: About 3 hours (including chilling)
Why This Recipe is Awesome
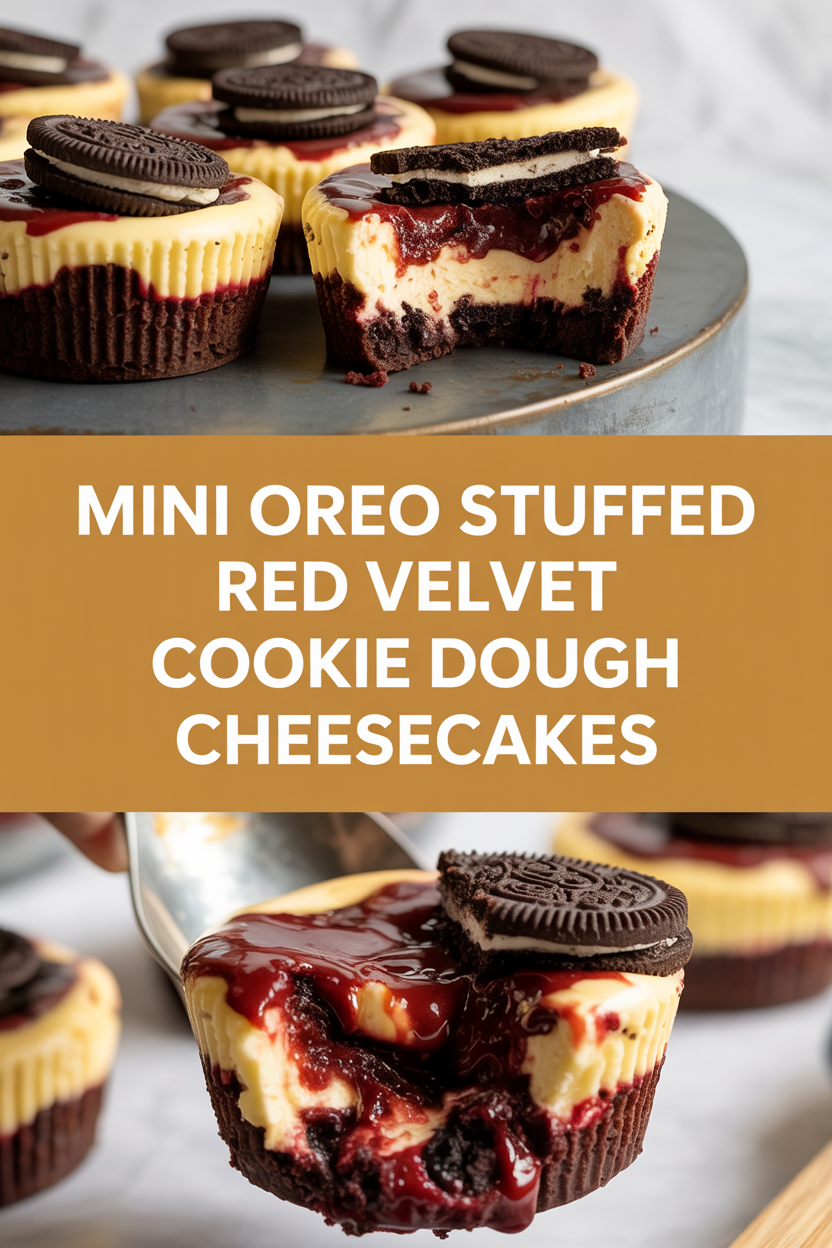
These mini cheesecakes hit a joyful trifecta: a crisp Oreo crust, a silky red velvet cheesecake, and a pillowy cookie-dough topper that’s secretly stuffed with another Oreo. Texture? Check — creamy, chewy, crunchy. Taste? Check — tangy cream cheese, cocoa-kissed red velvet, and that familiar chocolate-cookie pop. It’s easy enough for a weeknight treat and cute enough for parties. Plus, tiny desserts mean you get to have more than one without judgment. Who doesn’t love an excuse to taste-test three times “for quality control”?
Ingredients
For the Main Dish:
- For the crust: 18 regular **Oreo** cookies (about 1 1/2 cups finely crushed), 4 tbsp **unsalted butter**, melted
- For the cheesecake: 16 oz **cream cheese** (room temp), 1/2 cup granulated sugar, 1 large **egg** (room temp), 1/4 cup **sour cream**, 1 tsp **vanilla extract**, 1 tbsp **cocoa powder**, 1 tbsp **red food coloring** (or 1 tsp gel), pinch of salt
- For the edible red velvet cookie dough topper: 6 tbsp **unsalted butter** (softened), 1/4 cup granulated sugar, 1/4 cup packed **light brown sugar**, 1 tsp **vanilla extract**, 1/2 tsp **salt**, 3/4 cup **all-purpose flour** (heat-treated — see notes), 1 tbsp **cocoa powder**, 1 tbsp **red food coloring**, 1/3 cup mini **semi-sweet chocolate chips**, 12 mini **Oreo** cookies (or regular ones broken into pieces to fit)
For the Sauce / Garnish (if applicable):
- Optional: 1/2 cup **powdered sugar** + 2 tbsp **cream cheese** for a quick glaze, or a drizzle of melted white chocolate. Fresh berries for color.
How I Make It
Step 1:
Preheat your oven to 325°F. Line a 12-cup muffin tin with paper liners or spritz with nonstick spray. Put the 18 **Oreos** into a zip-top bag and crush them with a rolling pin until they look like fine crumbs. Stir the crumbs with 4 tbsp melted **butter** until they hold together when pressed. Press about 1 1/2 tbsp of the crumb mix into the bottom of each cup to form a compact crust. I like to use the bottom of a shot glass to press — it makes tidy little discs.
Step 2:
Make the cheesecake batter: beat 16 oz **cream cheese** with 1/2 cup sugar until smooth and fluffy (about 2-3 minutes). Add 1 egg, 1/4 cup **sour cream**, 1 tsp **vanilla**, 1 tbsp **cocoa powder**, 1 tbsp **red food coloring**, and a pinch of salt. Beat just until combined — don’t overmix or you’ll introduce air and risk cracks. Spoon about 2 tbsp of batter over each crust so the cups are about 3/4 full.
Step 3:
Bake at 325°F for 18–22 minutes until the edges set and the centers jiggle slightly like untamed jelly. The smell at this point? Rich, buttery, chocolatey goodness — the house practically applauds. Remove from the oven and let cool on the counter for 20 minutes, then transfer to the fridge to chill at least 1 1/2 hours.
Step 4:
While the cheesecakes chill, make the edible red velvet cookie dough. First, heat-treat the flour: spread 3/4 cup **all-purpose flour** on a baking sheet and bake at 350°F for 5 minutes to kill off any bacteria (I mark the flour container after this so I don’t re-treat it). Beat 6 tbsp softened **butter** with both sugars until creamy, add 1 tsp **vanilla** and 1 tbsp **red food coloring**, then mix in 1 tbsp **cocoa** and the heat-treated flour until a soft dough forms. Fold in mini chocolate chips.
Step 5:
Tear or press a mini **Oreo** into a small piece of dough, then roll the dough around the cookie to make a little stuffed ball (about 1 tbsp dough per ball). Pop the stuffed dough balls in the fridge for at least 20 minutes to firm up. When the cheesecakes are chilled, press one chilled dough ball onto each cheesecake. Add a dollop of quick glaze or a dusting of crushed Oreo if you like. Serve cold and watch faces light up.
Pro Tips
- Heat-treat your flour to make the cookie dough safe to eat raw. I mark the jar so I don’t double-treat it later.
- Bring your **cream cheese** and **egg** to room temperature to avoid lumps in the batter — it takes about 30 minutes on the counter.
- Don’t overbake: mini cheesecakes continue to set as they cool. Pull them when the centers still jiggle slightly.
- If you want glossy tops, run a knife around each cheesecake after cooling to loosen them from the tin before chilling.
Common Mistakes to Avoid
- Skipping preheating: Classic rookie move. It changes texture and bake time.
- Overmixing: Leads to dense or chewy results. Mix until just combined.
- Guessing cook time: Always use visual cues or a timer, not just vibes.
- Overcrowding pans: Give your food some breathing room to crisp properly.
Alternatives & Substitutions
- Swap regular **Oreos** for gluten-free chocolate sandwich cookies for a gluten-free crust (check the cookie label).
- Use dairy-free cream cheese and vegan butter to make these dairy-free; texture will stay rich but slightly softer.
- Replace **sour cream** with plain Greek yogurt for a tangier, slightly lighter filling.
- Want less sugar? Reduce the cheesecake sugar to 1/3 cup and the cookie dough sugars by 25% — flavor stays strong.
Variations & Tips
- Add white chocolate chips to the cookie dough for bursts of sweet creaminess.
- Turn them into Valentine’s minis by using heart-shaped mini Oreos or heart sprinkles.
- Make a mocha version by adding 1 tsp instant espresso to the cheesecake batter.
- Swap the Oreo crust for graham crackers to lighten the chocolate intensity.
- For party platters, double the batch and bake in two pans — rotate shelves halfway through baking for even color.
FAQ (Frequently Asked Questions)
- Can I make this ahead of time?
- Yes! Bake the mini cheesecakes and chill them up to 48 hours ahead. Keep the stuffed cookie dough balls refrigerated separately and top the cheesecakes just before serving for the freshest texture.
- Can I double the recipe?
- Sure thing. If you double, use two muffin tins and bake in the center of the oven. You may need an extra 2–4 minutes of bake time depending on your oven load.
- Can I substitute butter with oil?
- Technically yes, but you’ll miss that buttery magic. Use ¾ the amount of oil.
- How do I know it’s done?
- Look for set edges and a center that still jiggles slightly like loose gelatin. It will firm as it cools. If the top cracks, you baked too long or overheated the oven.
- What if I don’t have ingredient X?
- Out of sour cream? Use plain Greek yogurt. No mini Oreos? Break regular Oreos into smaller pieces or use chocolate sandwich cookies from another brand.
How I Like to Serve It
I plate these minis with a few fresh raspberries and a dusting of powdered sugar for contrast — the bright berry cuts the richness. They pair beautifully with a strong black coffee or a chilled glass of milk for the cookie-lovers. For parties, arrange them on a tiered stand so guests can grab a perfect jewel-like bite.
Notes
- Store leftovers covered in the fridge for up to 4 days. For longer storage, freeze without the cookie-dough toppers for up to 1 month.
- Heat-treat flour by baking at 350°F for 5 minutes and let cool before using.
Final Thoughts
Closing: Go ahead — make these for your next celebration or a Wednesday night when you need joy in bite-sized form. Now go impress someone — or just yourself — with your homemade masterpiece!