
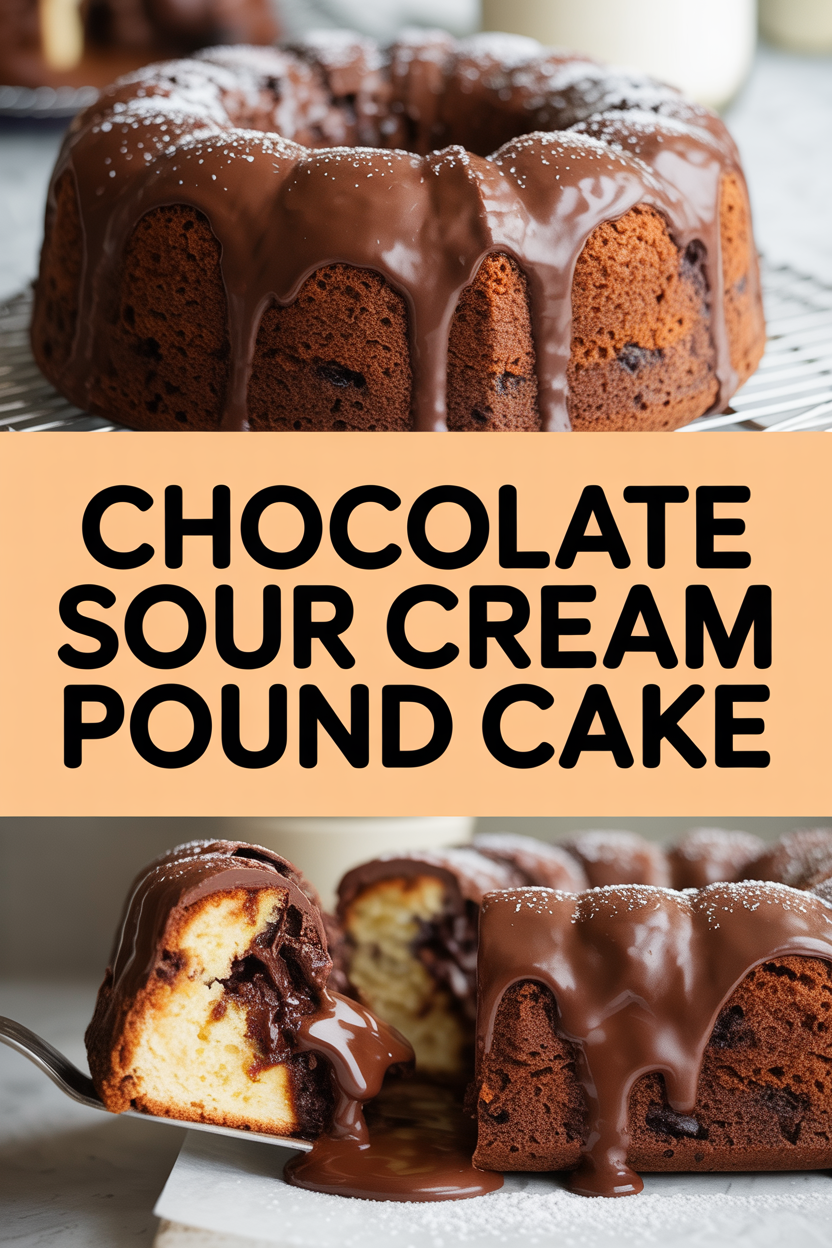
The minute I walked into my grandmother’s kitchen, the whole house smelled like chocolate and butter — the kind of smell that tugs you straight to the counter with a spoon in hand. She always kept a loaf pan ready, and every Sunday the radio hummed while she whisked, scraped, and told the same story about a baking mishap that somehow tasted better than perfect. This Chocolate Sour Cream Pound Cake comes from that warm, slightly floppy family tradition: dense, tender crumb, a crackly top, and a deep chocolate flavor that makes your mug of coffee jealous. I make it whenever I want something that feels like a hug and feeds a crowd without fussy steps.
Quick Facts
- Yield: Serves 8–10
- Prep Time: 15 minutes
- Cook Time: 60–70 minutes
- Total Time: 75–85 minutes
Why This Recipe is Awesome
This cake slaps together simple pantry ingredients into something surprisingly elegant. It has a moist, tender crumb thanks to **sour cream**, a slightly crisp top that crackles when you slice it, and rich chocolate flavor that comes from both **cocoa powder** and a bit of melted **dark chocolate**. It’s dependable, not fussy, and shows up beautifully at brunch, potlucks, or a weekend coffee break. It’s so easy even your oven can’t mess it up — and it ages well, staying moist for days.
Ingredients
For the Main Dish:
- 1 cup (2 sticks) unsalted butter, softened
- 1 3/4 cups granulated sugar
- 4 large eggs, room temperature
- 1 cup sour cream, full fat or Greek-style
- 1/2 cup whole milk
- 6 oz semi-sweet or dark chocolate, chopped
- 1 cup unsweetened cocoa powder
- 2 1/2 cups all-purpose flour
- 1 tsp baking powder
- 1/2 tsp baking soda
- 1 tsp fine sea salt
- 1 tsp pure vanilla extract
For the Sauce / Garnish (if applicable):
- Optional chocolate glaze: 4 oz chopped chocolate + 2 tbsp butter + 2 tbsp heavy cream, melted together
- Optional: powdered sugar for dusting or a handful of chopped toasted nuts
How I Make It
Step 1:
Preheat the oven to 350°F and grease a 9×5-inch loaf pan, then line it with parchment for easy release. Melt the chopped chocolate with the butter in a heatproof bowl set over simmering water or microwave in 20-second bursts, stirring between every burst until glossy. The kitchen will smell like warm, dark chocolate — impossible to resist a finger swipe.
Step 2:
In a large bowl, cream the softened butter and sugar until pale and fluffy, about 3–4 minutes. Add eggs one at a time, beating well after each addition so the batter holds air and structure. Stir in the melted chocolate and vanilla. This creates a smooth, slightly glossy batter that promises richness.
Step 3:
Whisk together flour, cocoa powder, baking powder, baking soda, and salt in a separate bowl. Alternate adding the dry mix and the sour cream + milk to the wet ingredients, starting and ending with the dry — three additions total. Mix until just combined so the crumb stays tender. Your batter should fall off a spoon in a thick ribbon and smell intensely chocolatey.
Step 4:
Pour the batter into the prepared pan and smooth the top. Bake at 350°F for 60–70 minutes, or until a toothpick inserted near the center comes out with a few moist crumbs (not wet batter). The edges will pull slightly away from the pan and the top will form a thin, crackly crust. If the top browns too fast, tent a piece of foil over the pan around minute 40.
Step 5:
Let the cake rest in the pan for 10–15 minutes, then lift out with the parchment and cool on a rack. If you want a glossy finish, drizzle the warm chocolate glaze over the cake while both are warm so it settles into the little cracks. Slice with a serrated knife and enjoy warm with coffee or cooled to room temperature for cleaner slices.
Pro Tips
- Use room-temperature eggs so they emulsify easily and create a smooth, airy batter.
- Measure flour by spooning into the cup and leveling with a knife — avoid packing it down to prevent a dry, heavy loaf.
- If your cocoa is lumpy, sift it with the dry ingredients to avoid streaks and pockets of bitterness.
- Don’t skip the rest time in the pan — it helps the crumb set so slices don’t crumble apart.
Common Mistakes to Avoid
- Skipping preheating: Classic rookie move. It changes texture and bake time.
- Overmixing: Leads to dense or chewy results. Mix until just combined.
- Guessing cook time: Always use visual cues or a timer, not just vibes.
- Overcrowding pans: Give your food some breathing room to crisp properly.
Alternatives & Substitutions
- Butter: swap for vegan butter for dairy-free results — expect a slightly different mouthfeel.
- Milk: use almond or oat milk in the same amount; texture stays moist but flavor shifts slightly.
- Flour: use a 1:1 gluten-free flour blend to make it gluten-free; add a teaspoon of xanthan gum if your blend lacks it.
- Sour cream: substitute full-fat Greek yogurt for similar tang and texture (dairy-free option: use full-fat coconut yogurt, but the flavor changes).
Variations & Tips
- Add 1/2 cup chopped toasted pecans or walnuts to the batter for crunch.
- Stir in 1/2 cup mini chocolate chips for melty pockets of chocolate throughout.
- For an orange-chocolate twist, add 1 tbsp orange zest and a splash of orange liqueur to the batter.
- Make it mocha: fold 1 tbsp instant espresso powder into the milk before adding for a coffee lift.
- Kid-friendly: top slices with a smear of chocolate hazelnut spread and a sprinkle of flaky sea salt.
FAQ (Frequently Asked Questions)
- Can I make this ahead of time?
- Yes! Bake the cake, cool completely, then wrap tightly in plastic wrap and store at room temperature for up to 3 days or refrigerate for up to a week. Warm slices briefly in a 300°F oven or microwave for 10–15 seconds before serving.
- Can I double the recipe?
- Sure thing. Use two loaf pans or a large bundt pan and increase bake time slightly; check doneness starting at the original time and add 10–20 minutes as needed.
- Can I substitute butter with oil?
- Technically yes, but you’ll miss that buttery magic. Use 3/4 the amount of oil (so 3/4 cup oil for 1 cup butter) and expect a slightly different crumb and flavor.
- How do I know it’s done?
- Look for a crackly, dry-looking top, browned edges pulling away from the pan, and a toothpick with a few moist crumbs (not wet batter). The center should feel slightly springy to the touch.
- What if I don’t have ingredient X?
- No drama — swap sour cream for full-fat Greek yogurt or use the chocolate glaze as a flavorful fallback if your batter seems a little dry.
How I Like to Serve It
I love serving this cake warm with a scoop of vanilla ice cream for a cozy dessert, or slice it thin for an indulgent breakfast with a strong mug of coffee. It also travels well for potlucks — wrap slices in parchment and a pretty ribbon. In colder months, I pair it with mulled cider; in spring, a bowl of fresh berries adds bright contrast to the rich chocolate.
Notes
- Store wrapped at room temperature up to 3 days or refrigerate up to 1 week. Reheat gently before serving.
- If you ever test this with meat (you won’t here), remember safe temps like 165°F for poultry — just a friendly reminder from kitchen to table.
Final Thoughts
Closing: This Chocolate Sour Cream Pound Cake makes ordinary moments feel special — now go impress someone, or just yourself, with this homemade masterpiece!