
Okay, lean in — I’ve got a little kitchen secret that turns backyard burgers into restaurant-level delights. I learned it after chasing perfect crusts on a Blackstone for years: the sear matters more than any fancy seasoning. Once you master the hot griddle, the cheese melt and that irresistible sizzle, you’ll never look at a stovetop skillet the same way. I use simple ingredients — good ground beef, a whisper of Worcestershire, and a touch of butter — and I let the griddle do the heavy lifting. Ready for juicy middles, caramelized edges, and cheese that oozes just right? I promise, this Blackstone Cheeseburger trick will become your go-to showstopper.
Quick Facts
- Yield: Serves 4
- Prep Time: 15 minutes
- Cook Time: 10 minutes
- Total Time: 25 minutes
Why This Recipe is Awesome
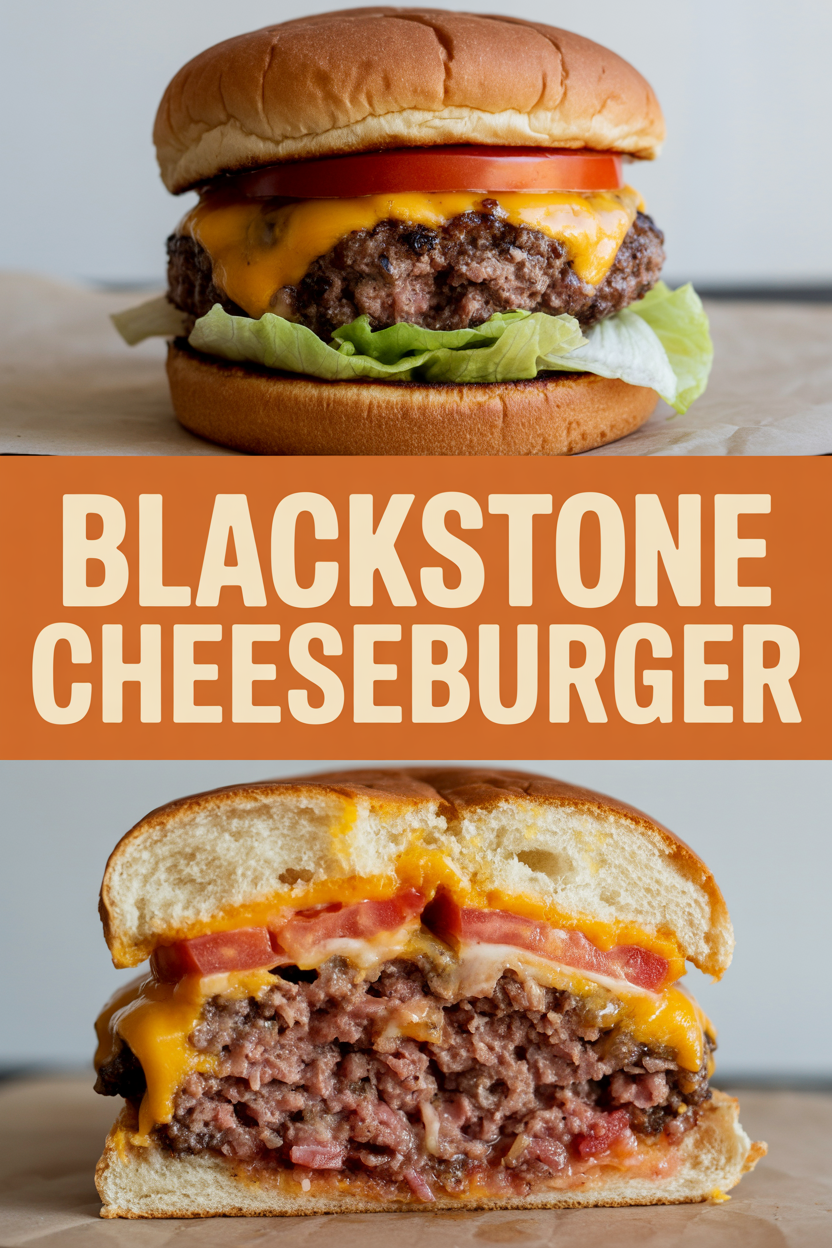
This recipe turns a simple burger into something you’ll brag about. The Blackstone gives you an aggressive, crispy crust and those browned, almost caramelized edges that sing when you bite in. The center stays juicy, cheese melts perfectly, and toasting the buns right on the griddle adds buttery crunch. It’s so straightforward even weeknights can taste fancy. Who doesn’t love a burger with a little sizzle and a lot of heart?
Ingredients
For the Main Dish:
- 1.5 lb 80/20 ground beef
- 1 tbsp Worcestershire sauce
- 1 tsp kosher salt (adjust to taste)
- 1 tsp freshly ground black pepper
- 1/2 tsp garlic powder (optional)
- 4 hamburger buns
- 4 slices American or cheddar cheese (about 4 oz total)
- 2 tbsp unsalted butter (for buns/toasting)
- 1 tbsp neutral oil (like canola) for griddle
- Toppings: lettuce, tomato slices, sliced onion, pickles (optional)
For the Sauce / Garnish (if applicable):
- 1/3 cup mayonnaise
- 2 tbsp ketchup
- 1 tbsp yellow mustard
- 1 tbsp sweet pickle relish (optional)
- A few dashes of hot sauce (optional)
How I Make It
Step 1:
I preheat my Blackstone to ~400°F — you want it hot enough to make a proud sizzle when the meat hits. While it warms, I mix the ground beef gently with worcestershire, salt, pepper, and garlic powder. I handle the meat as little as possible; overworking makes dense patties. Divide into four roughly 6 oz balls and press a shallow dimple in the center of each with your thumb.
Step 2:
I oil the griddle with about 1 tbsp oil, then lay the patties down. Listen for that glorious, loud sizzle — that sound equals flavor. Don’t press the meat flat with your spatula; you want juices to stay put. Cook the first side for about 3–4 minutes until a deep, brown crust forms and the edges start to caramelize.
Step 3:
Flip once, then immediately add a slice of cheese to each patty. If you want a quick steam-melt, lay a small metal bowl or a large lid over the patties for 30–45 seconds. You’ll smell the chili-like toastiness and hear a softer sizzle as the cheese melts — that’s your cue.
Step 4:
While the cheese finishes, spread butter on the buns and toast them cut-side down for 30–60 seconds until golden and fragrant. The butter browns a touch and gives you those crisp, slightly sweet edges. I love that contrast — crunchy bun, molten cheese, juicy meat.
Step 5:
Assemble quickly: spread the sauce on the bottom bun, add the patty, then toppings (lettuce, tomato, onion, pickles). Let the burger rest for a minute so juices settle — you’ll avoid soggy buns. Cut in half if you like, and dive in while it still steams.
Pro Tips
- Use 80/20 beef for the best balance of juiciness and crust. Leaner meat dries out fast.
- Chill patties 10–15 minutes before cooking if they feel too soft — cold meat sears better.
- Resist squashing the patties with the spatula; you’ll lose all the flavorful juices.
- Use an instant-read thermometer — aim for 160°F internal temp for ground beef to be safe and juicy.
Common Mistakes to Avoid
- Skipping preheating: Classic rookie move. It changes texture and bake time.
- Overmixing: Leads to dense or chewy results. Mix until just combined.
- Guessing cook time: Always use visual cues or a timer, not just vibes.
- Overcrowding pans: Give your food some breathing room to crisp properly.
Alternatives & Substitutions
- Swap beef for ground turkey or chicken — expect a milder flavor and slightly firmer texture; add a little olive oil to the mix to keep them moist.
- Make a vegetarian option with a black bean or portobello patty; add egg or flax binder if needed.
- For dairy-free, use vegan cheese and olive oil to toast the buns — you’ll miss the buttery magic, but you still get great texture.
- Use gluten-free buns or lettuce wraps to make it gluten-free; the flavor stays nearly the same.
Variations & Tips
- Smash-style: Make thinner patties and press flat for maximum crispy edge in 2–3 minutes per side.
- Bacon cheeseburger: Add two slices of crispy bacon on top of the cheese for smoky crunch.
- Blue cheese & caramelized onions: Swap cheddar for blue and top with quick-swept onions.
- Spicy: Mix 1 tsp smoked paprika and a dash of cayenne into the meat; use pepper jack cheese.
- Mushroom Swiss: Sauté mushrooms on the griddle, pile onto the patty, and top with Swiss.
- Creative twist: Brush the bun with a little garlic-herb butter (parsley + garlic) for extra aroma.
FAQ (Frequently Asked Questions)
- Can I make this ahead of time?
- Yes! Form patties and store them, covered, in the fridge up to 24 hours. I also make the sauce ahead and keep it in an airtight container for 3–4 days. Reheat patties on the griddle for a couple minutes per side to refresh the crust.
- Can I double the recipe?
- Sure thing. If you double, don’t overcrowd the griddle — cook in batches so each patty gets full contact with the hot surface and a proper sear.
- Can I substitute butter with oil?
- Technically yes, but you’ll miss that buttery magic. Use ¾ the amount of oil and add a tiny pat of butter at the end if you want the flavor without burning.
- How do I know it’s done?
- Look for a deep, brown crust, sizzling edges, and melted cheese. For safety and juiciness, use an instant-read thermometer and aim for 160°F internal temp.
- What if I don’t have ingredient X?
- No stress. No Worcestershire? Use soy sauce or a splash of balsamic for umami. No relish for the sauce? Chop a pickle or skip it. Keep it simple.
How I Like to Serve It
I serve these burgers with crisp oven fries or a tangy slaw to cut the richness. For casual nights, I set out bowls of toppings — let everyone build their own masterpiece. At summer cookouts, I pair them with an ice-cold lager; in cooler months, a malty amber beer or a simple iced tea works beautifully.
Notes
- Store leftovers in the fridge up to 2 days; reheat on the griddle for best texture.
- Safe cooking temp for ground beef: 160°F. Use an instant-read thermometer for accuracy.
Final Thoughts
Closing: Now go impress someone — or just yourself — with your homemade Blackstone Cheeseburger masterpiece! Enjoy the sizzle.