
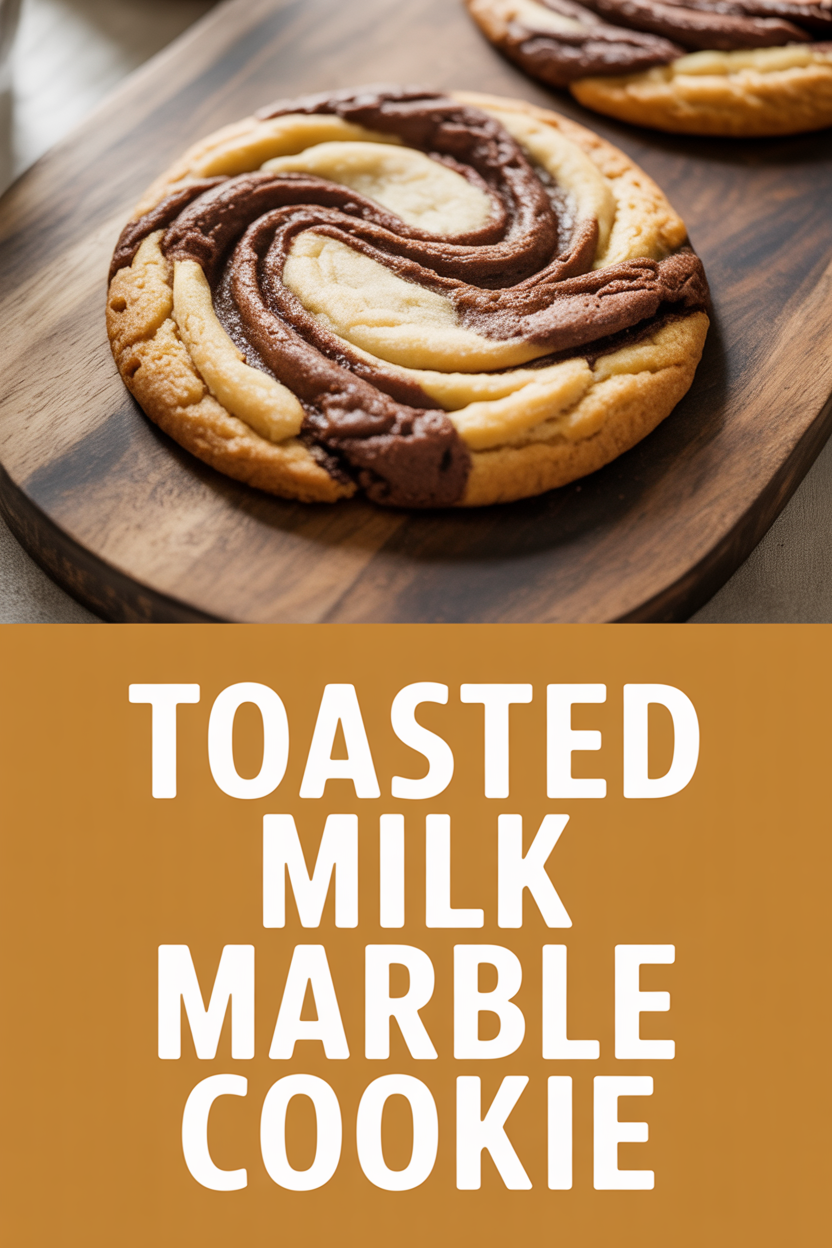
Alright, lean in — I’m about to spill a little chef’s secret that makes these cookies unforgettable: toasting dry milk powder turns ordinary cookie dough into something nutty, caramel-y, and oddly grown-up. I learned this trick by accident one evening when I browned butter and didn’t want to waste the milk powder I had on the counter; the smell of it toasting on the skillet smelled like caramel popcorn and suddenly every chocolate chip cookie in my head leveled up. These Toasted Milk Marble Cookies pair that toasty, milky depth with swirls of chocolate for a dramatic, rustic look and a cookie that stays soft in the middle with crisp, golden edges.
Quick Facts
- Yield: Serves 24 cookies
- Prep Time: 25 minutes (includes toasting)
- Cook Time: 10–12 minutes per batch
- Total Time: 40 minutes
Why This Recipe is Awesome
This cookie hits that beautiful contrast: a warm, nutty backbone from the toasted milk and a playful, marbled chocolate streak in every bite. The edges get golden and slightly crisp while the centers stay pillowy soft. It looks fancy but comes together like a weeknight project — trust me, it’s so easy your oven might ask for an encore. Plus, the aroma while the milk powder toasts will make your kitchen smell like a bakery on a lazy Sunday.
Ingredients
For the Main Dish:
- 1 cup unsalted butter, room temperature (2 sticks)
- 2/3 cup granulated sugar
- 1/2 cup packed light brown sugar
- 1 large egg, room temperature
- 1 tsp vanilla extract
- 1 cup nonfat dry milk powder (to toast)
- 2 1/4 cups all-purpose flour
- 1 tsp baking soda
- 1/2 tsp fine sea salt
- 1/2 cup semi-sweet chocolate chips (optional)
- For the chocolate portion: 3 tbsp unsweetened cocoa powder + 1 tbsp milk (or heavy cream)
For the Sauce / Garnish (if applicable):
- Optional: flaky sea salt for sprinkling after baking
How I Make It
Step 1:
First, toast the dry milk powder. Heat a dry skillet over medium and add the 1 cup dry milk powder. Stir constantly for about 3–6 minutes until it turns deep golden and releases a warm, caramel-like aroma. Watch it closely — it can go from golden to burnt fast. Transfer to a bowl to cool. This smells like toffee and sets the whole cookie apart.
Step 2:
Preheat the oven to 350°F and line baking sheets with parchment. In a large bowl, cream the butter and sugars together until light and fluffy, about 2–3 minutes. Beat in the egg and 1 tsp vanilla. Then stir in the cooled toasted milk powder — it will look sandy at first but fold in nicely and give your dough a lovely warm color.
Step 3:
Whisk together 2 1/4 cups flour, 1 tsp baking soda, and 1/2 tsp salt, then fold into the wet mixture until just combined. Stir in the optional chocolate chips if using. Take about one-third of the dough and put it in a small bowl for the chocolate swirl.
Step 4:
To make the marble portion, add the 3 tbsp cocoa powder and 1 tbsp milk to the reserved dough. Mix until it forms a cohesive chocolate dough — dark and glossy. For each cookie, scoop roughly 1 1/2 tablespoons of plain dough and 1 tablespoon of chocolate dough. Gently press them together and give a slight twist so you create visible streaks; don’t overwork it or the marble will become uniform brown. Place dough balls ~2 inches apart on the baking sheet.
Step 5:
Bake at 350°F for 10–12 minutes. Remove when the edges look golden and the centers still look slightly soft — they’ll set as they cool. Let the cookies rest on the baking sheet for 5 minutes, then transfer to a rack to cool completely. Sprinkle a little flaky sea salt while warm if you like contrasts.
Pro Tips
- Toast the milk powder in a dry pan and keep stirring. If a spot darkens, scrape it immediately so the whole batch stays evenly golden.
- If your dough feels too soft to marble, chill it for 10–15 minutes — cold dough handles and twists better.
- Use room-temperature butter so the dough creams properly; cold butter makes a dense texture and melted butter makes flat cookies.
- For consistent rounds, scoop with a cookie scoop and roll gently — little imperfections add character, but consistency helps with even baking.
Common Mistakes to Avoid
- Skipping preheating: Classic rookie move. It changes texture and bake time.
- Overmixing: Leads to dense or chewy results. Mix until just combined.
- Guessing cook time: Always use visual cues or a timer, not just vibes.
- Overcrowding pans: Give your food some breathing room to crisp properly.
Alternatives & Substitutions
- Gluten-free: Use a 1:1 gluten-free flour blend — cookies may spread differently, so chill dough slightly longer.
- Dairy-free: Swap butter for coconut oil (slightly less flavor depth) and use coconut milk powder toasted if you can find it.
- Low-sugar: Reduce granulated sugar by 2 tbsp and add a touch more brown sugar for chew.
- If you lack dry milk powder: brown the butter until nutty and use an extra 1/2 tsp vanilla plus 1 tsp malted milk powder if available.
Variations & Tips
- Add 1 tsp instant espresso powder to the chocolate dough for a mocha lift.
- Stir in 1/2 cup chopped toasted pecans or walnuts for crunch and echo the toasted flavor.
- Swap the chocolate chips for white chocolate for a blondie-like marble.
- Make double chocolate by adding 2 tbsp cocoa to the plain dough as well, for a darker, richer cookie.
- Add a pinch of cinnamon or orange zest to the base dough for a seasonal twist.
FAQ (Frequently Asked Questions)
- Can I make this ahead of time?
- Yes! Chill the formed dough in an airtight container for up to 3 days, or freeze the dough balls on a tray then transfer to a bag for up to 3 months. Bake frozen dough, adding 1–2 extra minutes to the bake time.
- Can I double the recipe?
- Sure thing. Use two baking sheets and rotate racks halfway through baking if you make multiple trays at once. Keep an eye on spacing so cookies don’t merge.
- Can I substitute butter with oil?
- Technically yes, but you’ll miss that buttery magic. Use ¾ the amount of oil.
- How do I know it’s done?
- Look for golden edges and centers that still look slightly soft and glossy. They firm up as they cool. If the tops brown too much, lower the oven by 15–25°F.
- What if I don’t have ingredient X?
- Substitute like-for-like where possible: extra vanilla for a pinch of milk powder, or brown butter if you don’t have milk powder. Small swaps work; dramatic changes alter the final flavor.
How I Like to Serve It
I love these warm with a big mug of coffee or a cold glass of milk — the toasted notes play beautifully with both. They make a thoughtful cookie plate for a neighbor or a cozy afternoon treat when work drags; serve them at a holiday cookie swap and watch people do a double-take at that toasty aroma. In summer, they pair surprisingly well with vanilla ice cream for a quick dessert.
Notes
- Store cooled cookies in an airtight container at room temperature up to 4 days. Freeze baked cookies up to 3 months.
- No meat here — not relevant, but when cooking meats always follow safe temps (e.g., 165°F for poultry).
Final Thoughts
Closing: Go make a batch, relish that toasty smell, and surprise someone (or yourself) with a cookie that looks fancy but feels like home. Now go impress someone — or just yourself — with your homemade masterpiece!